Halloween is just around the corner. It happens to be my favorite time of year. I have the best memories of my fun filled days trick or treating with friends and gathering as much candy as we could. Luckily, I have passed on the love of all things Halloween to my kids. They were thrilled to see me making a new Halloween treat. These spider cookies are so easy to make and turned out just adorable. These would be fun for a Halloween party or just to have at home around the day. They do have peanut butter in them so they would not be a good idea to send to school!
Spider Cookies
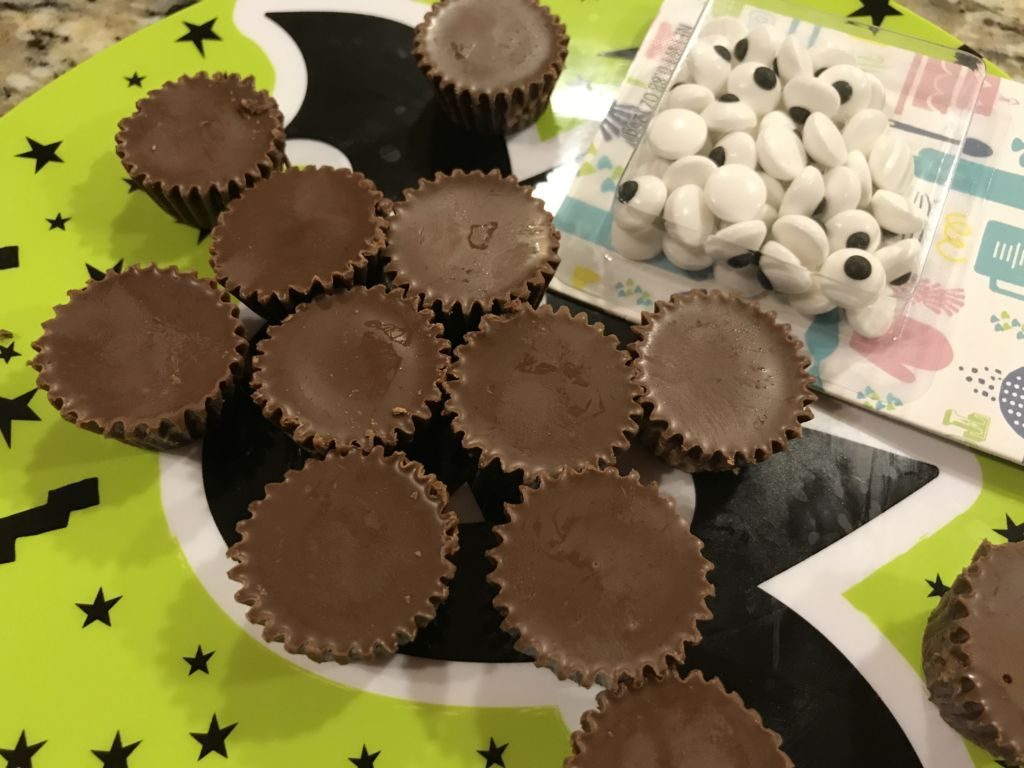
1 roll of peanut butter cookie dough
1 set of candy eyes
Reeses chocolates
meltable chocolate (I used chocolate chips)
What You Do
- Bake your peanut butter cookies as directed.
- While the cookies bake, get the candy wrappers off and ready to go. Get the eyes ready too. I dare you not to eat one of the Reeses candies!!!!
- As soon as the cookies come out of the oven place one Reeses candy upside down and gently press into the cookie to form the body of the spider.
- Quickly add eyes on each body (the upside down candy). The chocolate melts fast so the eyes are easy to put on!
- I put the cookies on a plate and put them in the fridge for about 10 minutes to let the candy harden a little. (You don’t have to do this!) It was a hot day in Texas and I didn’t want totally melted spiders!
- To make the legs you will need to melt some chocolate (I used chocolate chips). I carefully stirred the chocolate every 20 seconds so it wouldn’t burn. When it was melted, I placed the chocolate in a baggie and cut a small tip to add some legs. Go fast, as the chocolate will harden fast!
- I placed my cookies back in the fridge to set again (but not necessary!) My kids wanted one and I wanted the cookies to be set and not melted.
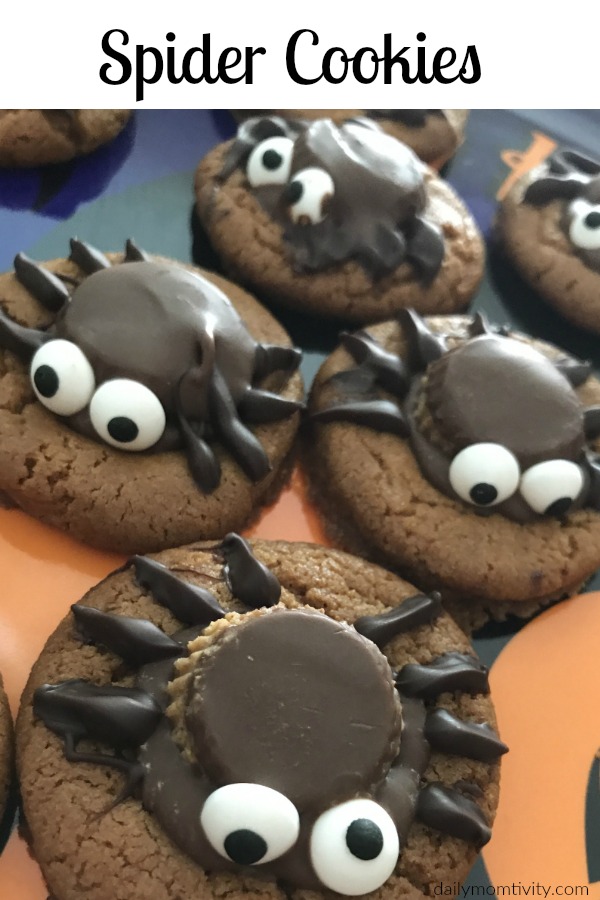
They turned out so cute and perfect for Halloween! My kids were begging to eat one 🙂
Do love Halloween too? Check out these other Halloween treats including Chocolate Candy Bark (great for leftover candy) Moster Krispy Treats, and Monster Fruit Cups!

Leave a Reply