
Ice Melt Experiment (Winter Science for Kids)
An ice melt experiment is a hands-on science activity where kids apply different substances to identical ice cubes and observe which variable causes the fastest melt, teaching freezing point depression and thermal energy transfer in one simple setup.
Last updated: July 2026
Quick Answer: Ice Melt Experiment
An ice melt experiment uses pantry staples like salt, sugar, and hot water placed on identical ice cubes to compare melt rates side by side. Kids predict, observe, and record what happens, covering the scientific method, states of matter, and real-world chemistry in a single afternoon. Setup takes about 15 minutes (plus overnight freezing), and you’ll see visible results in under five minutes.
Most parents assume kitchen science experiments require a lot of special supplies or end in a shrug from their kids. This one is different. The results are dramatic enough that even the youngest observers stay glued to the muffin tin, and older kids can go surprisingly deep with it.
If your child has ever poked at a frozen puddle and asked why road crews throw white stuff on icy streets, this experiment answers that question in the most satisfying way possible: by showing them, not just telling them.
- Time: 15 minutes prep plus 30 to 60 minutes observation
- Age range: 4 to 12 (toddlers can observe; ages 7 and up can write a hypothesis)
- Skills: Predicting, observing, comparing, recording data
- Cost: About $0 (pantry staples only)
What Is an Ice Melt Experiment?
An ice melt experiment (also called an ice melting experiment or ice cube race) is a structured science activity where kids apply different variables to equally sized ice cubes and track which one melts fastest. According to NASA JPL Education, the activity is aligned with NGSS standards from grade 2 all the way through high school, because the core concepts, thermal energy transfer and particle behavior, scale with a child’s understanding.
In plain terms: you’re giving kids a race with ice cubes and letting them discover the winner themselves. The “why” behind that winner is the science.
What You’ll Need
To Freeze the Ice
- Water: plain tap water works fine
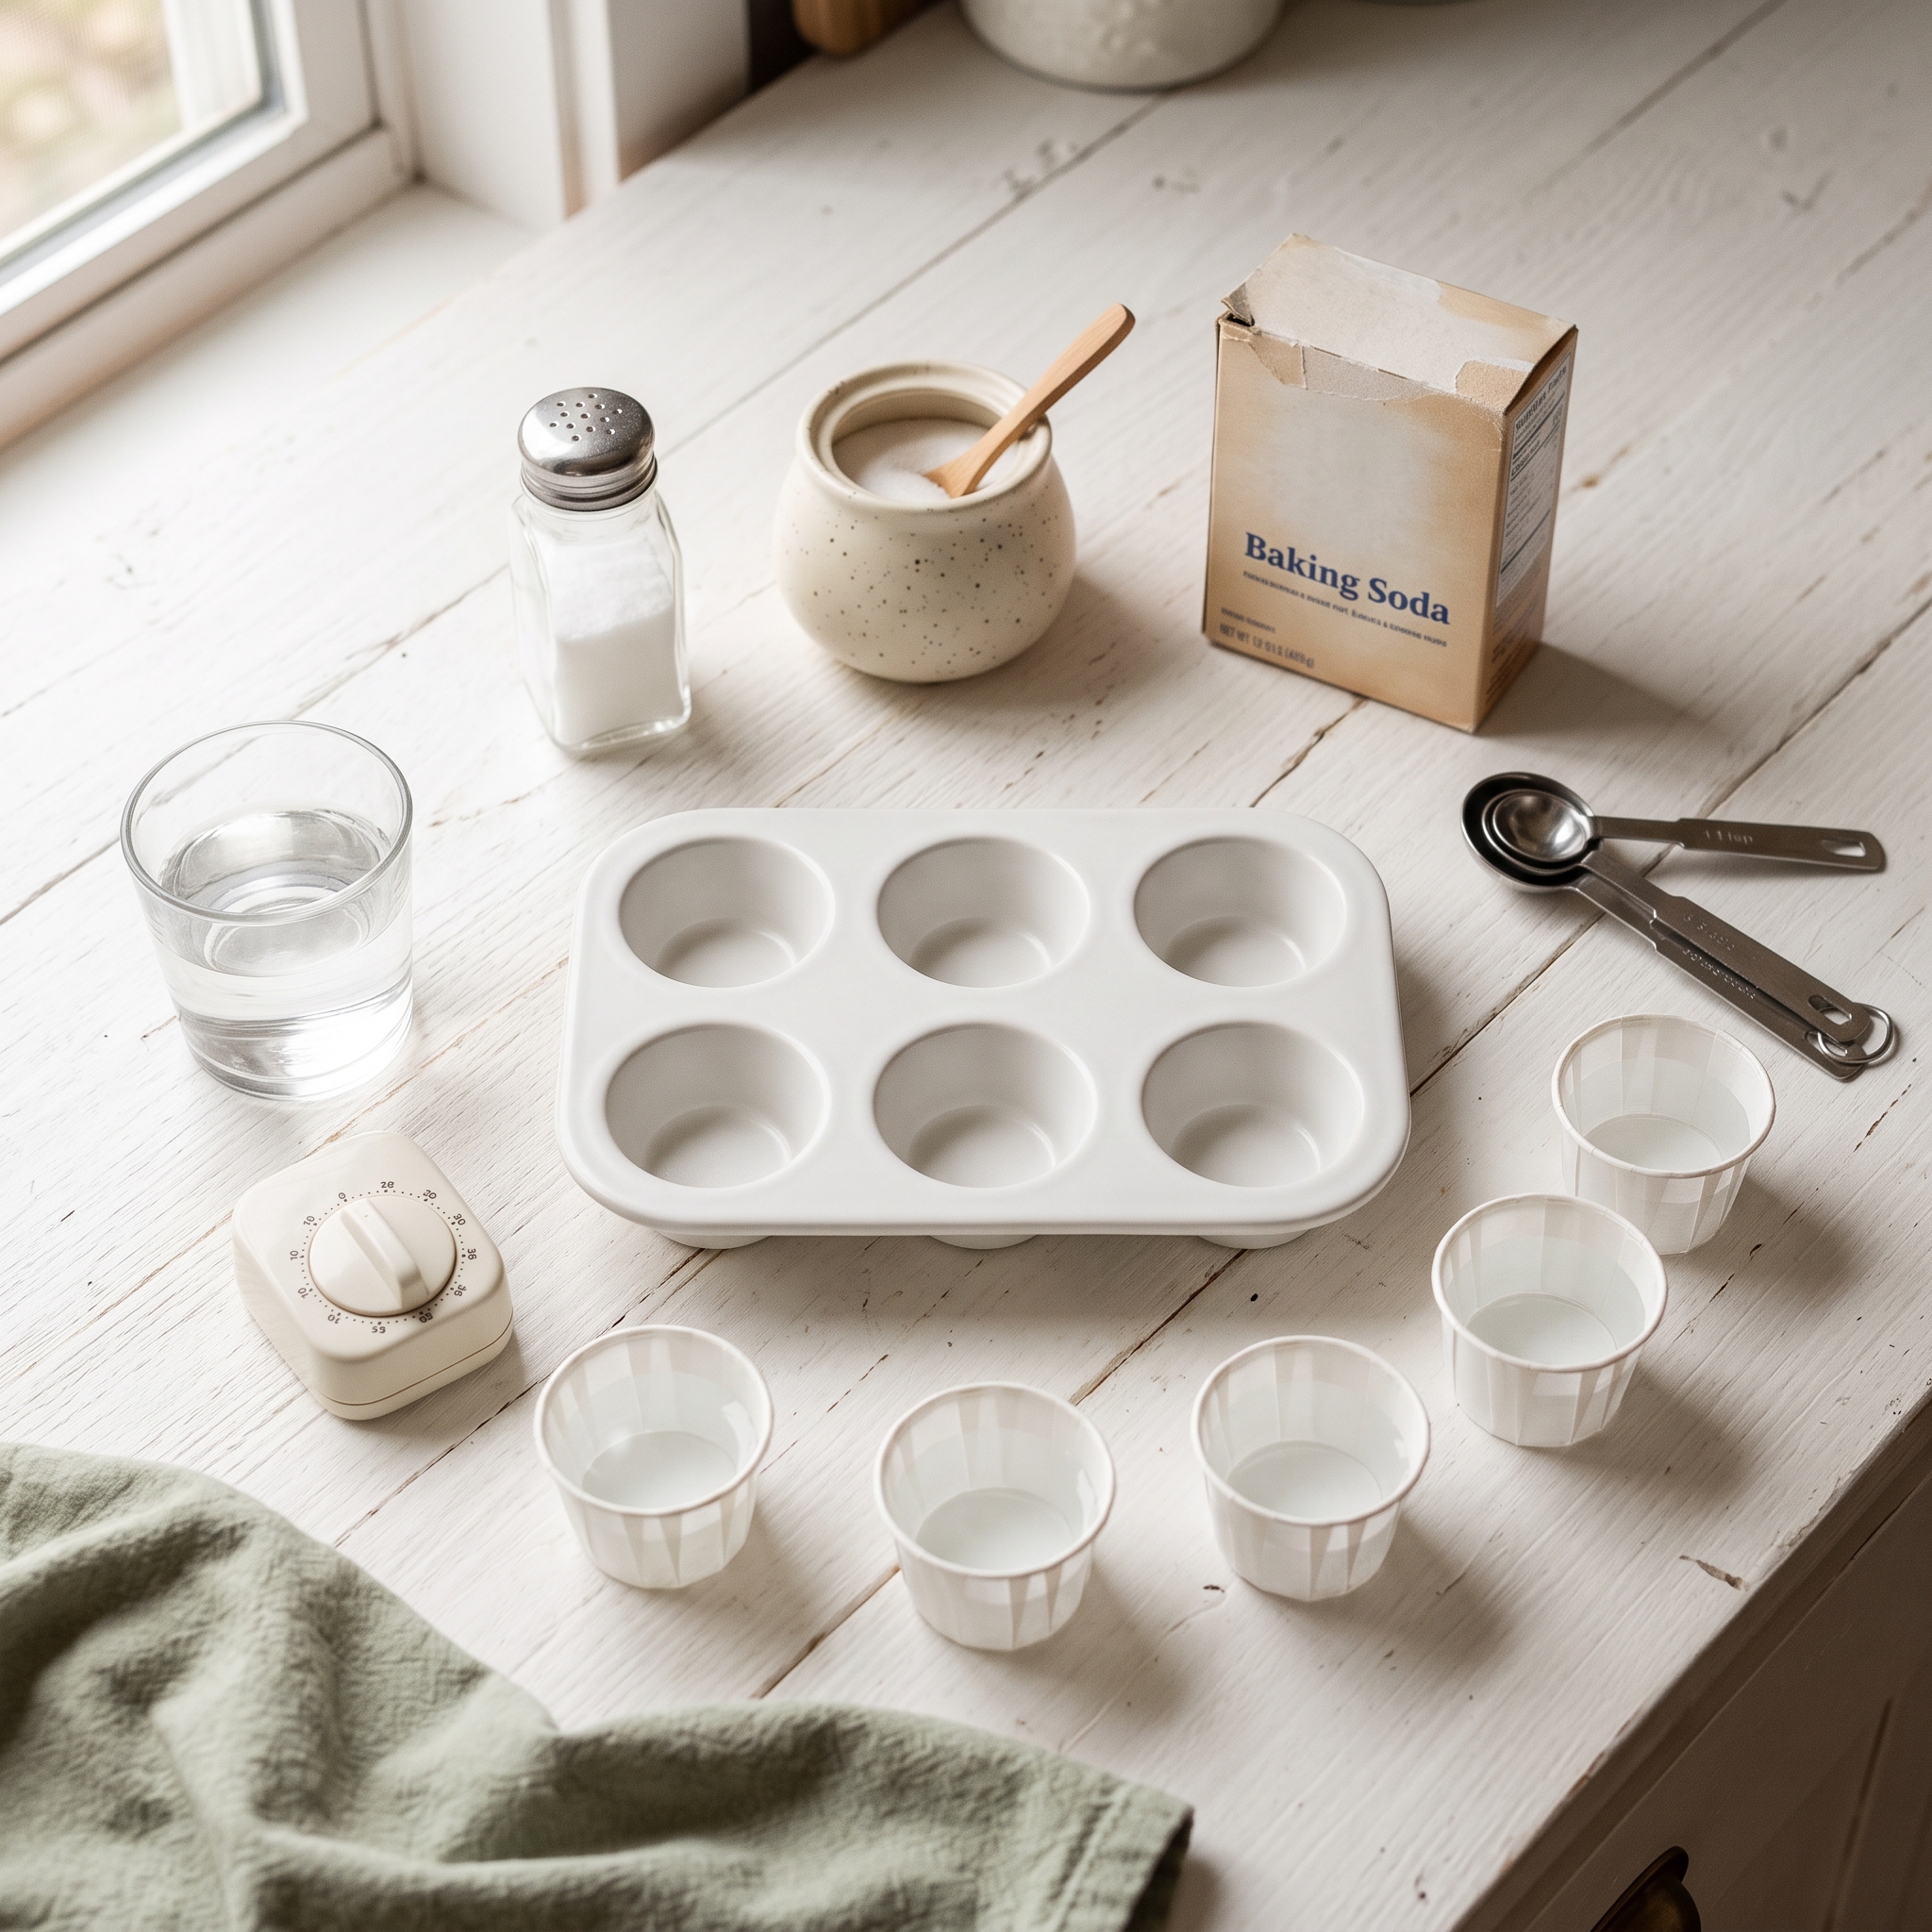
- 6 identical containers: small Dixie cups, a silicone ice cube tray with uniform cavities, or a 6-cup mini muffin tin; uniform size is non-negotiable for a fair comparison (standard silicone trays produce roughly 1.5 oz cubes)
- Food coloring (optional): one drop per cup before freezing makes the melt water much easier to see and photograph
To Run the Experiment
- 1 rimmed muffin tin or baking sheet: to contain the melt water
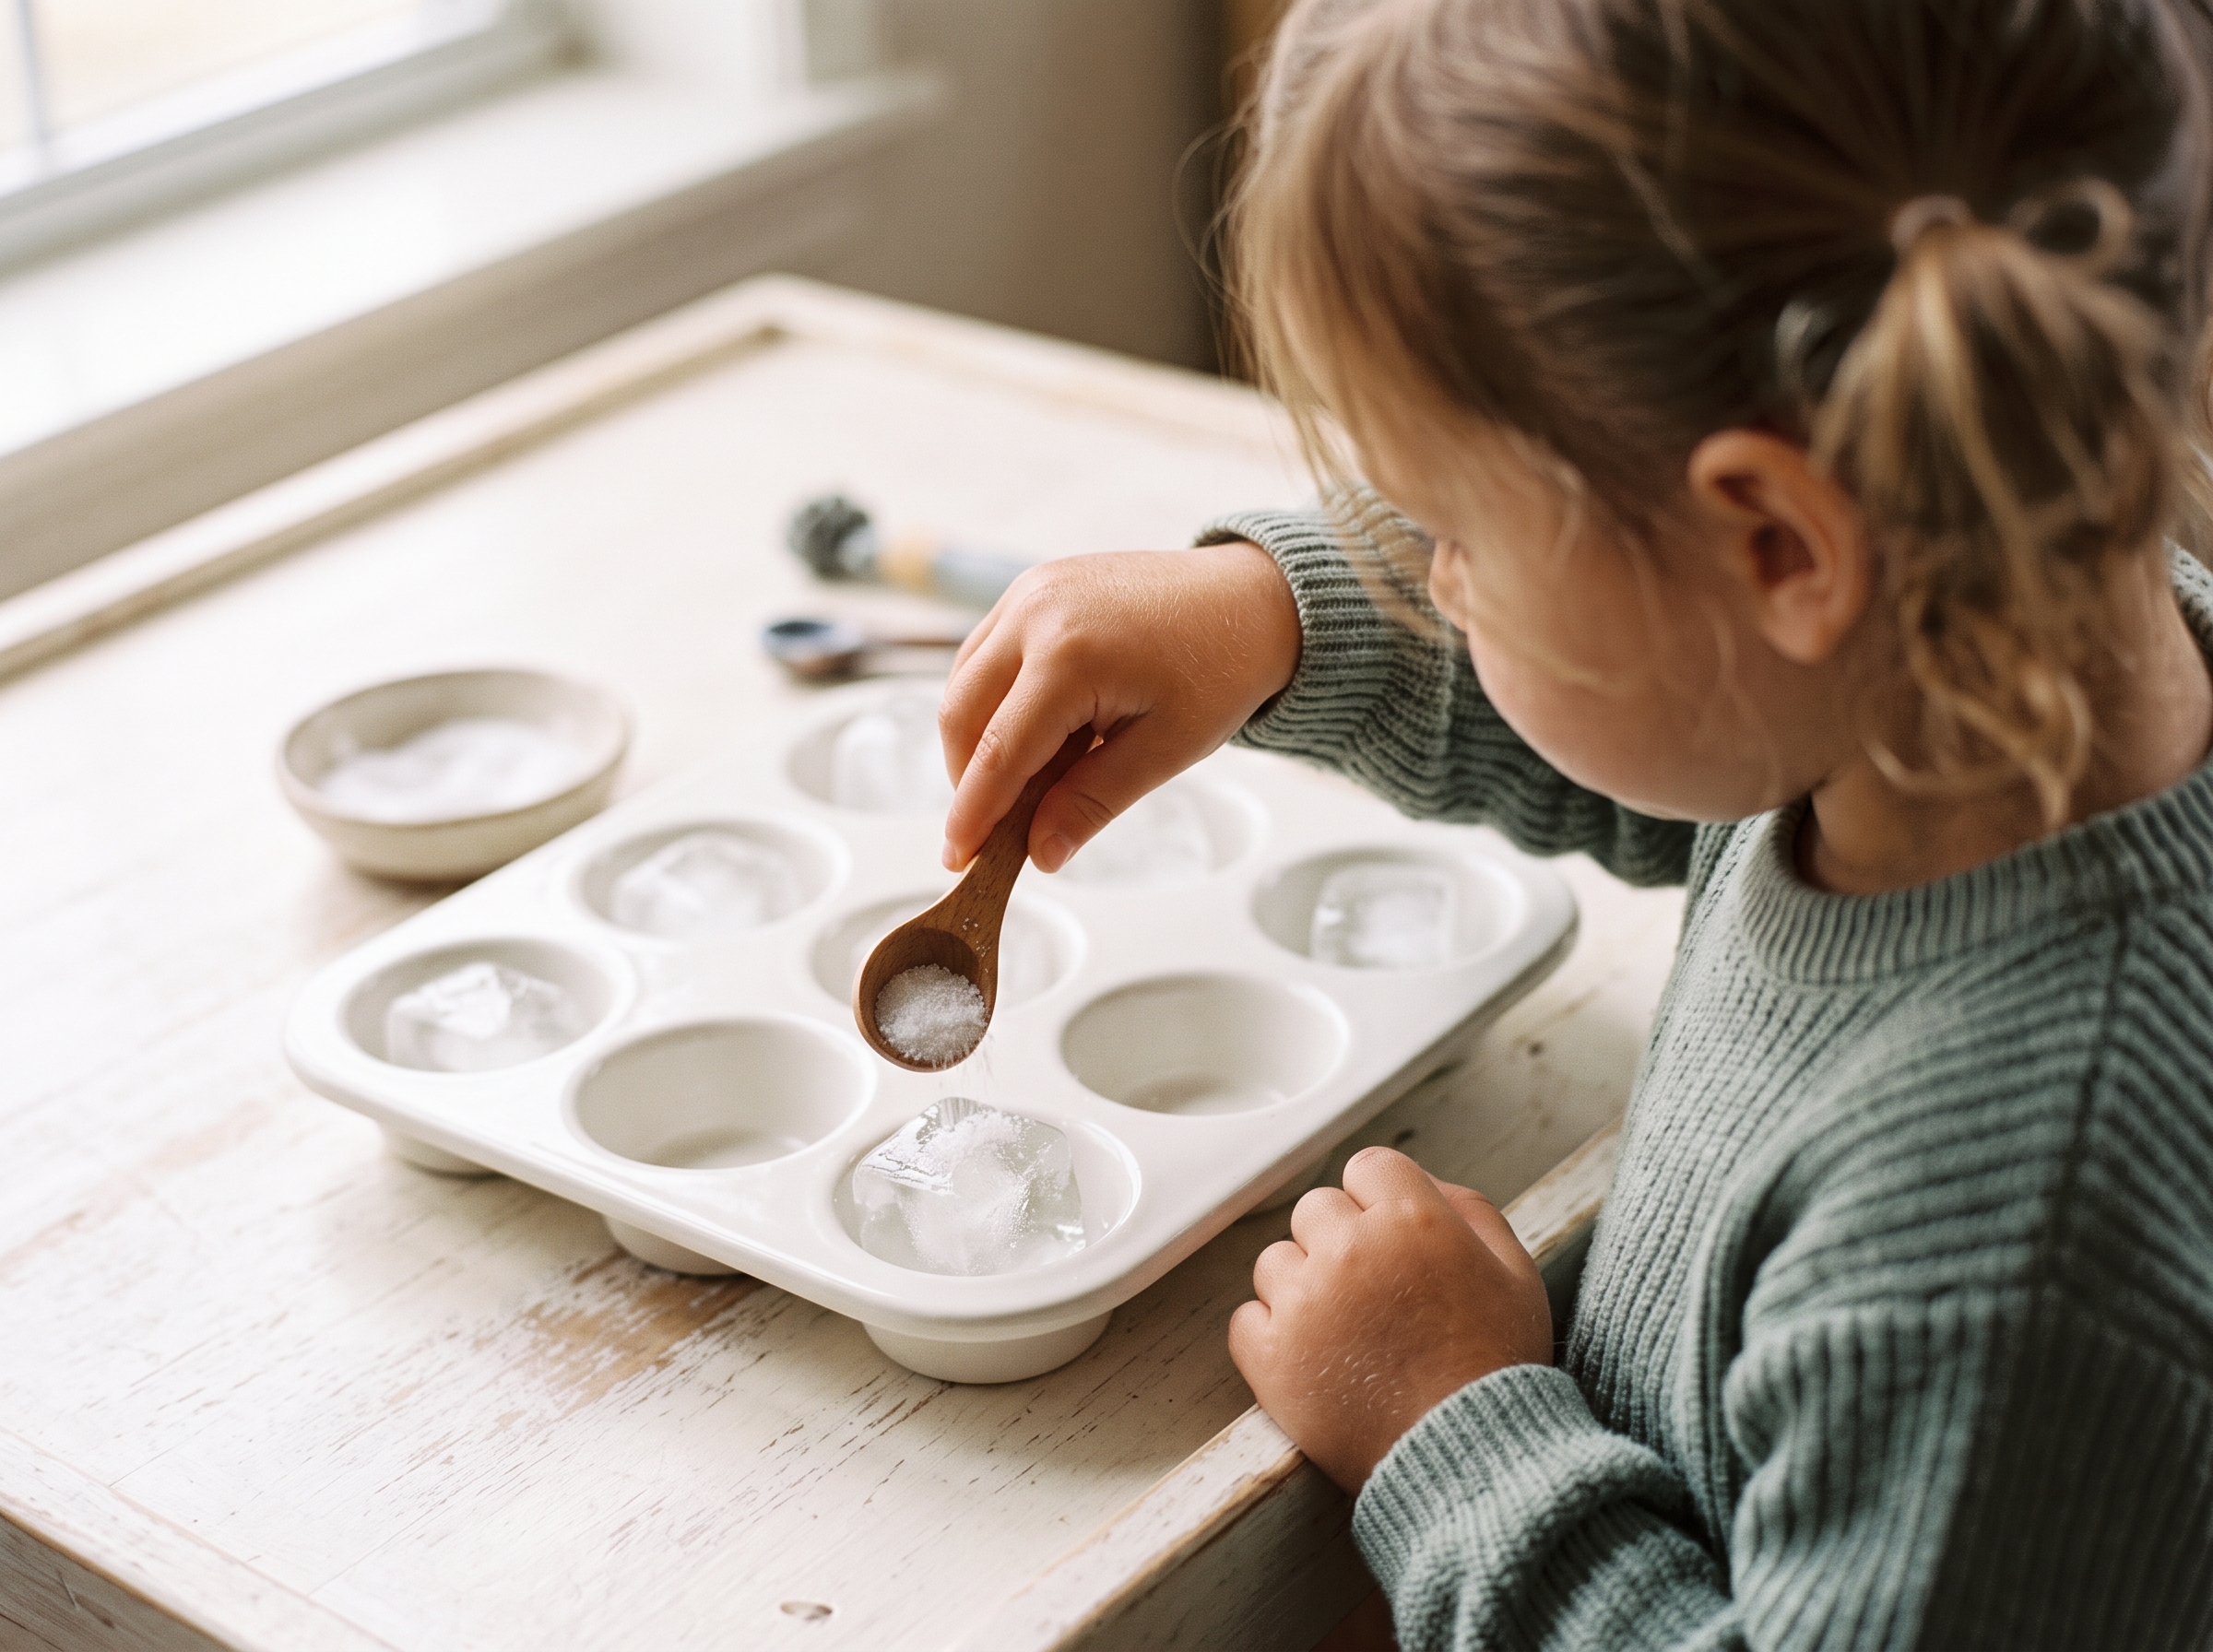
- Table salt: about 1 tsp per cube (Morton iodized works great)
- Granulated white sugar: about 1 tsp per cube
- Baking soda: about 1 tsp per cube (an often-overlooked variable that adds a useful comparison)
- Hot tap water: around 110°F / 43°C, warm enough to show results and cool enough to be safe
- Cold tap water: around 50°F / 10°C straight from the faucet
- Nothing: one cube stays as the control
- Timer, pencil, observation sheet: a notebook works fine
How to Set It Up
- Fill each of your 6 containers with the same amount of water. Use a measuring tablespoon and fill each to 2 tbsp (30 ml) so every cube starts identical. Add a drop of food coloring now if you want more visual drama at melt time.
- Place the containers on a flat tray and freeze for at least 4 hours. Overnight (8 or more hours) is better because it guarantees fully solid cubes with no slushy center.
- Label 6 spots on your muffin tin or baking sheet: Control, Salt, Sugar, Baking Soda, Hot Water, Cold Water.
- Pop the ice out of the molds. If any cubes stick, run warm water over the outside of the container for about 5 seconds.
- Place one cube in each labeled spot at the same time. Same starting conditions make the comparison fair.
- Apply all variables at once: sprinkle about 1 tsp of salt, sugar, and baking soda over their cubes; pour about 2 tbsp of hot water and cold water over theirs. Leave the control cube untouched. Safety note: hot tap water for this experiment should stay at or below 110°F (43°C). An adult should always be the one to pour it.
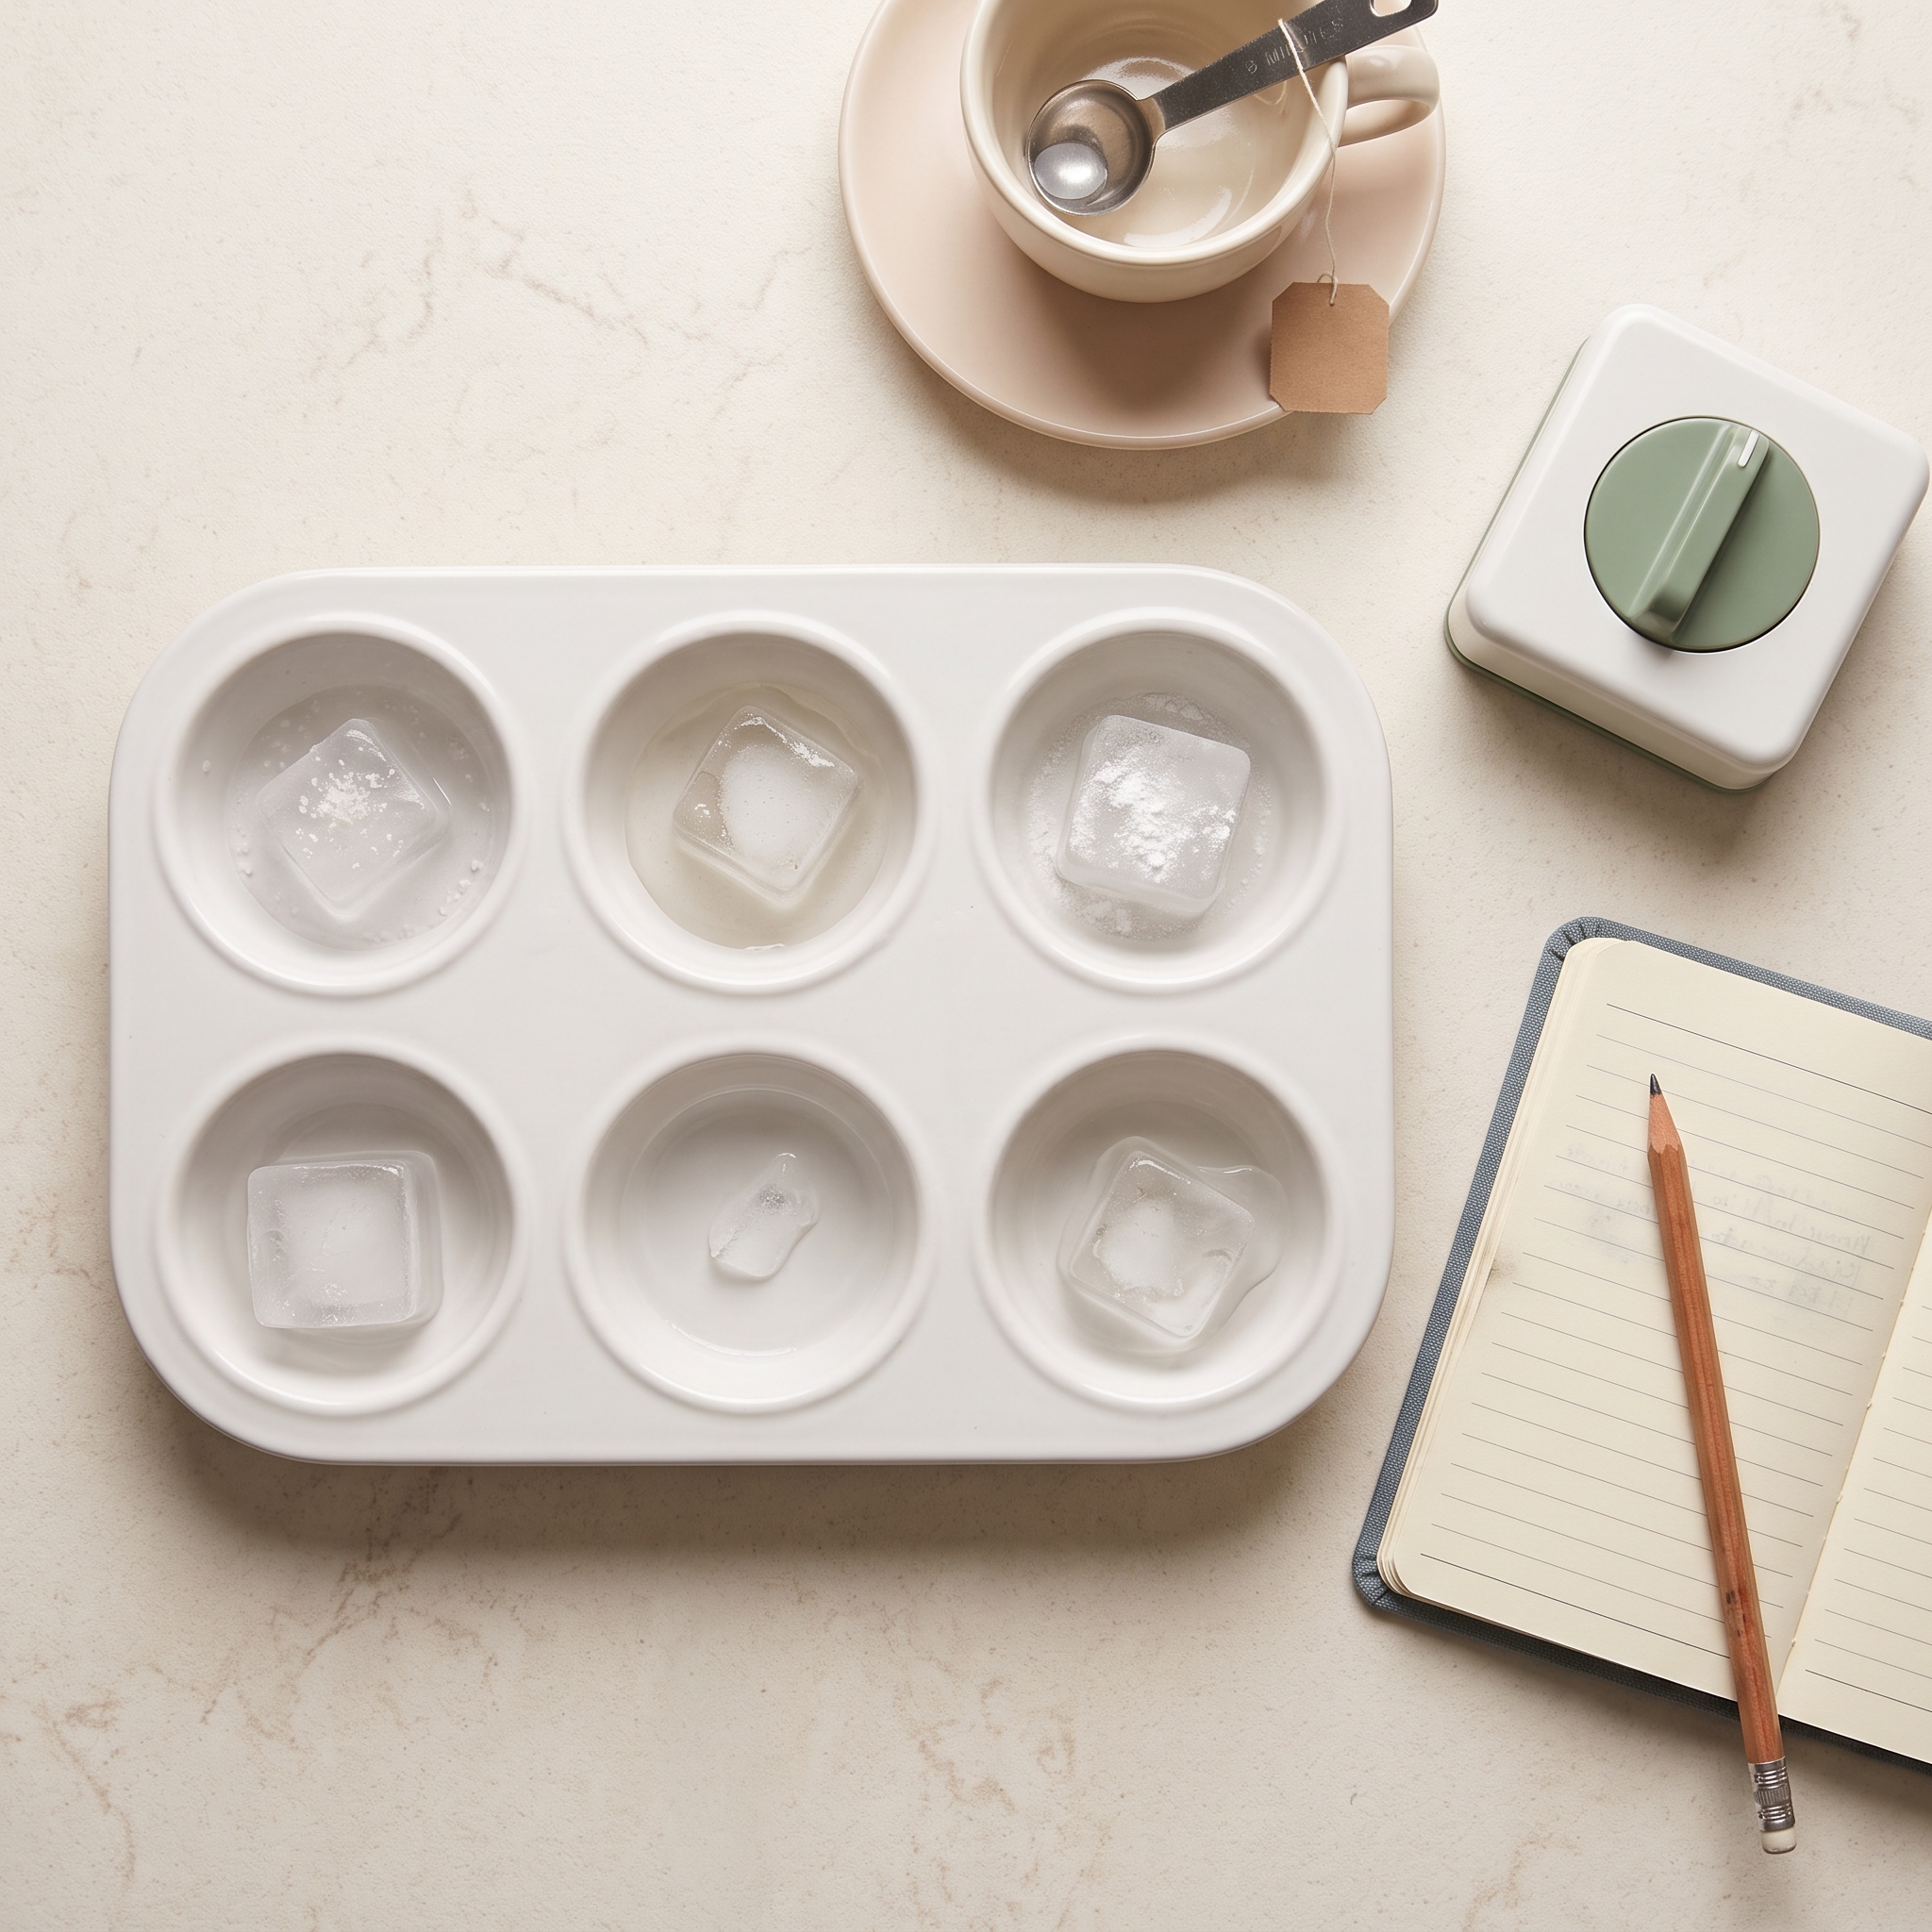
- Start the timer immediately. Check and record observations at 1 minute, 5 minutes, 15 minutes, 30 minutes, and 1 hour.
What Makes Ice Melt Fastest? The Variables, Ranked
This is where the what makes ice melt fastest experiment really pays off, because the results aren’t just “salt wins.” Each variable has a different mechanism, and once kids understand that, they start asking much better questions. Here’s how each substance performs and why.
Hot Water (Winner)
Hot water melts ice the fastest because it transfers thermal energy directly into the ice’s crystal structure. Heat moves from warmer things to cooler things, and 110°F water hitting 32°F ice creates a rapid energy exchange. You’ll see visible melting within 30 to 60 seconds, with the cube mostly gone by the 10-minute mark. This result makes thermal energy transfer concrete in a way a diagram never can.
Salt (Runner-Up)
Salt is the classic road-treatment ingredient, and it works through a process called freezing point depression. When salt dissolves, it separates into sodium and chloride ions that disrupt the ice crystal lattice, lowering the freezing point from 32°F (0°C) to as low as about -6°F (-21°C) at the right concentration. You’ll see a puddle forming within 1 to 2 minutes, with roughly 60 to 70% of the cube melted by 30 minutes at room temperature.
Sugar (Third Place)
Sugar causes freezing point depression too, but more slowly than salt. Sugar molecules are larger and dissolve more gradually, so the effect is real but less dramatic. It melts noticeably faster than the control cube, which makes it a great discussion point: same general process as salt, different speed. Why? Because sugar stays as a single molecule rather than splitting into two ions like salt does.
Baking Soda (Solid Fourth)
Baking soda is an ionic compound like salt, so it also causes freezing point depression. It performs slightly less effectively than salt overall, but it’s a interesting variable to include because kids often expect it to behave like baking soda in a volcano (fizzy, dramatic) and are surprised when it just quietly melts. Good bonus challenge for older kids: why does baking soda underperform compared to table salt?
Cold Water (Fifth)
Cold water still melts ice faster than the control because liquid water conducts heat more efficiently than air does. Even cold water at 50°F is warmer than the ice, so energy transfer still happens. It runs roughly 1.5 to 2 times faster than the control cube but is no match for hot water or salt.
Control (Baseline)
The control cube melts entirely from ambient room temperature, typically taking 45 to 75 minutes for a 30ml cube at around 70°F (21°C). Every other variable’s result gets measured against this one, which is why getting it right matters. A slushy or misshapen control cube throws off all your comparisons.
If you want to pair this with another reaction-based activity, kids who love the salt variable tend to get a kick out of a baking soda and vinegar experiment as a follow-up, since it introduces a completely different type of chemical reaction.
What Your Kids Are Actually Learning
Beyond the ice, this experiment covers a surprising amount of real science.
- The scientific method: hypothesis, test, observe, conclude; kids who write down a prediction before starting engage more actively with the results
- States of matter: solid melting to liquid (and liquid freezing back to solid if you let a salt-covered puddle sit in the freezer); this directly aligns with NGSS standard 2-PS1-4, which is worth flagging for homeschool families who track standards
- Freezing point depression: the real explanation for why road salt works in winter, explained by the experiment itself
- Controlled variables: same-sized cubes, same starting temperature, same observation intervals mean the test is actually fair, not just fun
- Thermal energy transfer: heat moves from warmer objects to cooler ones; the hot water result makes this feel obvious in the best way
Tracking Observations (The Mini Scientist Method)
The observations are where this experiment goes from cool to educational, and the setup doesn’t have to be complicated.
Have kids draw a simple table with variable names across the top (Control, Salt, Sugar, Baking Soda, Hot Water, Cold Water) and time intervals down the side (1 min, 5 min, 15 min, 30 min, 1 hour). Encourage descriptive language beyond just “melted.” Is the cube still cube-shaped? Is it slushy at the edges? How much water is pooled underneath?
For a great visual record, take a photo of the whole tin at each interval from the same angle and distance. Flipping through them in order creates an instant time-lapse kids love to show off.
For ages 4 to 6, skip the written table and just ask “which one do you think is melting fastest?” every few minutes. Verbal narration counts as scientific observation at this age. For kids 10 and up, add a hypothesis column before you start and formally introduce the word “variable.” For even more structured science fun, you’ll find a whole range of setups in this collection of easy science experiments for kids that use the same pantry-staples approach.
Real-World Connection: Why Do We Salt Roads in Winter?
Road salt works exactly the way the salt cube in this experiment does. It lowers the freezing point of water on the asphalt so the surface stays slushy instead of forming a hard, slippery ice sheet. The US uses roughly 14 million tons of road salt for winter road deicing each year, a number that tends to make kids do a double-take.
A good follow-up question to ask while you’re watching the cubes: “If salt melts ice so well, why do icy roads still exist?” The answer is that salt loses its effectiveness below about 15°F (-9°C). At that point, the freezing point depression isn’t enough to keep up with how cold the air is. Sand and other materials get used instead. That’s a natural bridge to a whole new round of curiosity about materials and temperature.
How to Level Up: The Instant Ice Experiment
Once kids have watched ice melt, they’re usually ready for the reverse: watching water freeze on contact. The instant ice experiment uses a phenomenon called supercooling, where pure water is chilled below its normal freezing point without crystallizing, then triggered to freeze instantly when disturbed.
To try it at home, place a sealed bottle of pure distilled water (impurities cause early, uncontrolled freezing, so tap water won’t work here) in your freezer for about 2.5 to 3 hours, targeting a temperature around 28°F (-2°C). Remove it without shaking. Then gently pour it over a small ice cube in a bowl or tap the bottle itself. Watch it crystallize from the point of disturbance outward in real time.
It’s a separate experiment from the standard ice melt setup, but it pairs beautifully because kids are watching the exact opposite process. Instead of breaking ice bonds, they’re creating them on demand. Best for ages 8 and up with an adult present. The patience required is real, but so is the payoff.
Frequently Asked Questions
What makes ice melt the fastest in this experiment?
Hot water produces the fastest melt because it transfers thermal energy directly into the ice. In a side-by-side test at room temperature around 70°F, hot tap water at roughly 110°F melts a standard 30ml ice cube in about 8 to 12 minutes, compared to 45 to 75 minutes for an untreated control cube left to melt on its own.
Why does salt melt ice faster than sugar?
Both salt and sugar lower the freezing point of water through freezing point depression, but salt is more effective because it separates into two ions (sodium and chloride) when it dissolves, creating twice the particle disruption in the water. Sugar stays as a single molecule. More particles in solution means a greater drop in freezing point, so the melt happens faster.
What is a good hypothesis for an ice melt experiment?
A simple, testable hypothesis might be: “I think salt will make the ice melt the fastest because salt is used on icy roads in winter.” A hypothesis doesn’t need to be correct. It just needs to be a prediction you can test and then explain afterward based on what you actually observed. Getting it wrong is half the fun.
What is the instant ice experiment?
The instant ice experiment involves chilling pure distilled water below its normal freezing point without it freezing, then triggering instant crystallization by disturbing it. It’s a separate but related activity that shows the opposite of melting, and it’s mesmerizing for kids ages 8 and up. Distilled water is important because any impurities will cause the water to freeze prematurely before you’re ready.
Is this ice melt experiment good for a science fair?
It’s a strong science fair choice because the results are visual, the variables are easy to explain, and the concept (freezing point depression) has direct real-world applications kids can talk about confidently. For a competitive entry, focus on using identical ice cubes, testing one variable at a time, recording observations at consistent intervals, and comparing your actual results against your original prediction.


