
How to Make Moon Sand (2 Ingredients)
To make moon sand, mix 4 cups of all-purpose flour with ½ cup of baby oil until the mixture clumps when squeezed and crumbles when released, ready in under 5 minutes.
Last updated: June 2026
Quick Answer: How to Make Moon Sand
Moon sand is a soft, moldable sensory material made from just flour and baby oil. Combine 4 cups of all-purpose flour with ½ cup of baby oil, mix until the oil is fully distributed, and squeeze-test a handful. If it holds shape for a few seconds and then falls apart, you’ve got it. That’s the whole moon sand recipe. No store run, no fancy supplies, no mess you can’t vacuum up in two minutes.
Everyone assumes sensory play has to involve a craft store haul, a laminated activity card, or at minimum a trip to buy something. Not this one. If you’ve got a bag of flour and a bottle of baby oil already sitting in your house, you’re set.
Moon sand gives kids the same satisfying, moldable texture as store-bought kinetic sand, for a fraction of the cost. A full batch runs about $1 to $2 depending on what you already have on hand. It’s completely customizable with food coloring, scented with a few drops of essential oil, and scalable to whatever size bin you want to fill.
| Detail | Info |
|---|---|
| Age Range | 2 and up |
| Prep Time | 5 minutes |
| Play Time | 30–60 minutes |
| Mess Level | Medium (containable) |
| Cost | ~$1–2 per batch |
What Is Moon Sand?
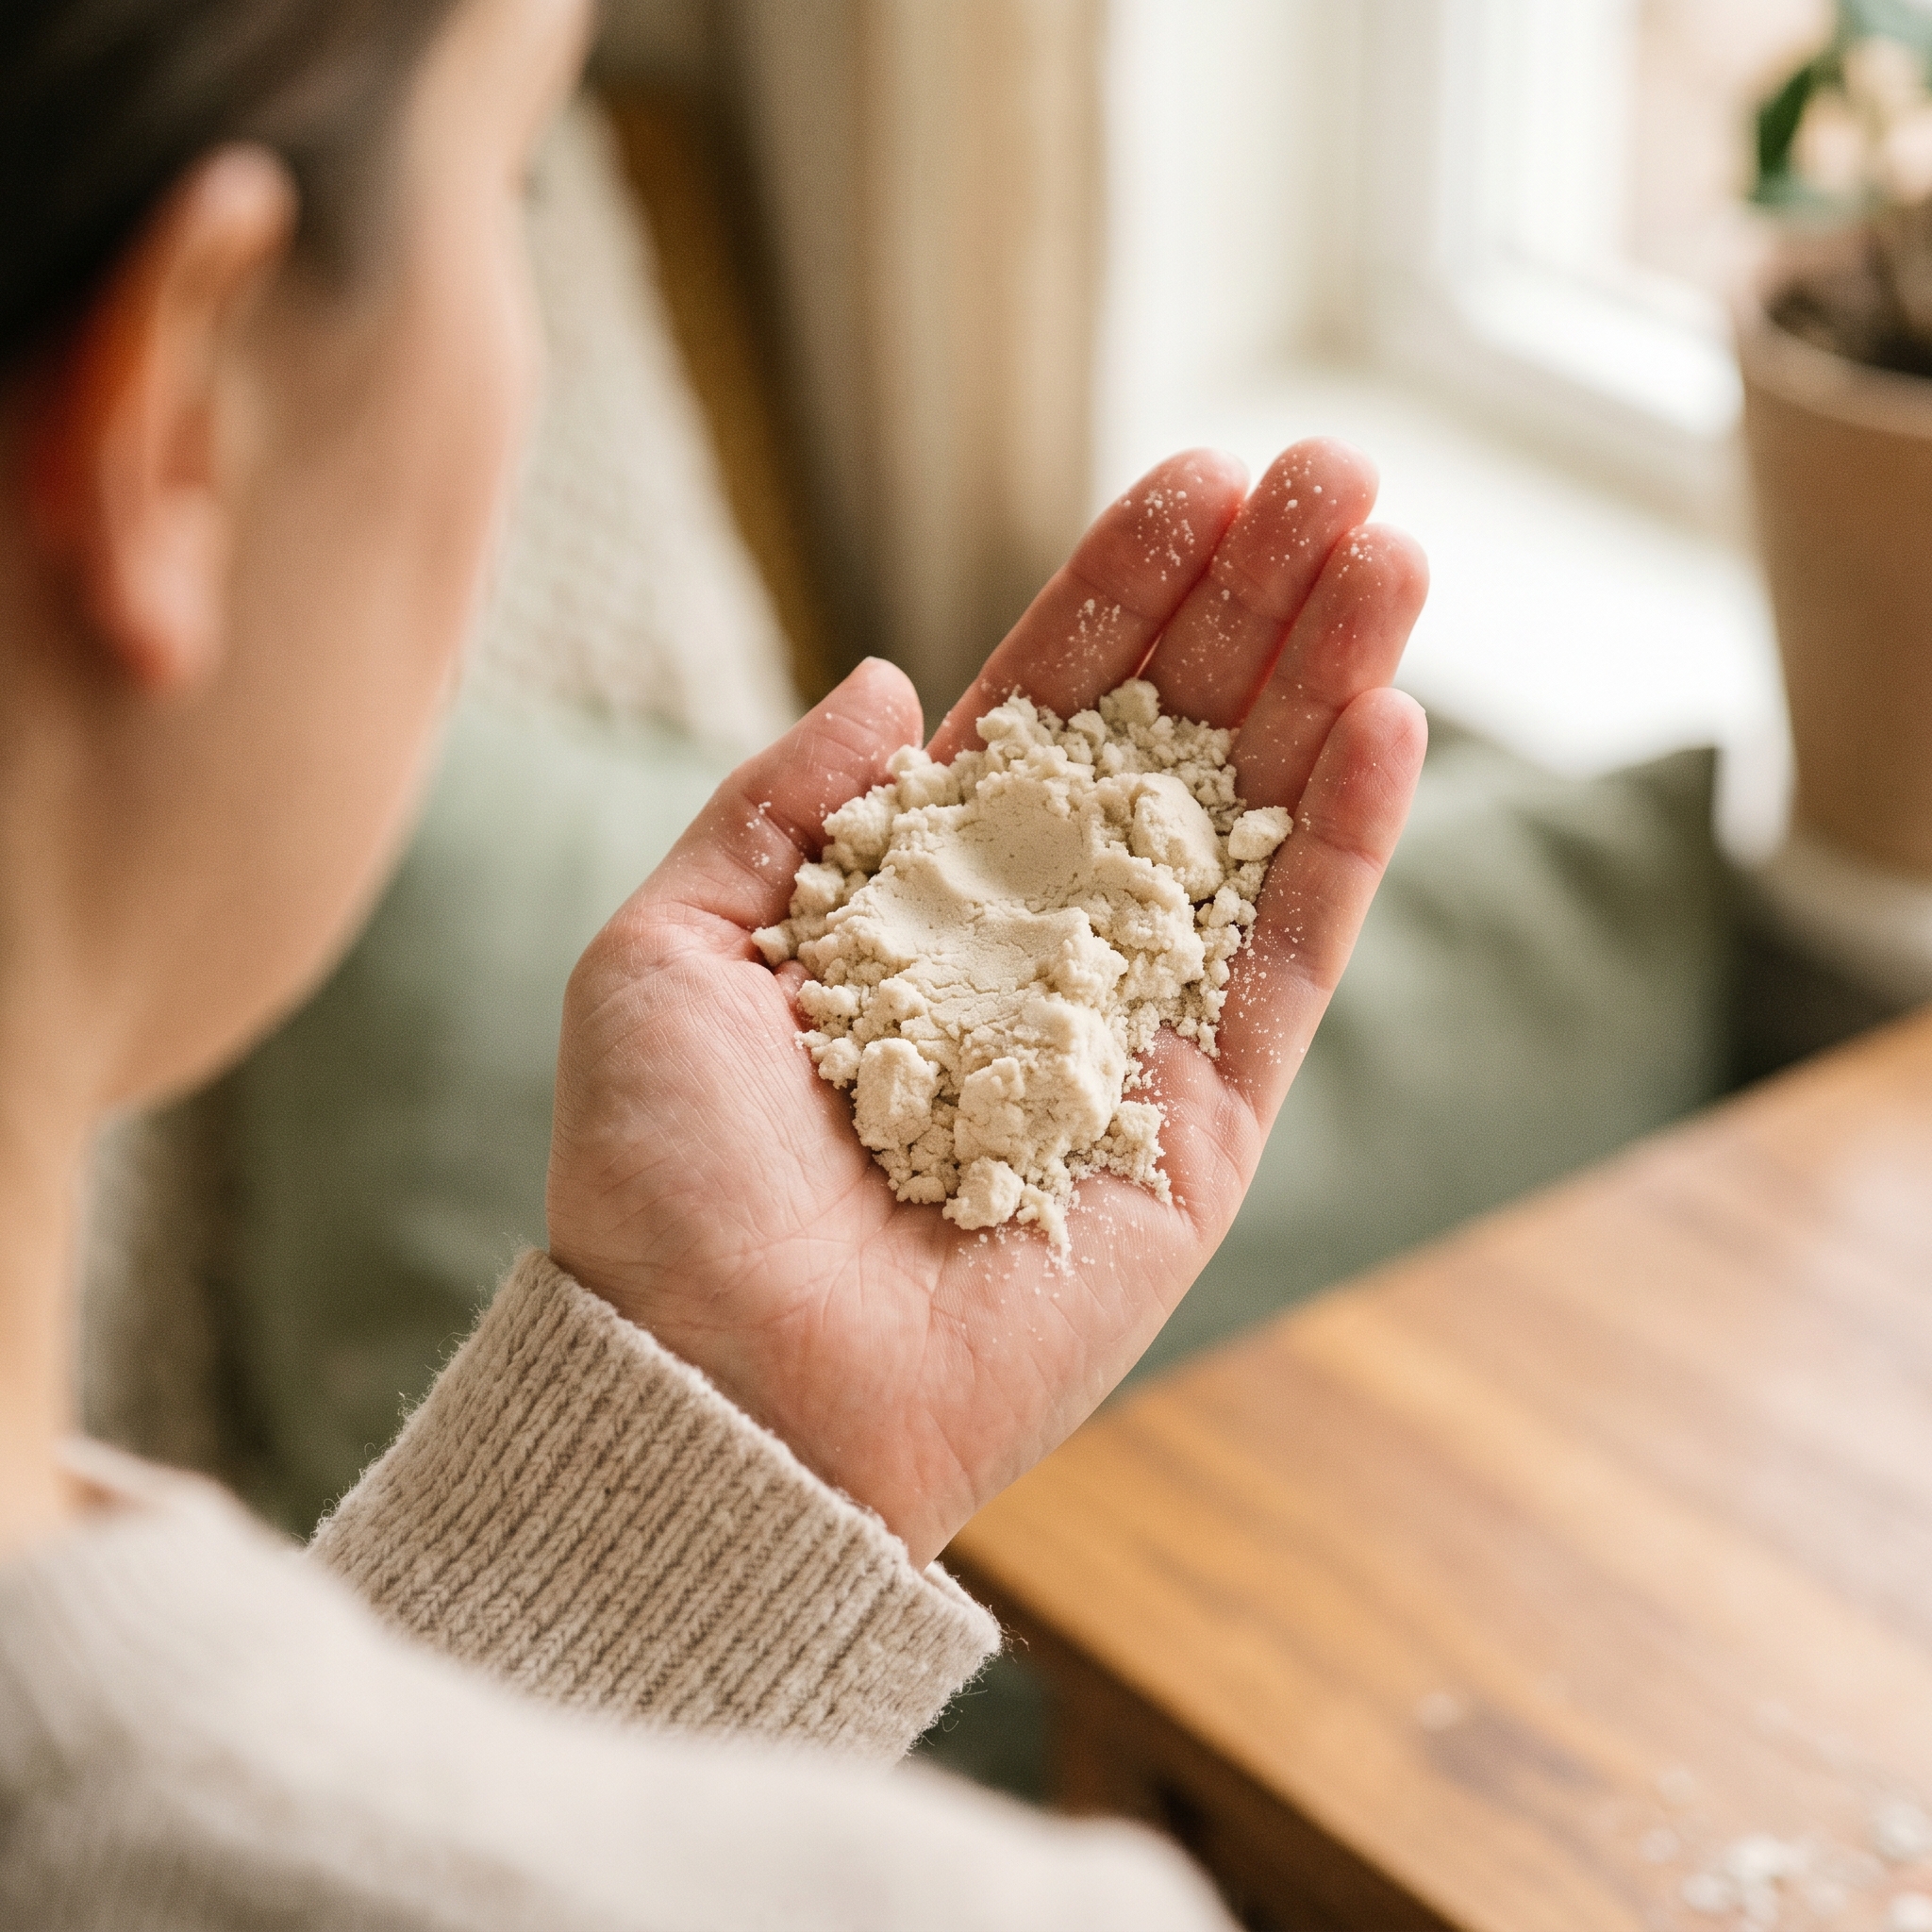
Moon sand is a soft, moldable play material made from flour and baby oil. It holds its shape when squeezed or pressed into a mold, then crumbles back apart, giving kids the feel of damp beach sand without a single grain of real sand.
The science behind why it works is actually pretty cool. When oil coats the flour particles, it creates a hydrophobic-like bond that allows the mixture to hold shape under pressure and release easily once that pressure stops. That’s why it squeezes into a perfect little ball and then falls apart the second your kid opens their hand.
Moon sand goes by a few names. You’ll see it called cloud dough on a lot of older blogs, and both terms refer to the same two-ingredient flour-and-oil recipe. It’s different from kinetic sand, which uses actual sand granules coated in a silicone polymer. DIY moon sand is softer and silkier than kinetic sand recipes that call for real sand granules, and it’s faster and cheaper to make at home.
What You’ll Need
Ingredients
- 4 cups all-purpose flour: plain, not self-raising (self-raising flour contains baking powder and salt, which make the texture gummy)
- ½ cup baby oil: this is the standard ratio, which works out to 8 parts flour to 1 part oil
That ratio (8:1, flour to oil) is your scaling guide. Want to fill a bigger bin? Double it. Making a small test batch first? Cut everything in half. This recipe as written fills roughly a 9×13 baking dish.
If you don’t have baby oil, mineral oil works identically. Melted coconut oil produces a slightly firmer result with a pleasant scent. Avoid olive oil or vegetable oil, both are more prone to turning rancid and developing an odor you won’t want anywhere near your living room floor.
Optional add-ins: 5–10 drops of food coloring (added after mixing), a few drops of lavender or other essential oil for a calming sensory experience.
Tools and Supplies
- Large mixing bowl: the bigger the better for mess containment while you mix
- Measuring cups: standard dry measuring cups
- Wooden spoon (then your hands): hands give you a much better feel for texture than any utensil
- Shallow bin, baking sheet, or 9×13 pan: a plastic storage tote with high sides is the gold standard for keeping stray flour off the floor
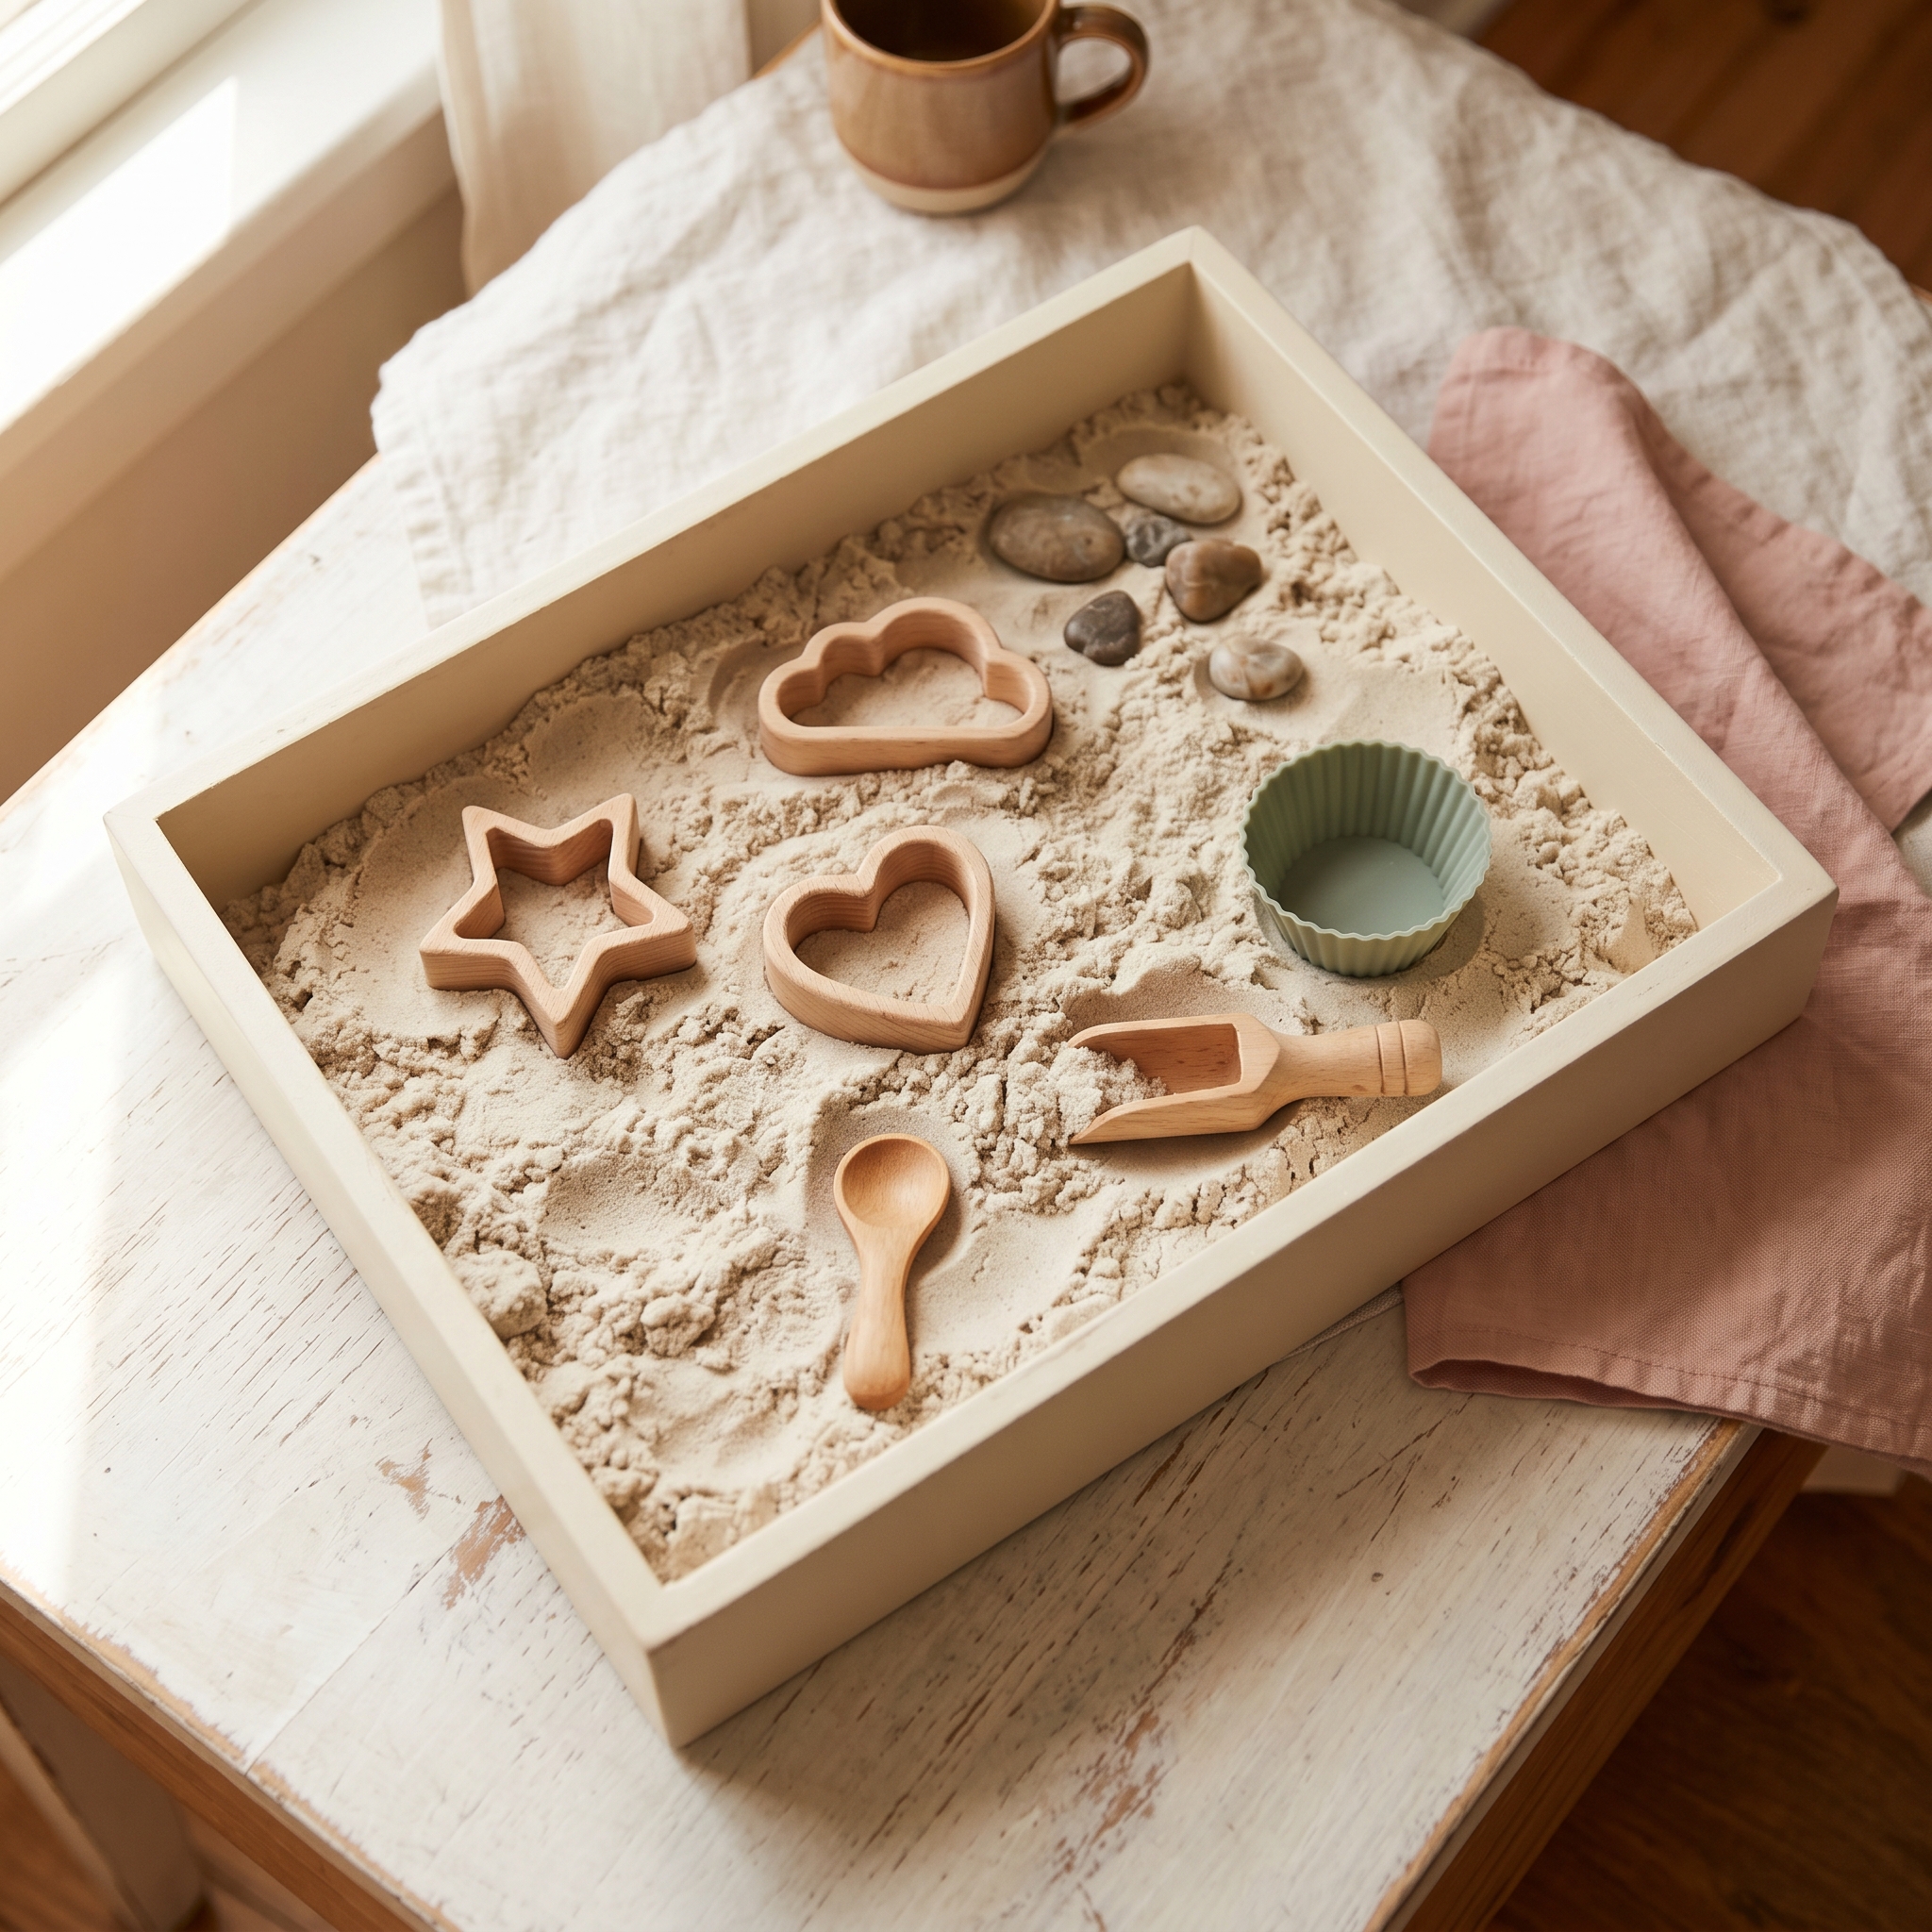
- Optional: small molds, cookie cutters, plastic cups, toy dinosaurs, dump trucks, or anything that scoops and shapes
How to Set It Up
- Measure 4 cups of all-purpose flour into a large mixing bowl. If you have a sifter, run it through before you start, this takes two extra minutes and produces the silkiest result.
- Pour in ¼ cup of baby oil first. Stir with a wooden spoon until it’s partially distributed before adding the remaining ¼ cup. Starting with half lets you feel the texture building and gives you more control.
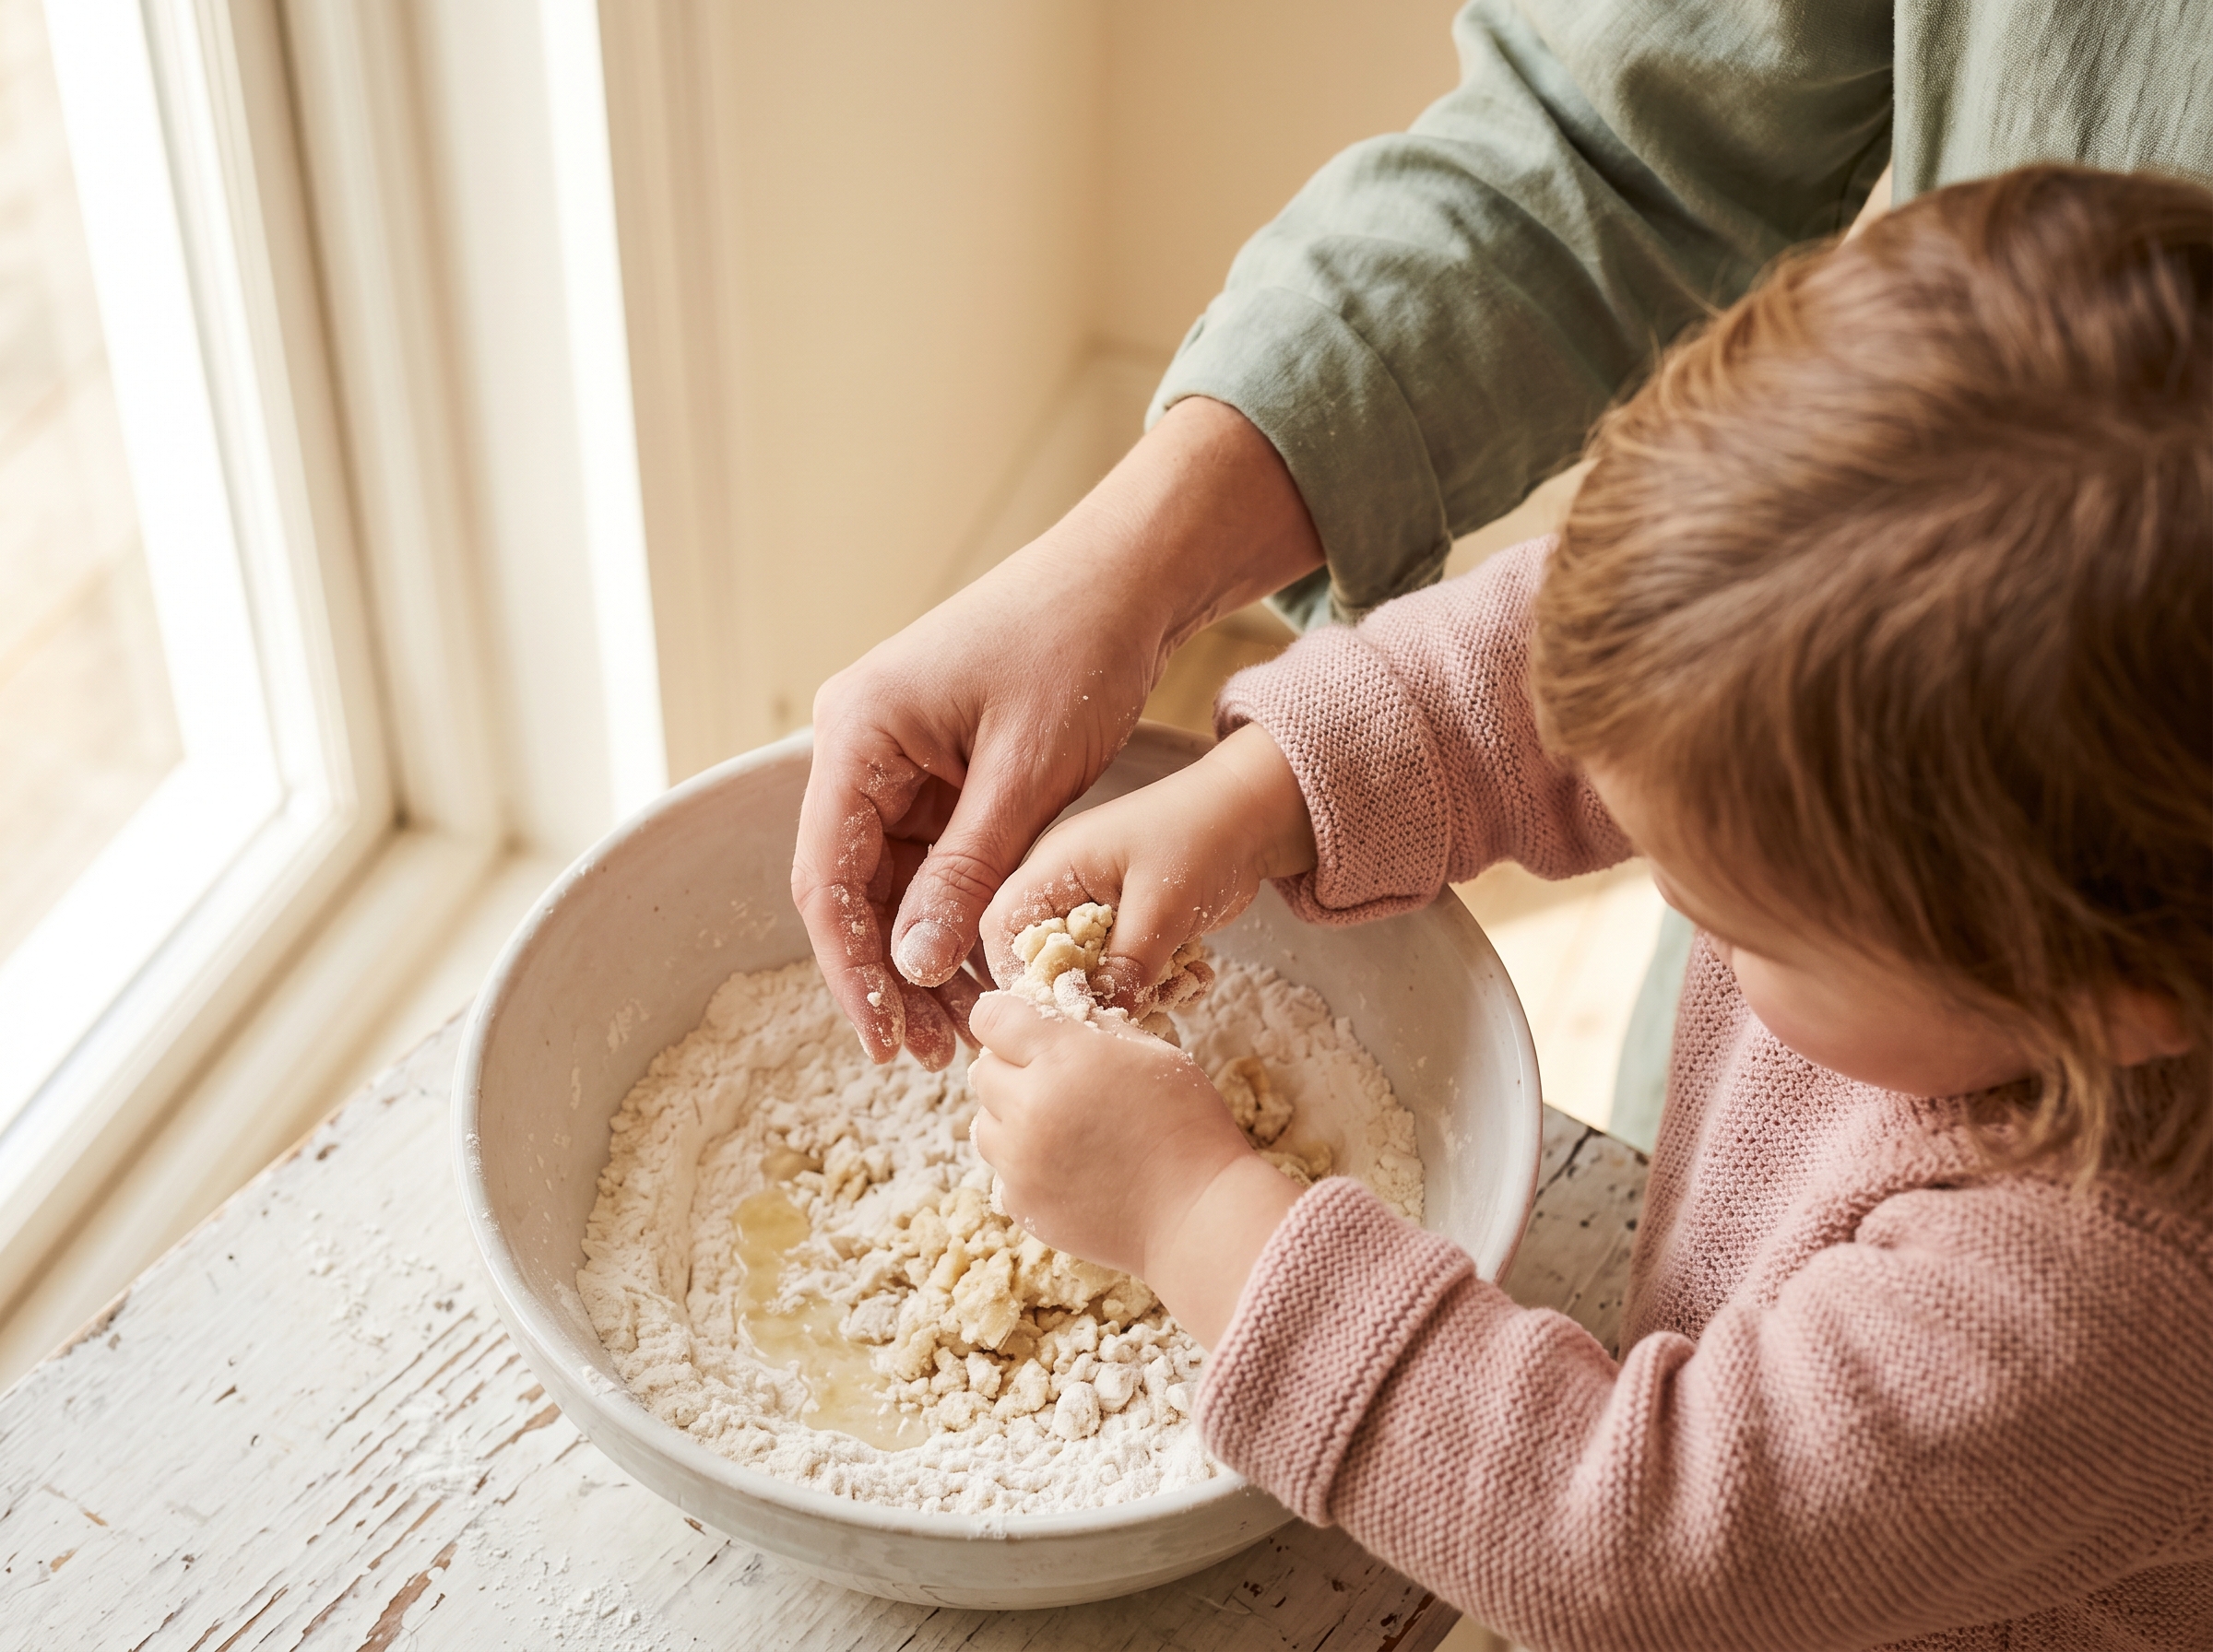
- Once the second pour is in, stir until there are no dry pockets, then set the spoon aside and switch to your hands. Squeeze and knead the mixture for about 2 minutes. This is where the texture really comes together.
- Do the texture test: pinch a handful and squeeze firmly. If it holds a shape for 3–5 seconds before crumbling, you’ve nailed it. If it doesn’t hold at all or sticks to your palm, check the troubleshooting section below.
- If you’re adding color, separate the batch into portions now and work 5–10 drops of food coloring into each one separately. Knead until the color is even throughout.
- Transfer to your shallow bin or baking sheet and hand it over. Play time starts here.
Mixing by hand is faster and more satisfying than using tools. Your kids can help with this step too, especially the squeezing and kneading, which is half the fun before they’ve even started playing.
Troubleshooting Your Moon Sand Recipe
Most moon sand recipes online give you one set of instructions and leave you on your own if something goes wrong. Here’s how to fix the three most common problems.
Moon Sand Is Too Sticky or Wet
Add flour 1 tablespoon at a time, up to 4 extra tablespoons, and re-knead after each addition before deciding if you need more. This usually happens when the oil was measured generously or when you’re working in a humid kitchen. Don’t dump in a big scoop of flour all at once, or you’ll overshoot and end up with the next problem.
Moon Sand Is Too Dry or Crumbly and Won’t Hold Shape
Add baby oil ½ teaspoon at a time, up to 2 extra teaspoons, kneading well between additions. The most common cause is flour that was scooped and packed into the measuring cup instead of spooned in. Packed flour adds significantly more volume than the recipe intends, which throws the ratio off. A light spoon-and-level technique keeps your measurements accurate from the start.
Moon Sand Has Clumps or Uneven Texture
Sifting the flour before mixing prevents most clumping entirely. If you skipped that step and ended up with lumps, keep kneading. Most uneven texture resolves after a solid 2–3 minutes of hands-on mixing. If stubborn clumps remain, break them apart with your fingers and work them back into the mixture.
What Kids Learn (Why This Activity Is Worth It)
I know “sensory play is good for development” sounds like something on a laminated poster at a pediatrician’s office. But with moon sand, the developmental wins are specific and worth knowing about, especially if you’re looking for activities that do double duty.
- Fine motor skills: squeezing, pinching, pressing, and molding strengthen the small hand muscles kids need for writing, particularly in the 2–5 age range
- Cause and effect: kids figure out quickly that pressure changes the shape, and that’s early scientific thinking happening in real time
- Open-ended creativity: there’s no right way to play with moon sand, which encourages kids to direct their own activity rather than follow instructions
- Sensory regulation: the repetitive squeezing motion has a calming, grounding effect, which is part of why this type of play shows up frequently in occupational therapy settings
Age-wise, toddlers (2–3) tend to love the pure sensory experience of squeezing and crumbling without any particular goal. Kids 4–7 get into molds, shapes, and building. Kids 8 and up often want to experiment with color mixing or themed setups. If you’re building out a rotation of toddler learning activities that build early skills, moon sand fits right in alongside other hands-on options.
Child development experts note that sensory play supports the development of nerve connections in the brain and helps children build language and motor skills through exploration.
Fun Ways to Play With Moon Sand
Handing a kid a bin of moon sand and saying “go play” works fine. But if you want to stretch the activity to a full hour (or more), a loose theme gives kids a launching point without locking them in. These three setups use stuff you probably already have.
Space Mission Sensory Bin
Color your moon sand gray or white using a few drops of food coloring. Add small plastic astronauts, a toy rocket or two, and a fork or spoon for crater-making. The “moon” name clicks immediately for kids, and the gray surface looks the part. This setup works well for ages 3–6 and pairs naturally with any space-themed books or shows your kids are into at the moment.
Beach Day in a Box
Leave the moon sand its natural tan color or add the smallest drop of yellow coloring. Add small seashells, toy sea creatures, plastic cups for “sandcastle” building, and a small shovel if you have one. This setup is especially good in winter or early spring when your kids are missing actual beach time. It scratches the sensory itch in a way that’s surprisingly convincing.
Construction Site Play
Color the moon sand brown and add toy dump trucks, small rocks, craft sticks as “lumber,” and plastic figures. Kids who are into vehicle play will stay in this setup for a long time. The moldable texture is perfect for scooping, dumping, and road-building in ways that regular sand or playdough don’t quite deliver. For more indoor toddler activities that hold attention on rainy days, pairing this with a simple block-building station nearby extends the whole session.
How to Store Moon Sand and Shelf Life
One of the biggest advantages of homemade moon sand over store-bought kinetic sand is that a batch you make today can last for weeks with almost no effort on your end.
- Best container: an airtight zip-top bag or sealed plastic container keeps moon sand fresh for up to 4 weeks at room temperature
- Skip the fridge: cold temperatures stiffen the oil and change the texture; if the moon sand has been stored somewhere cool, let it sit at room temperature for about 15 minutes before playing
- Reviving dried-out moon sand: add ½ teaspoon of baby oil and knead for 1–2 minutes; this restores the texture in most cases
- When to toss it: if it develops an off smell or any visible discoloration, make a fresh batch (it costs less than $2, so there’s no reason to push it)
- Label the container: moon sand is not edible and should be stored clearly labeled and out of reach of children under 2
Writing the date on the bag when you make it is a small habit that saves you from the “is this still good?” guessing game three weeks later.
Frequently Asked Questions
Can you use self-raising flour to make moon sand?
No. Self-raising flour contains baking powder and salt, which change the texture and can make the result gummy and unpleasant to handle. Stick with plain all-purpose flour for consistent results every time.
How do you make moon sand without baby oil?
Swap in an equal amount of mineral oil for a nearly identical result. Melted coconut oil also works and adds a pleasant scent, though it produces a slightly firmer texture. Avoid olive oil or vegetable oil, both are more prone to turning rancid and developing an odor that makes the whole batch unusable.
What’s the difference between moon sand and kinetic sand?
Moon sand uses flour as its base, giving it a softer, silkier feel. Store-bought kinetic sand uses actual sand granules coated in a silicone polymer, which makes it heavier and more cohesive. Both are satisfying to play with. DIY moon sand just costs a fraction of the price and takes under 5 minutes to make.
How do you make moon sand without it getting everywhere?
Play in a shallow bin with high sides, like a plastic storage tote, or spread a vinyl tablecloth under the play area before you start. If stray moon sand lands on a hard floor, it vacuums or sweeps up easily without smearing. It doesn’t behave like playdough on carpet, but keeping it contained in a bin makes cleanup minimal.
Is moon sand safe for toddlers?
Moon sand made with flour and baby oil is non-toxic, but it’s not edible and shouldn’t be used with children who mouth objects. Always supervise toddlers during sensory play. Keeping non-food materials like moon sand clearly labeled and out of reach of young children is the most important precaution. For babies or heavy mouthers, consider a taste-safe version using cornstarch and melted coconut oil instead of flour and baby oil.


