
No-Mess Painting for Kids (Toddler-Approved)
No-mess painting for kids uses sealed bags, special paper, foam rollers, or washable paint on contained surfaces so toddlers can explore color and texture without staining clothes, furniture, or walls.
Last updated: June 2026
Quick Answer: No-Mess Painting for Kids
No-mess painting for kids gives toddlers the full sensory and creative benefit of traditional painting with little to no cleanup involved. The key is choosing a technique that contains the paint before anyone picks up a brush. Sealed Ziploc bags, Color Wonder paper, dot markers, and foam rollers on taped-down cardstock all deliver real creative exploration without the paint-soaked aftermath most parents dread.
You don’t have to choose between creativity and a clean house. With the right setup, both are completely possible.
Best For: 12 months to 6 years (technique-specific notes below)
Prep Time: 3 to 5 minutes | Activity Time: 15 to 30 minutes
The myth worth busting here? That “mess-free” means watered-down fun. It doesn’t. The techniques below give toddlers just as much sensory input, color mixing, and creative satisfaction as a full-blown paint-the-kitchen situation. The difference is that your couch survives.
What You’ll Need
Most of these techniques share a core supply list you can grab in one Target run. Here’s what to keep stocked:
- Washable, non-toxic tempera paint: Crayola Washable Tempera and Colorations Washable Tempera are the most widely used US options for toddlers. Both wash out of cotton clothing when caught wet.
- Gallon-size Ziploc freezer bags: Freezer bags seal significantly tighter than standard storage bags. That distinction matters when a determined two-year-old is pressing with both fists.
- Cardstock or white cardboard: Heavier than printer paper so it doesn’t buckle. Half-sheets work well for small workspaces.
- Foam rollers or chunky toddler paintbrushes: Look for handles at least 5 inches long for small-grip control. Fat foam rollers also double as a great gross-motor tool.
- Painter’s tape or binder clips: For securing paper or bags to the table surface so they don’t slide.
- Dollar-store plastic tablecloth or old shower curtain liner: Under $2 and it protects your floor or table completely. Worth keeping a stack on hand.
Optional upgrades:
- Crayola Color Wonder paper and markers: Zero-prep, zero mess. Paint and markers only show on the special paper.
- Dot markers (Do-a-Dot daubers): Rounded foam tips mean stamping instead of brushing, which dramatically cuts drips.
- Sponge shapes or cut vegetables: Potato halves and celery bottoms make surprisingly satisfying stamps.
5 No-Mess Painting Techniques (Ranked by Mess Risk)
Each technique below gets a Mess Risk Rating out of 5 paint palettes (5 being the most potential for chaos, 1 being contained). It’s a quick way to match the activity to your day, your setting, and your personal tolerance.
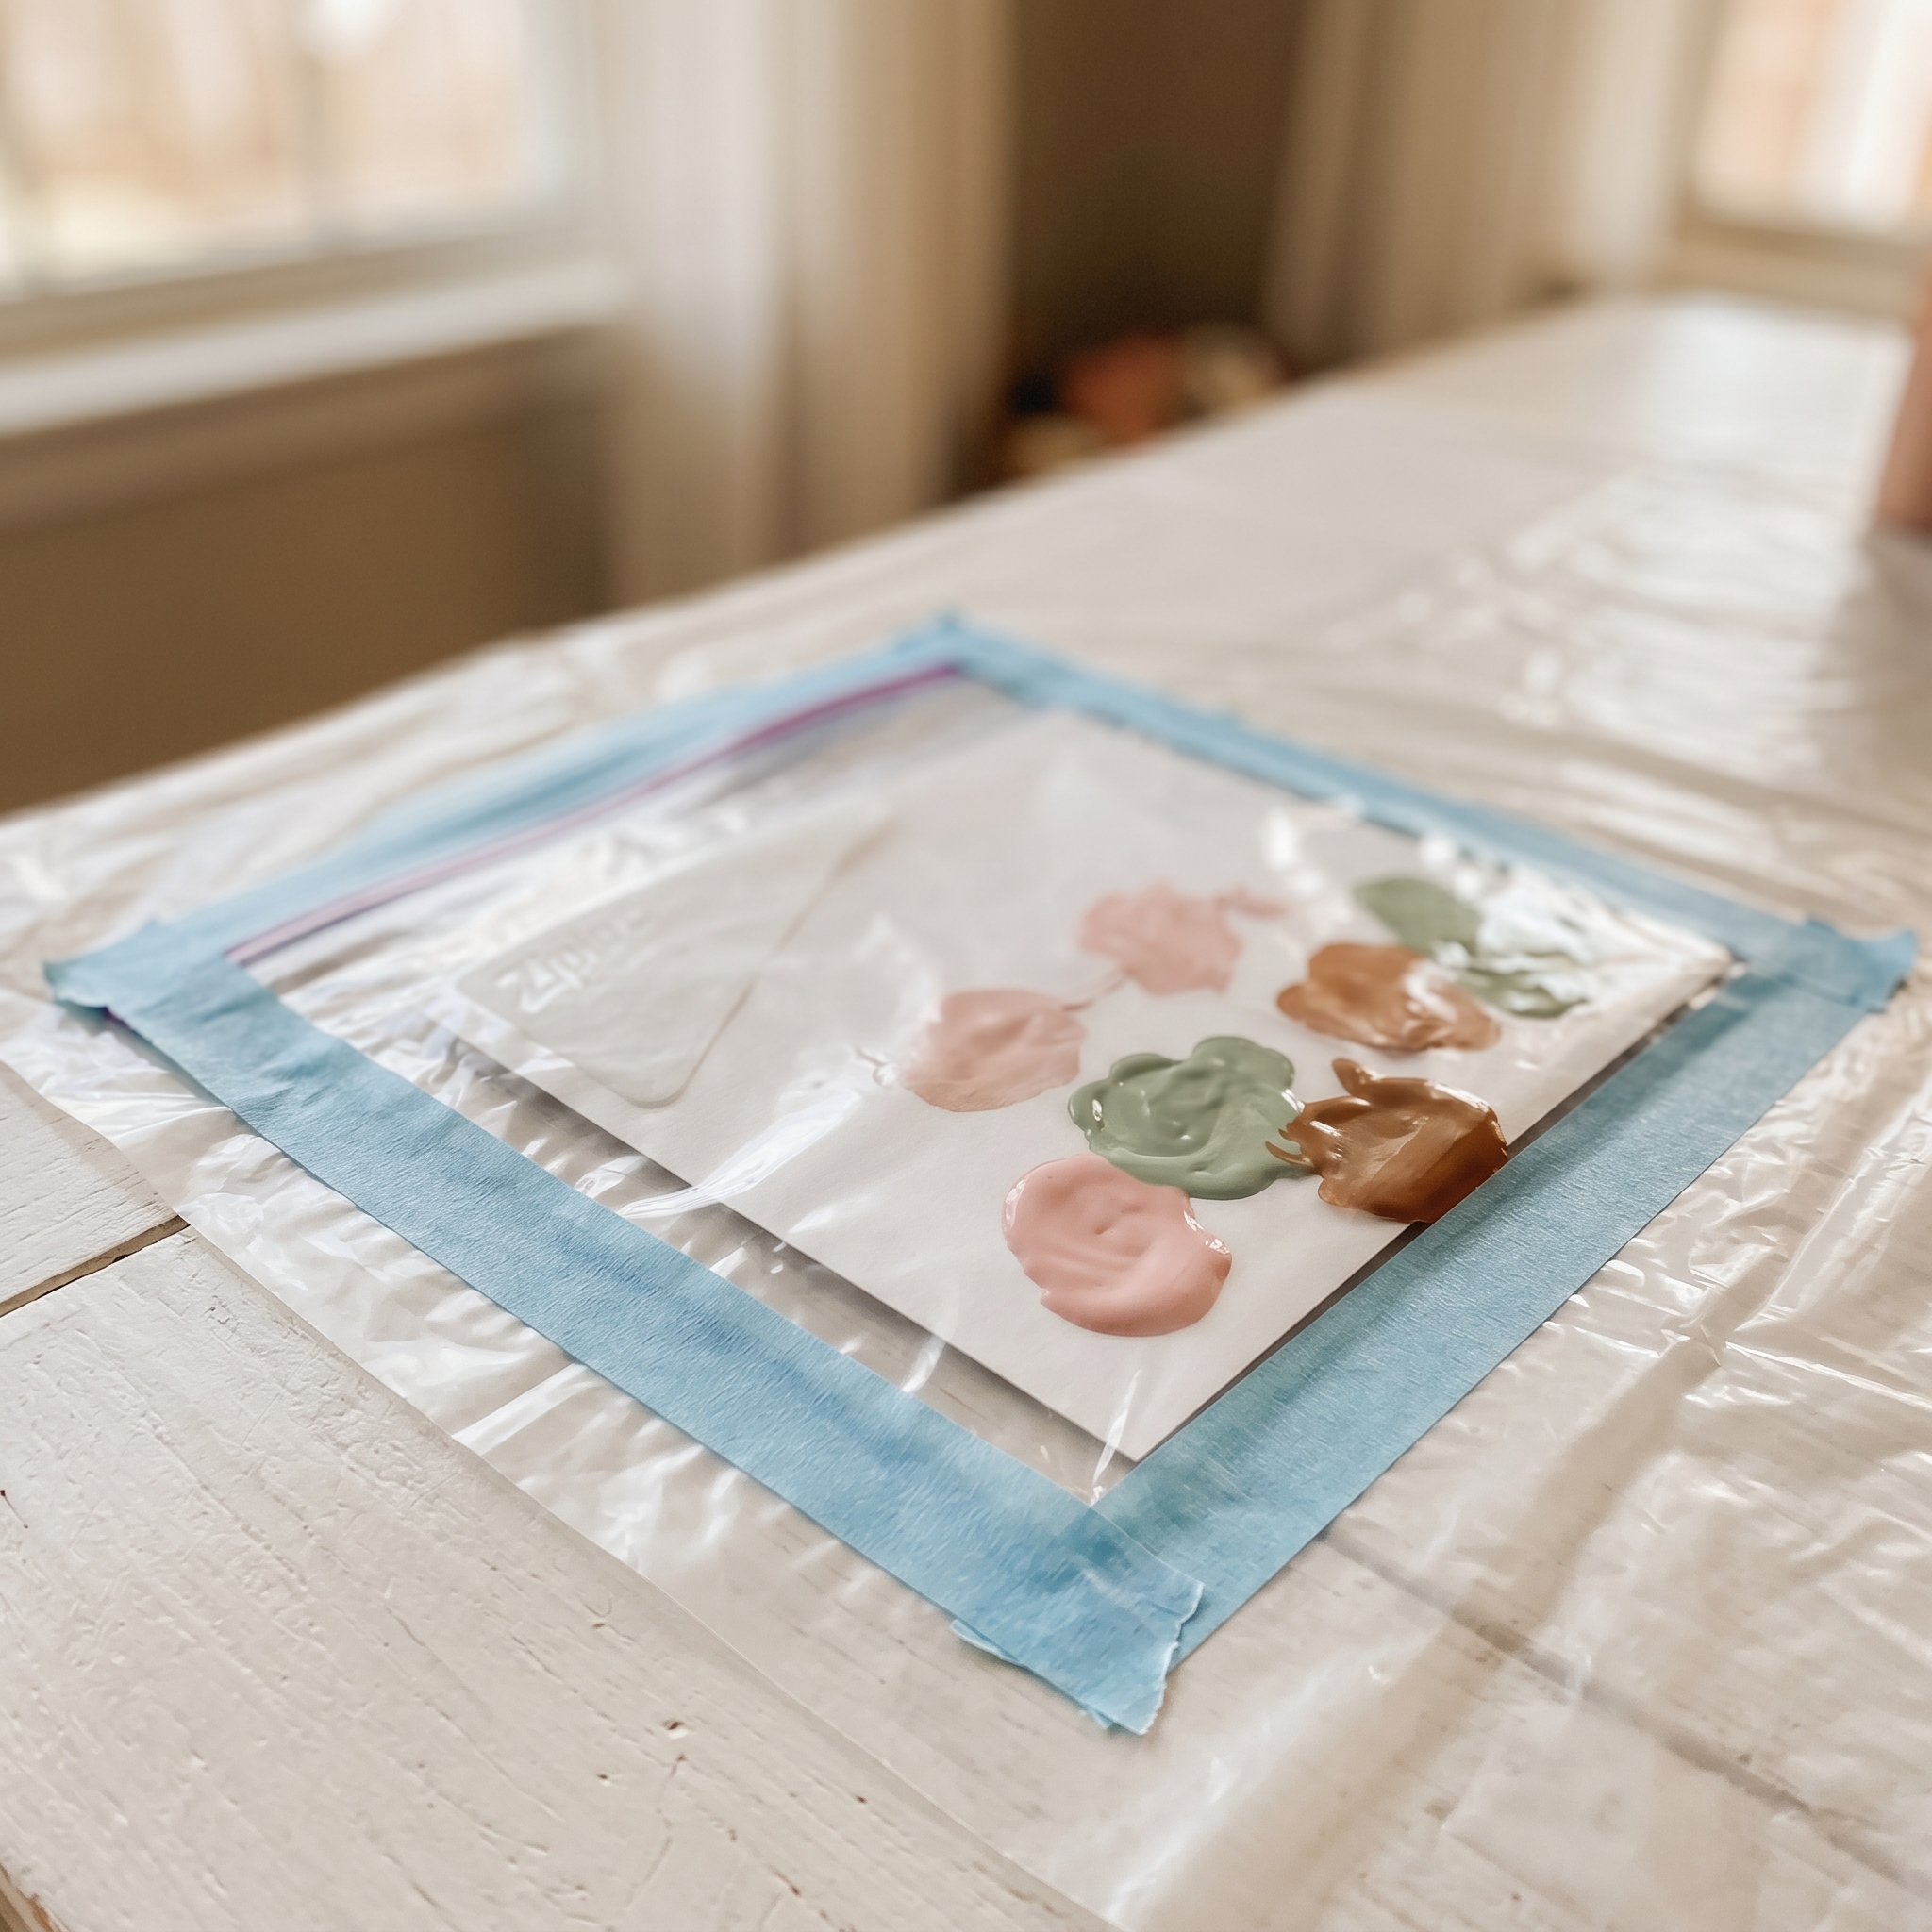
1. Ziploc Bag Painting (Mess Risk: 🎨 out of 5)
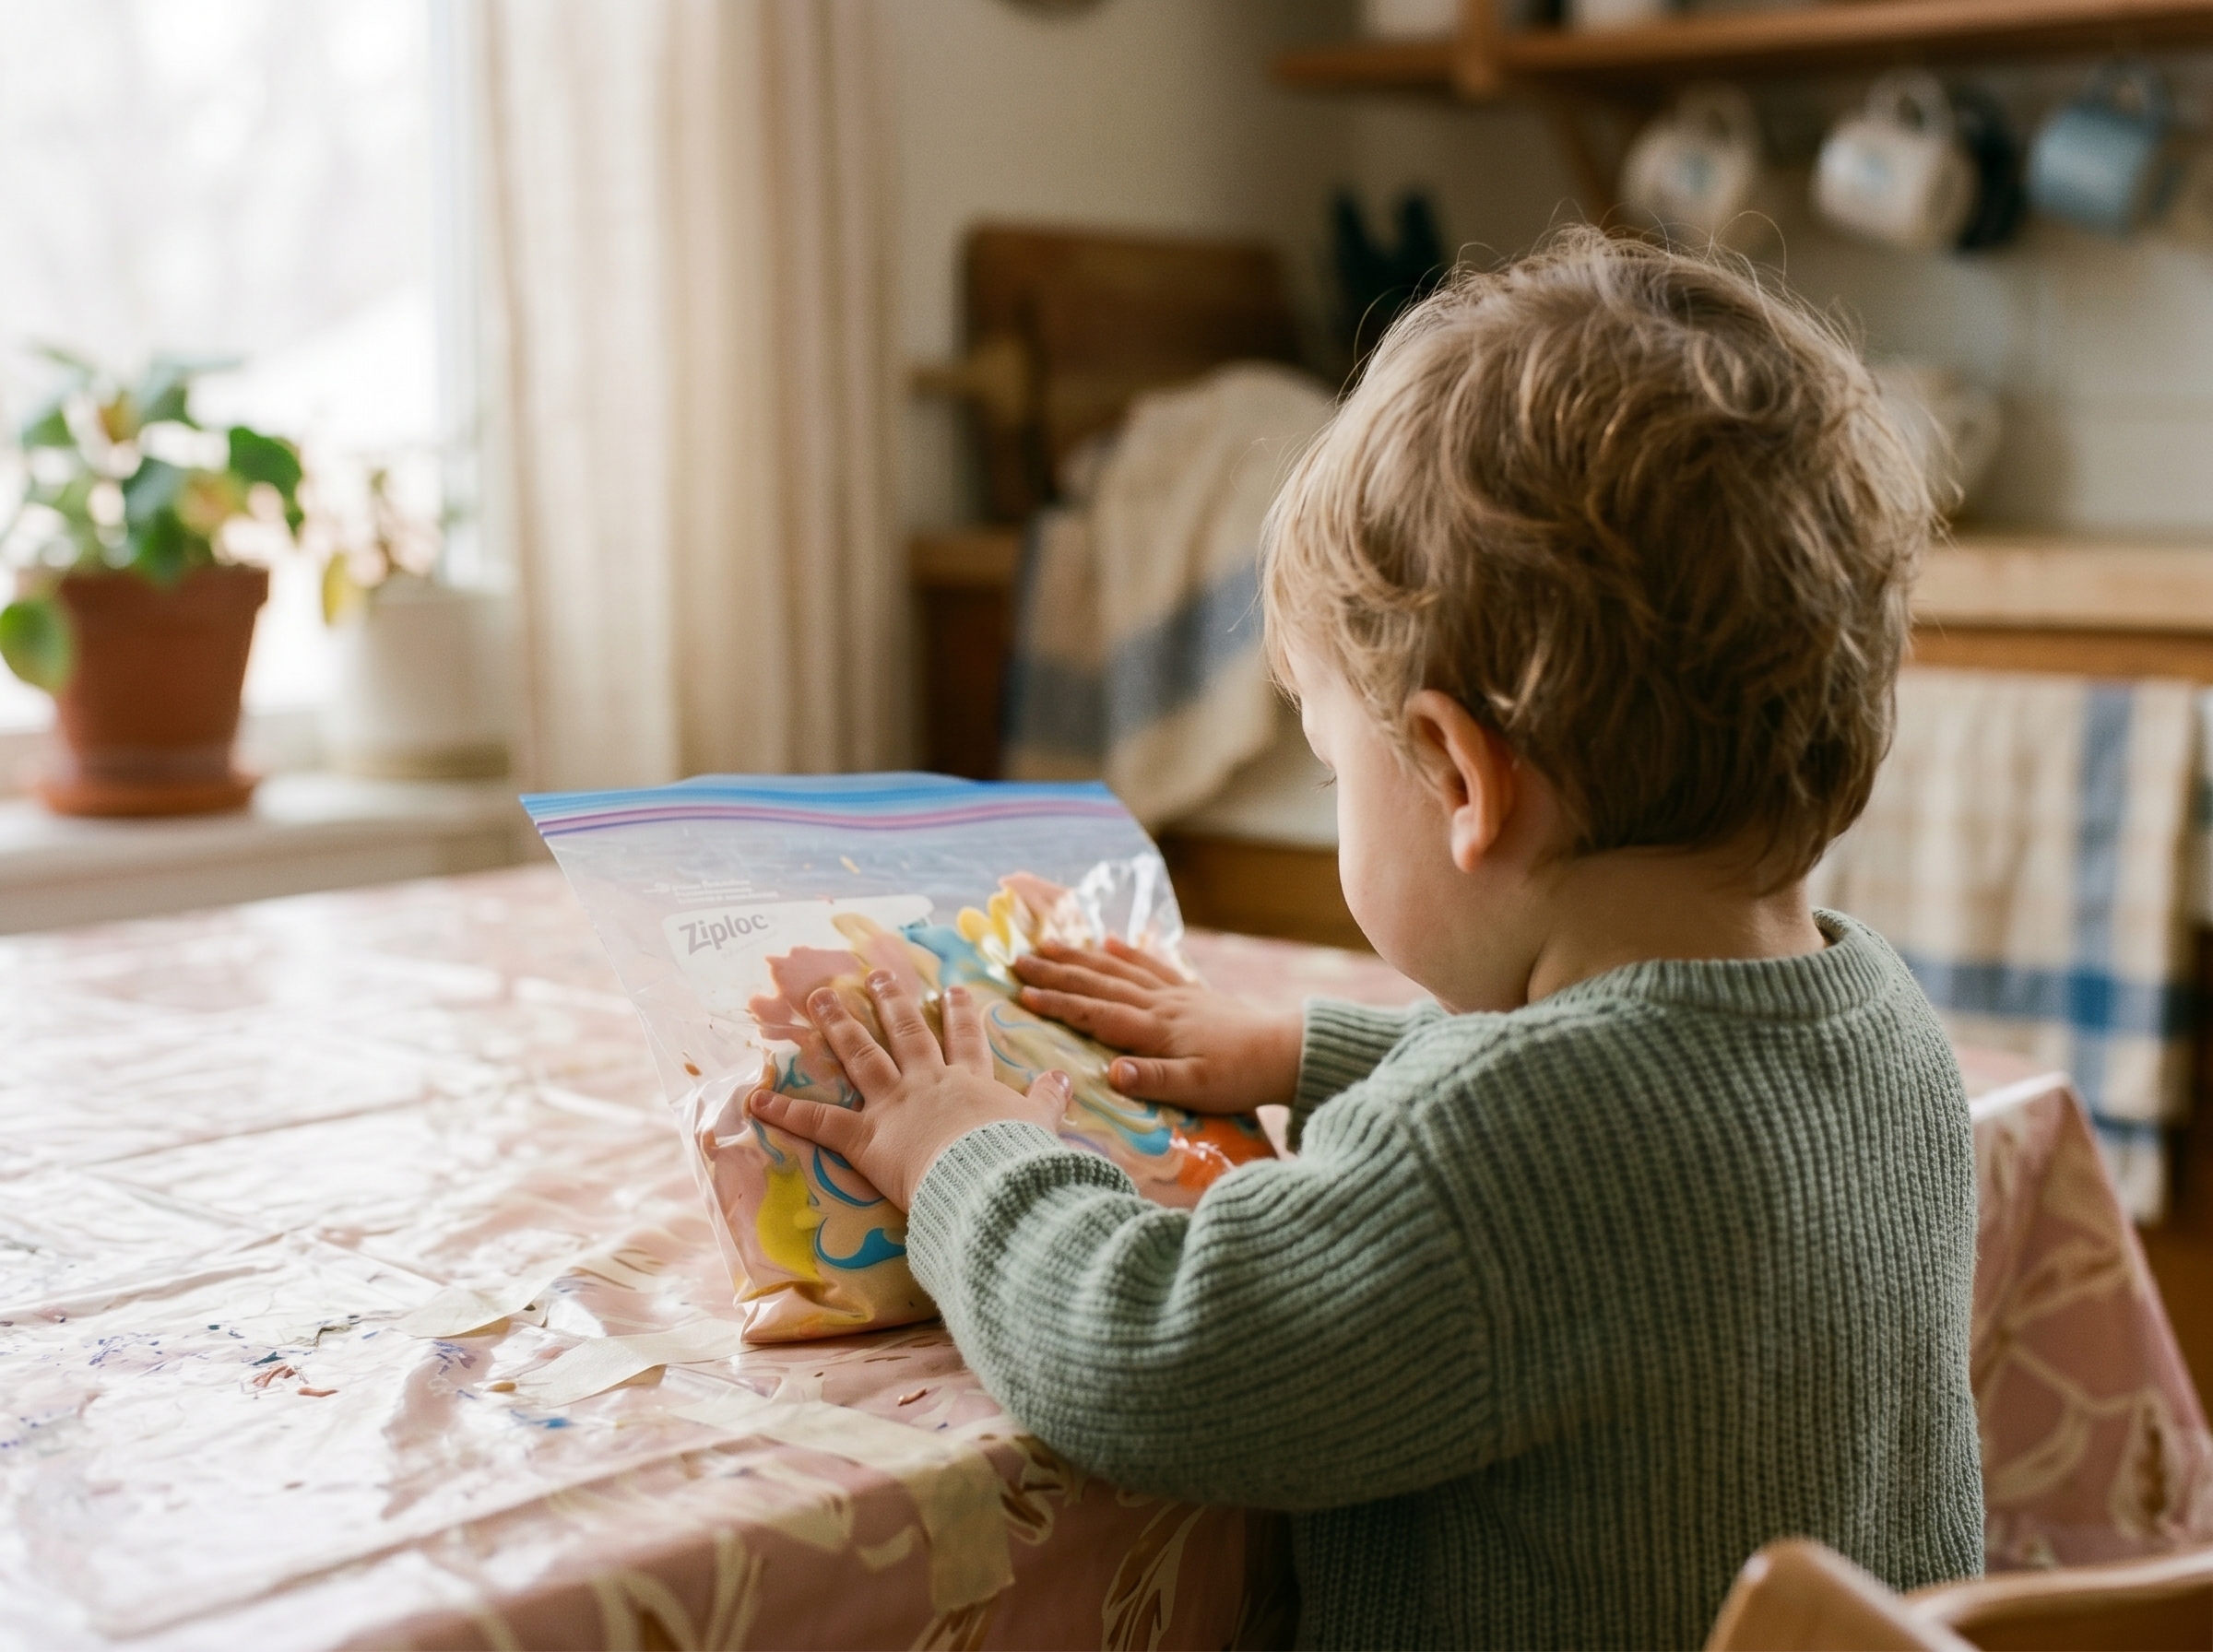
This is the one I reach for with younger toddlers every single time. Squirt 2 to 3 colors of tempera paint inside a gallon freezer bag, slip a piece of white cardstock inside before sealing, then tape over the zipper and along all four edges. Kids press, swirl, and mix with their fingers on the outside of the bag. Zero paint touches skin.
Stick the whole bag to a light table, a sunny window, or the floor with painter’s tape. That keeps it stable for kids who are still working on fine motor control. When they’re done, pull out the cardstock and you’ve got a finished painting inside the bag.
Age note: This works from 12 months up. Even if a determined baby manages to chew a corner, washable tempera is non-toxic. Always stay within arm’s reach during bag painting, both for the paint and because sealed plastic is never something to leave a baby alone with.
2. Crayola Color Wonder Sets (Mess Risk: 🎨 out of 5)
Color Wonder markers and paint are invisible on anything except the proprietary Color Wonder paper. Skin, clothes, furniture, the dog. Nothing shows. The Color Wonder Magic Light Brush is a popular pick for younger kids since the light-up tip adds an extra layer of engagement.
This is the one I’d recommend for travel or situations where you cannot have any mess at all, like a hotel room or grandma’s white-carpet house. The ongoing cost of proprietary paper is real, but for mess free painting with toddlers in high-stakes environments, it’s worth every cent.
Age note: Best from 18 months to 4 years. Small enough to toss in a diaper bag.
3. Dot Marker Painting (Mess Risk: 🎨🎨 out of 5)
Dot markers (also called Do-a-Dot daubers) have a rounded foam tip that kids press onto paper to stamp rather than brush. That single change eliminates drips, flicks, and the chaotic arm-sweeping that ends with paint on the ceiling.
They work especially well with printable coloring sheets and letter-tracing pages, which makes them pull double duty for no mess art for toddlers who are starting to recognize shapes and letters. The chunky dauber shape is also easier for toddlers to grip before fine motor skills are fully developed.
Age note: 18 months and up. Pair with large paper for younger kids who are still working on aim.
4. Foam Roller on Taped-Down Paper (Mess Risk: 🎨🎨 out of 5)
Pour a small amount of paint into a rimmed baking tray, load up the foam roller, and let kids roll back and forth across cardstock or butcher paper taped to a plastic tablecloth on the floor. The wide, satisfying coverage keeps toddlers engaged longer than brushes, and the rolling motion is a great gross-motor activity.
This is one of my favorite options for sensory painting because the pressure and resistance of the roller gives kids real tactile input. That kind of sensory-rich play is widely recognized for supporting self-regulation and cognitive development in the toddler and preschool years, and this technique delivers it without the open-cup mess of traditional finger painting.
Age note: Best for ages 2 to 5. Younger toddlers may mouth the roller, so supervise closely and rinse it off if that happens.
5. Sponge Stamping in a Baking Tray (Mess Risk: 🎨🎨🎨 out of 5)
Pour a shallow pool of paint into a rimmed baking sheet or cafeteria tray, then hand over sponge shapes for kids to press and stamp. The tray walls catch every drip and runoff. Cleanup is wiping the tray and rinsing the sponges, which takes about 30 seconds.
Add cut-vegetable stamps (a halved potato, a celery base, a bell pepper cross-section) for seasonal variety or simple science conversation. This one edges up to a 3 on the mess scale only because transferring a loaded sponge from tray to paper involves some travel, and toddlers don’t always take the direct route.
Age note: 2 years and up. Great for kids who are past the mouthing stage and ready to make more intentional prints.
How to Set It Up
The biggest mistake I see is setting up after the kids arrive. Do the prep first. Every single time.
- Pick your technique first. Match the method to your child’s age, your surface tolerance, and your actual available time. Five-minute setup? Go with Ziploc bag painting. Two minutes? Grab the Color Wonder kit.
- Lay your containment layer. Spread a dollar-store plastic tablecloth or old shower curtain liner under the work area. Tape the corners with painter’s tape so it doesn’t slide while small feet shuffle around it.
- Pre-pour your paint. Squeeze paint into a muffin tin or ice cube tray before anyone sees it. Limit yourself to 3 to 4 colors. More than that and you’ll spend the session watching everything turn brown.
- Dress for success. Smock, old onesie, or strip them down to a diaper. Make this decision before the paint comes out, not after.
- Set up your cleanup station. A stack of damp paper towels and a small bucket of soapy water within arm’s reach. The goal is to never leave the table mid-session.
- Tape the paper down. Use 4 pieces of painter’s tape to anchor paper or your Ziploc bag to the surface. Sliding paper is one of the fastest ways to frustrate a toddler and end the activity early.
- Set a mental timer. Most toddlers between 12 months and 3 years stay engaged for 10 to 20 minutes. Plan around their attention span, not yours. Ending on a high note beats pushing past it.
What Kids Actually Learn From No-Mess Painting
If you’ve ever had to explain to a skeptical partner or grandparent why you’re letting a toddler squish paint bags on the kitchen floor, here’s the language to use. These activities aren’t just fun. They’re doing real developmental work.
- Fine motor development: Gripping a dauber, pressing a sponge, and pinching a foam roller all build the hand muscles children need for pencil grip, which typically develops between ages 3 and 5.
- Color theory foundations: Mixing colors inside a Ziploc bag teaches cause-and-effect in a hands-on way. Blue plus yellow equals green, and toddlers figure that out faster than you’d expect when they can see it happening under their fingers.
- Sensory processing: Squishing paint through a plastic bag provides tactile input that helps regulate toddlers who seek sensory stimulation. It’s one of the reasons sensory painting tends to calm kids down rather than wind them up.
- Focus and patience: Even 10 to 15 minutes of sustained creative play contributes to building attention span in the 2 to 4 age range.
- Emotional expression: Open-ended art with no “right” way to do it builds early confidence and reduces perfectionism before it takes root.
If you’re looking for more ways to build those same skills during the week, toddler learning activities that use everyday household items are a great complement to a painting day. Many of them take just as little setup.
By Age: Which Technique Works Best When
Toddler art guides tend to write for “toddlers” as one big group. In practice, a 14-month-old and a 4-year-old are having completely different experiences. Here’s a quick breakdown:
| Age | Best Technique | Why |
|---|---|---|
| 12 to 18 months | Ziploc bag painting | Zero ingestion risk; builds visual tracking and cause-and-effect |
| 18 to 24 months | Dot markers on large paper | Easy to grip; instant satisfying result with minimal technique required |
| 2 to 3 years | Foam roller or sponge stamps | Gross motor engagement; loves repetition and large coverage |
| 3 to 5 years | Color Wonder sets or baking tray stamping | Ready for more intentional output; proud of the finished product |
| 5 to 6 years | Any of the above plus simple stencils | Beginning to self-regulate; ready for guided projects and layering |
That said, a 4-year-old will still love Ziploc bag painting. Age ranges are a starting point, not a rule.

What to Do With the Finished Art (Don’t Skip This Part)
This is the part no one talks about, and it’s a real problem. You do a great contained painting session and end up with 12 pieces of art by Thursday. Here’s how to handle it without guilt or clutter.
- Display a rotating gallery: Clip a tension rod inside a kitchen cabinet or across a blank wall, then hang paintings with binder clips. Swap weekly. The whole setup costs under $5.
- Photograph and release: Snap a photo before recycling. Apps like Artkive let you compile a digital art book by year so nothing feels lost.
- Turn it into wrapping paper: A foam-roller painting on butcher paper makes unique birthday wrap. Kids love seeing their art used for something real.
- Fold it into a card: Fold a painting in half and write a message inside. Instant grandmother-worthy greeting card with zero craft supply budget.
- Keep a yearly portfolio folder: One large manila envelope per year, labeled with the child’s age. Keep 3 to 5 pieces. Let the rest go. You won’t regret this system.
If your toddler enjoys this kind of hands-on, low-mess creating, the button heart craft is another simple project that turns a few buttons and a piece of cardstock into a textured keepsake worth saving.
On rainy days when you want to mix painting with other activities, indoor toddler activities that rotate every 30 to 45 minutes pair well with a short painting session so kids don’t hit the boredom wall mid-afternoon.
Frequently Asked Questions About No-Mess Painting for Kids
How do you paint with toddlers without making a mess?
Start with a containment method before any paint comes out. A sealed Ziploc bag, Color Wonder paper, or a rimmed baking tray are your lowest-mess starting points. Lay a plastic tablecloth under the work area, pre-pour paint into a muffin tin, and have a damp cloth cleanup station within reach before calling your toddler over. Setup is the whole game.
Is Ziploc bag painting safe for babies and toddlers?
Yes, with a few precautions. Use non-toxic, washable tempera paint and reinforce the seal with tape along all four edges. Choose freezer bags over standard storage bags since they have a stronger zipper seal. Supervise at all times, and never leave a baby alone with a plastic bag. Even if a baby manages to bite through a corner, washable tempera paint is non-toxic, but you’ll still want to swap the bag out.
What is the best mess-free painting for a 1-year-old?
Ziploc bag painting is the top pick for 12 to 18 months. At this age, the goal is sensory exploration rather than a finished product, and the sealed bag lets babies press, swirl, and watch colors mix without any paint touching their skin. A Color Wonder baby kit is a close second for even lower-stakes situations.
What paint is washable for kids’ clothes and furniture?
Crayola Washable Tempera and Colorations Washable Tempera are the most widely recommended US options that wash out of cotton clothing and wipe off most hard surfaces when caught while still wet. No paint is guaranteed on upholstery or carpet once it dries fully, which is exactly why containment setup matters far more than the brand you buy.
How long does a no-mess painting activity take for toddlers?
Prep runs about 3 to 5 minutes if you have your supplies ready. Most toddlers between 12 months and 3 years stay engaged for 10 to 20 minutes. Kids ages 3 to 6 can stretch to 30 minutes or more, especially with stamps or multiple techniques. Cleanup for a contained setup, like a Ziploc bag session or Color Wonder kit, takes under 2 minutes.


