
Spring Cleaning Tips That Actually Stick
Spring cleaning is the annual deep-cleaning practice of tackling dirt, clutter, and neglected areas of the home, typically done in late winter or early spring to reset the home after months of being closed up indoors.
Last updated: June 2026
Quick Answer: Spring Cleaning Tips That Work
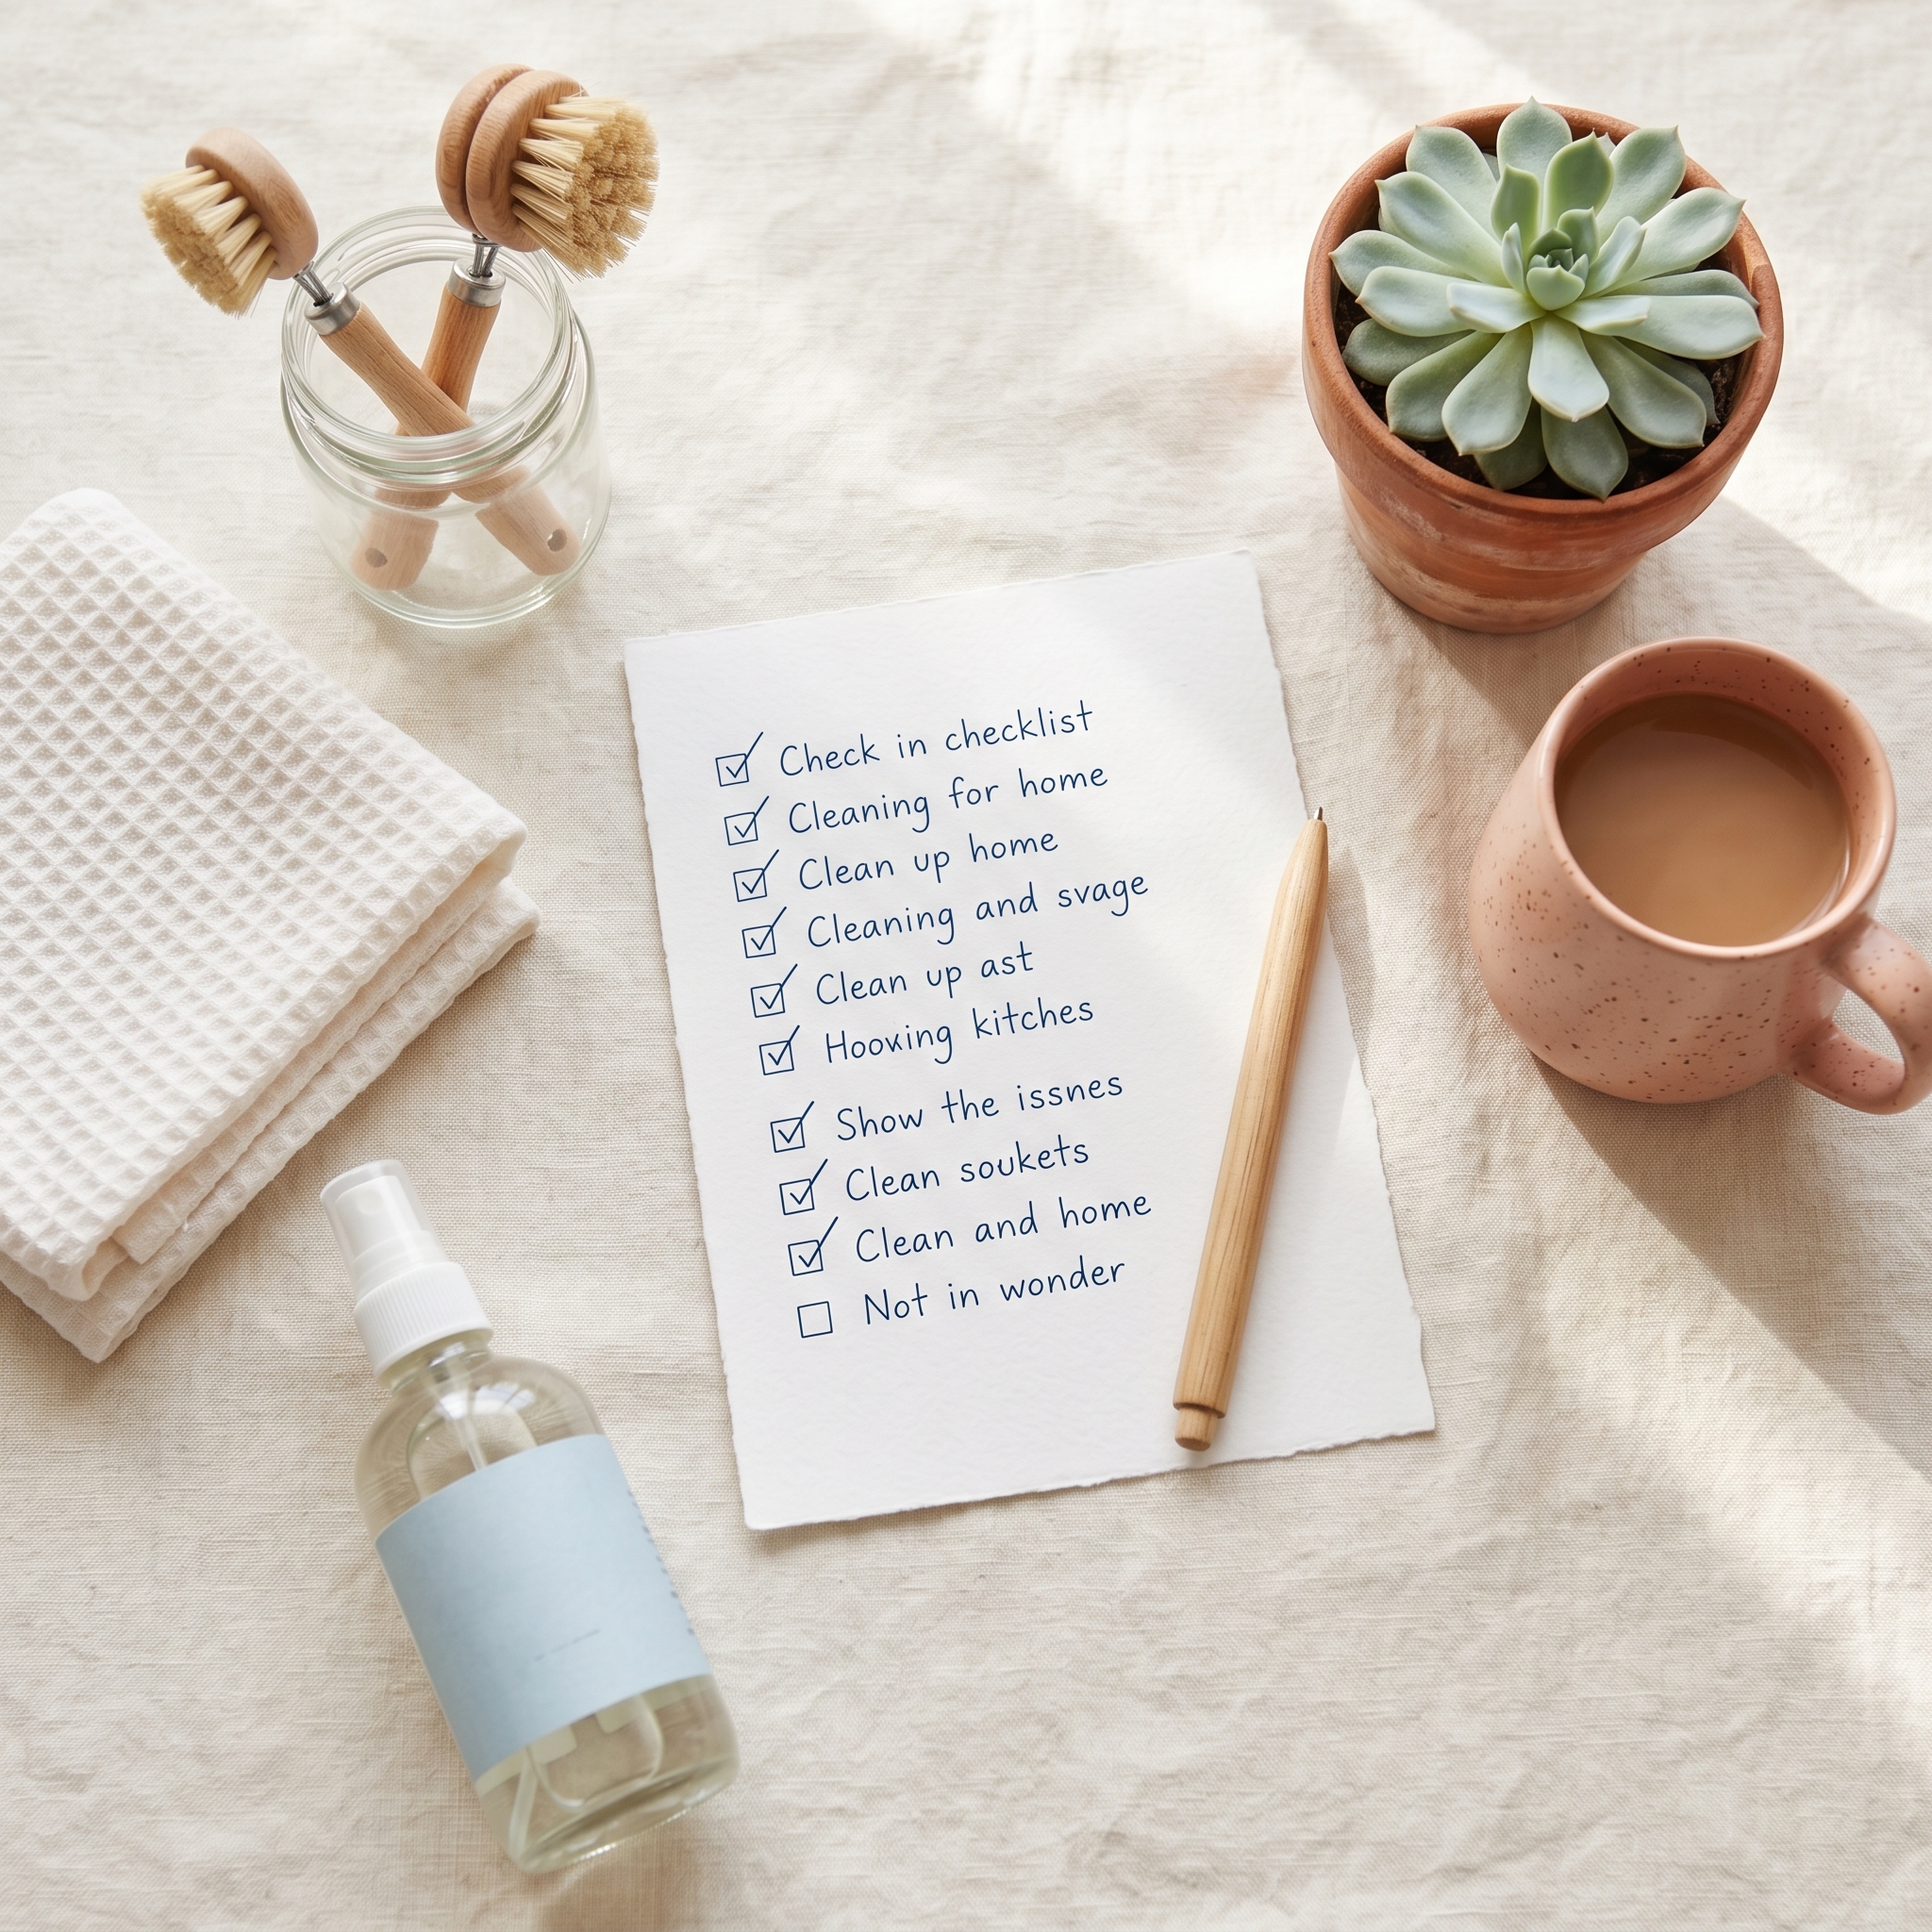
The best spring cleaning tips start with a written checklist, not a sponge. Break your home into rooms, tackle your cleaning tools first, and work top-to-bottom in each space. Cleaning from the highest surfaces down means the dust you knock loose always lands on something you haven’t cleaned yet, instead of forcing you to redo a spot. It’s a small shift that saves a surprising amount of backtracking.
Every March, I look around and realize my house has been running in survival mode since October. And it shows. The baseboards have a mystery layer on them, the fridge has a smell with no known origin, and the kids’ closets are archaeological sites.
Spring cleaning as a concept sounds refreshing. Spring cleaning as a reality, with a full household and zero free weekends, is a different story. This isn’t a 67-step list you’ll abandon by Saturday afternoon. These are the spring cleaning tips that fit into real life and get done.
Before You Touch a Single Sponge, Do This One Thing
You start wiping down the bathroom, then wander to the kitchen, then end up folding laundry for 45 minutes. By 2 p.m., every room is a little cleaner and nothing is finished. Sound familiar?
Build Your Spring Cleaning List Before You Start
A written spring cleaning checklist is the difference between a productive Saturday and a frustrating one. Research from the American Psychological Association shows that task-switching can cost as much as 40% of productive time. Jumping between rooms without a plan is exactly that.
A spring cleaning list isn’t the same as your regular tidying routine. Spring-specific tasks include things like cleaning dryer vents, washing windows inside and out, swapping seasonal clothing, and deep-cleaning appliances you ignore the other 11 months. Those don’t belong on a weekly chore list. They belong on one focused spring cleaning list you knock out in a dedicated stretch.
Before you write anything down, do a quick 15-minute room scan. Walk each room with your phone’s notes app open and jot down what’s been neglected. Be honest. That’s your starting point.
As for timing, late February to mid-March is the sweet spot for most US households. Starting before daylight saving time gives you more evening light to work with and gets you ahead of peak allergen season.
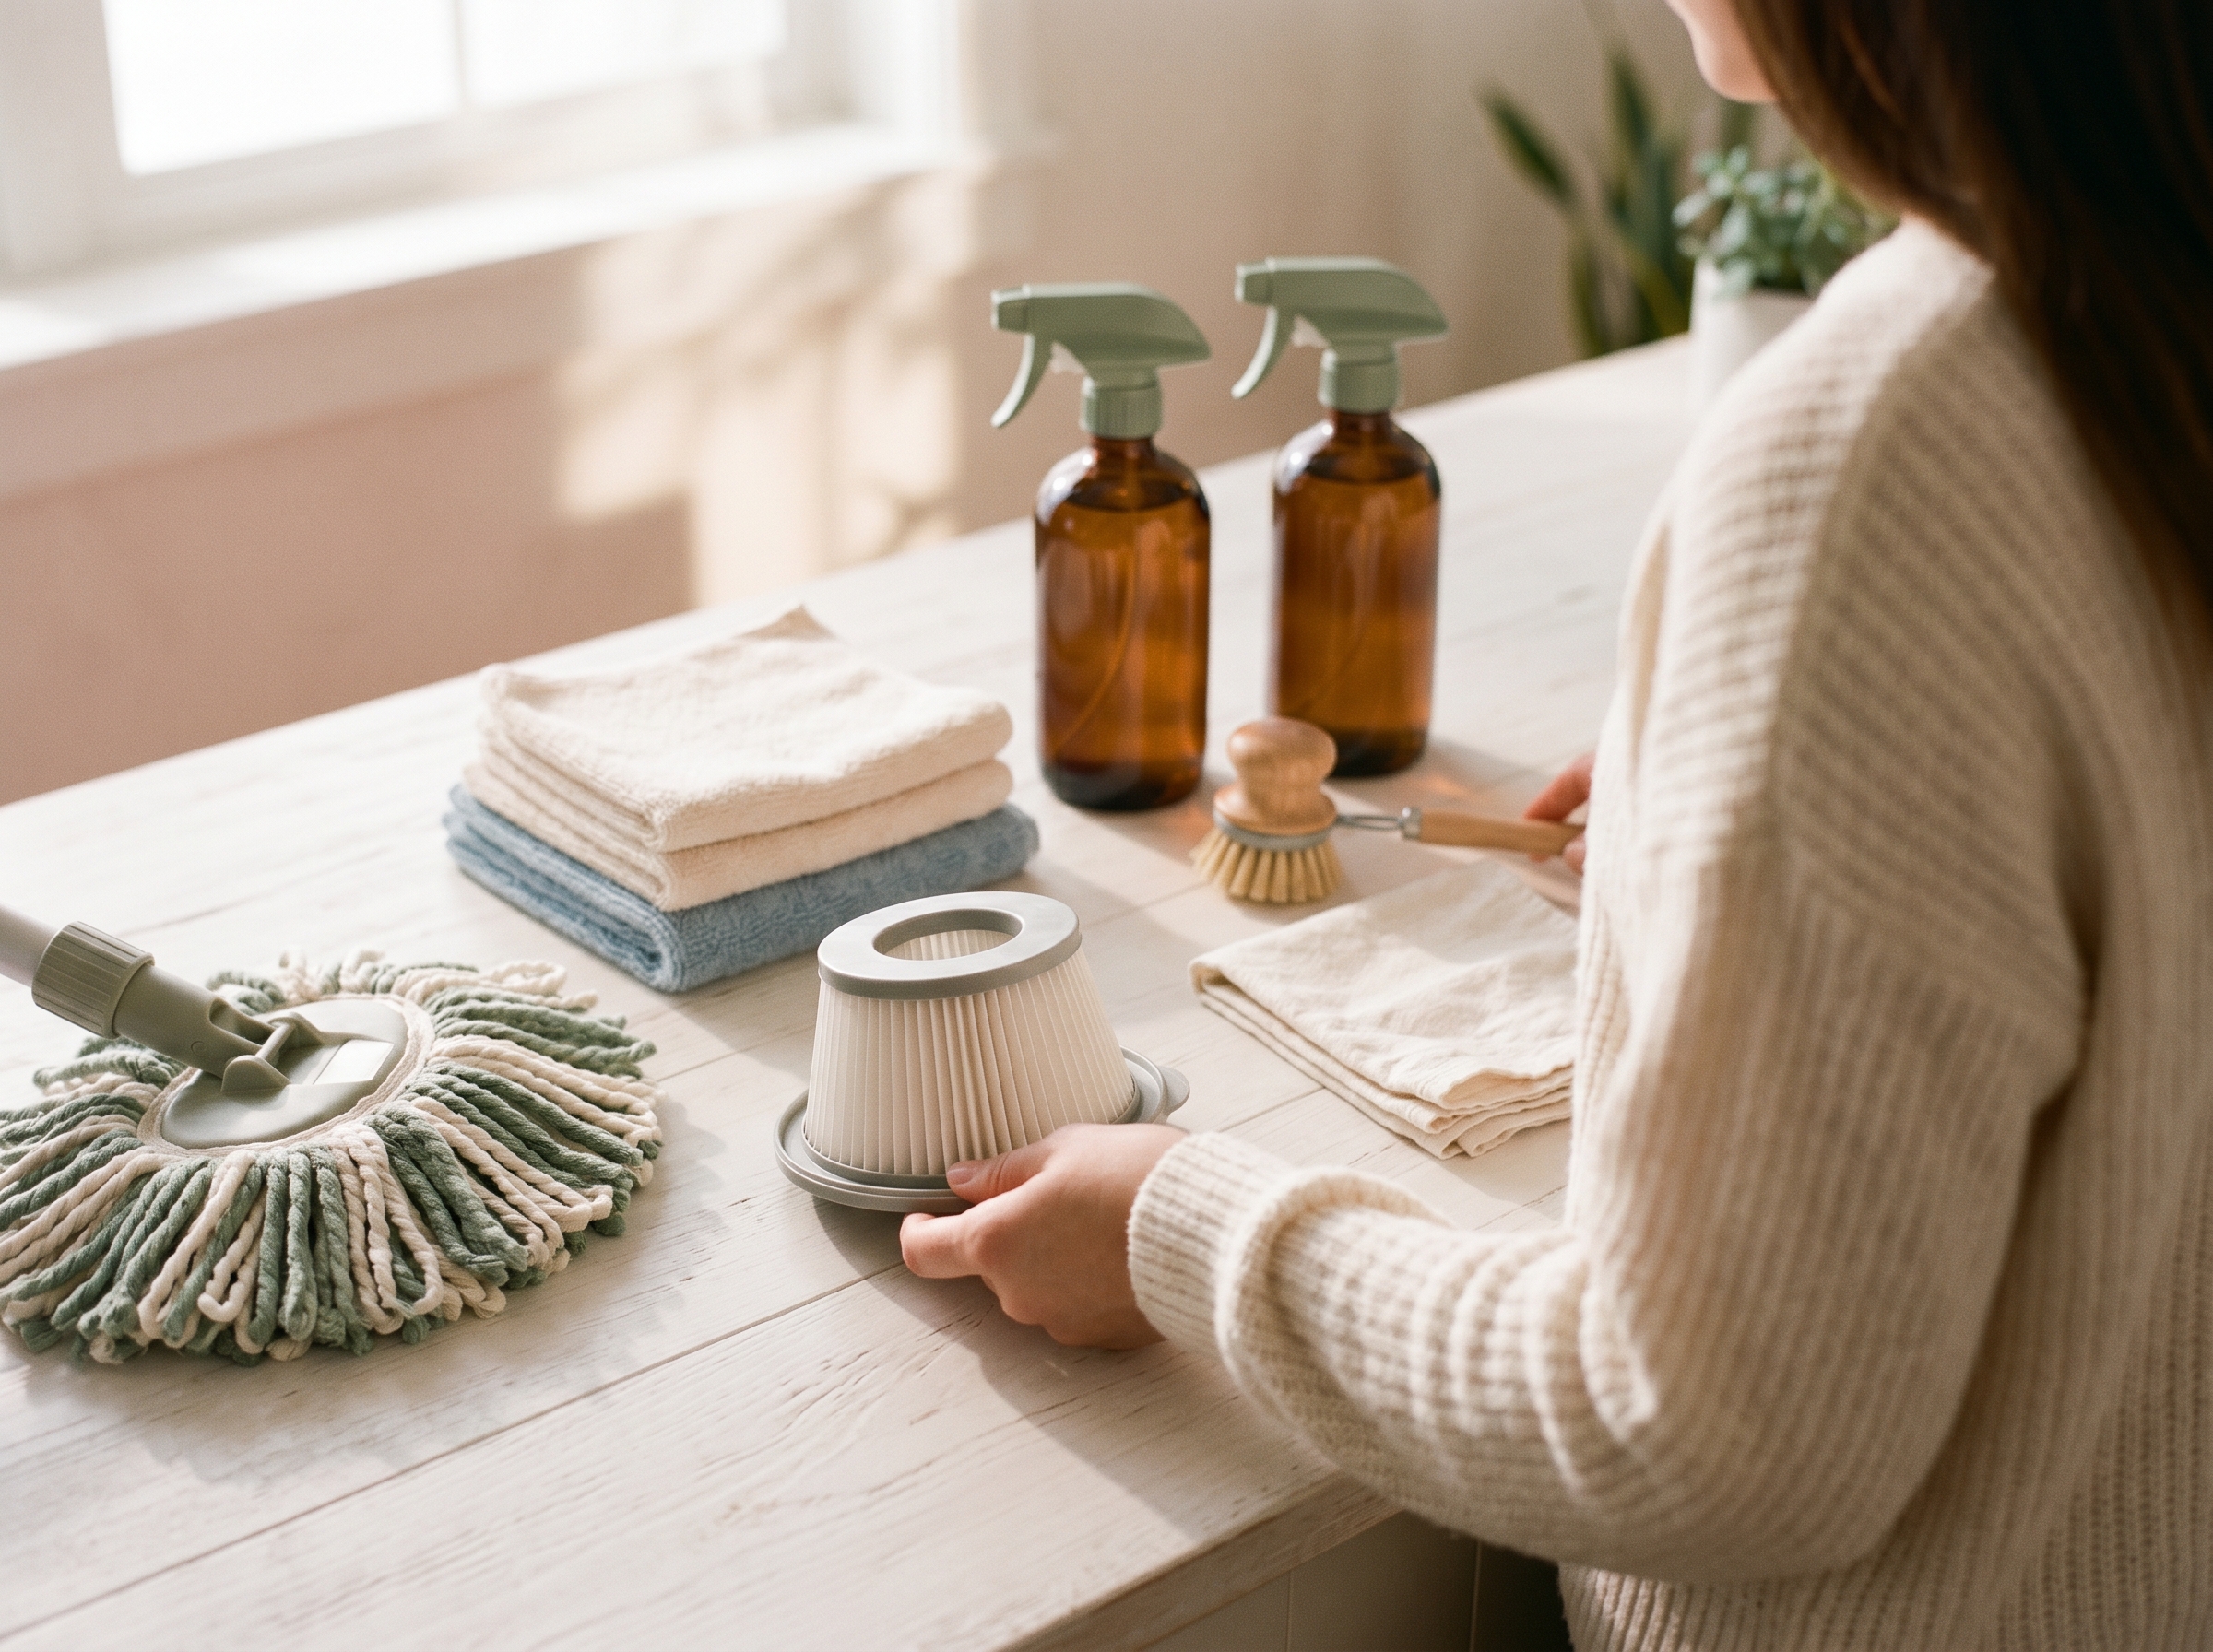
Clean the Things That Do the Cleaning First
If your vacuum has a clogged filter and your mop head looks like a science experiment, you’re not cleaning. You’re moving dirt from one surface to another.
Appliances and Tools to Refresh Before You Start
- Vacuum: Empty the canister and wash or replace the filter. Most HEPA filters need replacement every 6 to 12 months per manufacturer specs. This one step alone makes a noticeable difference.
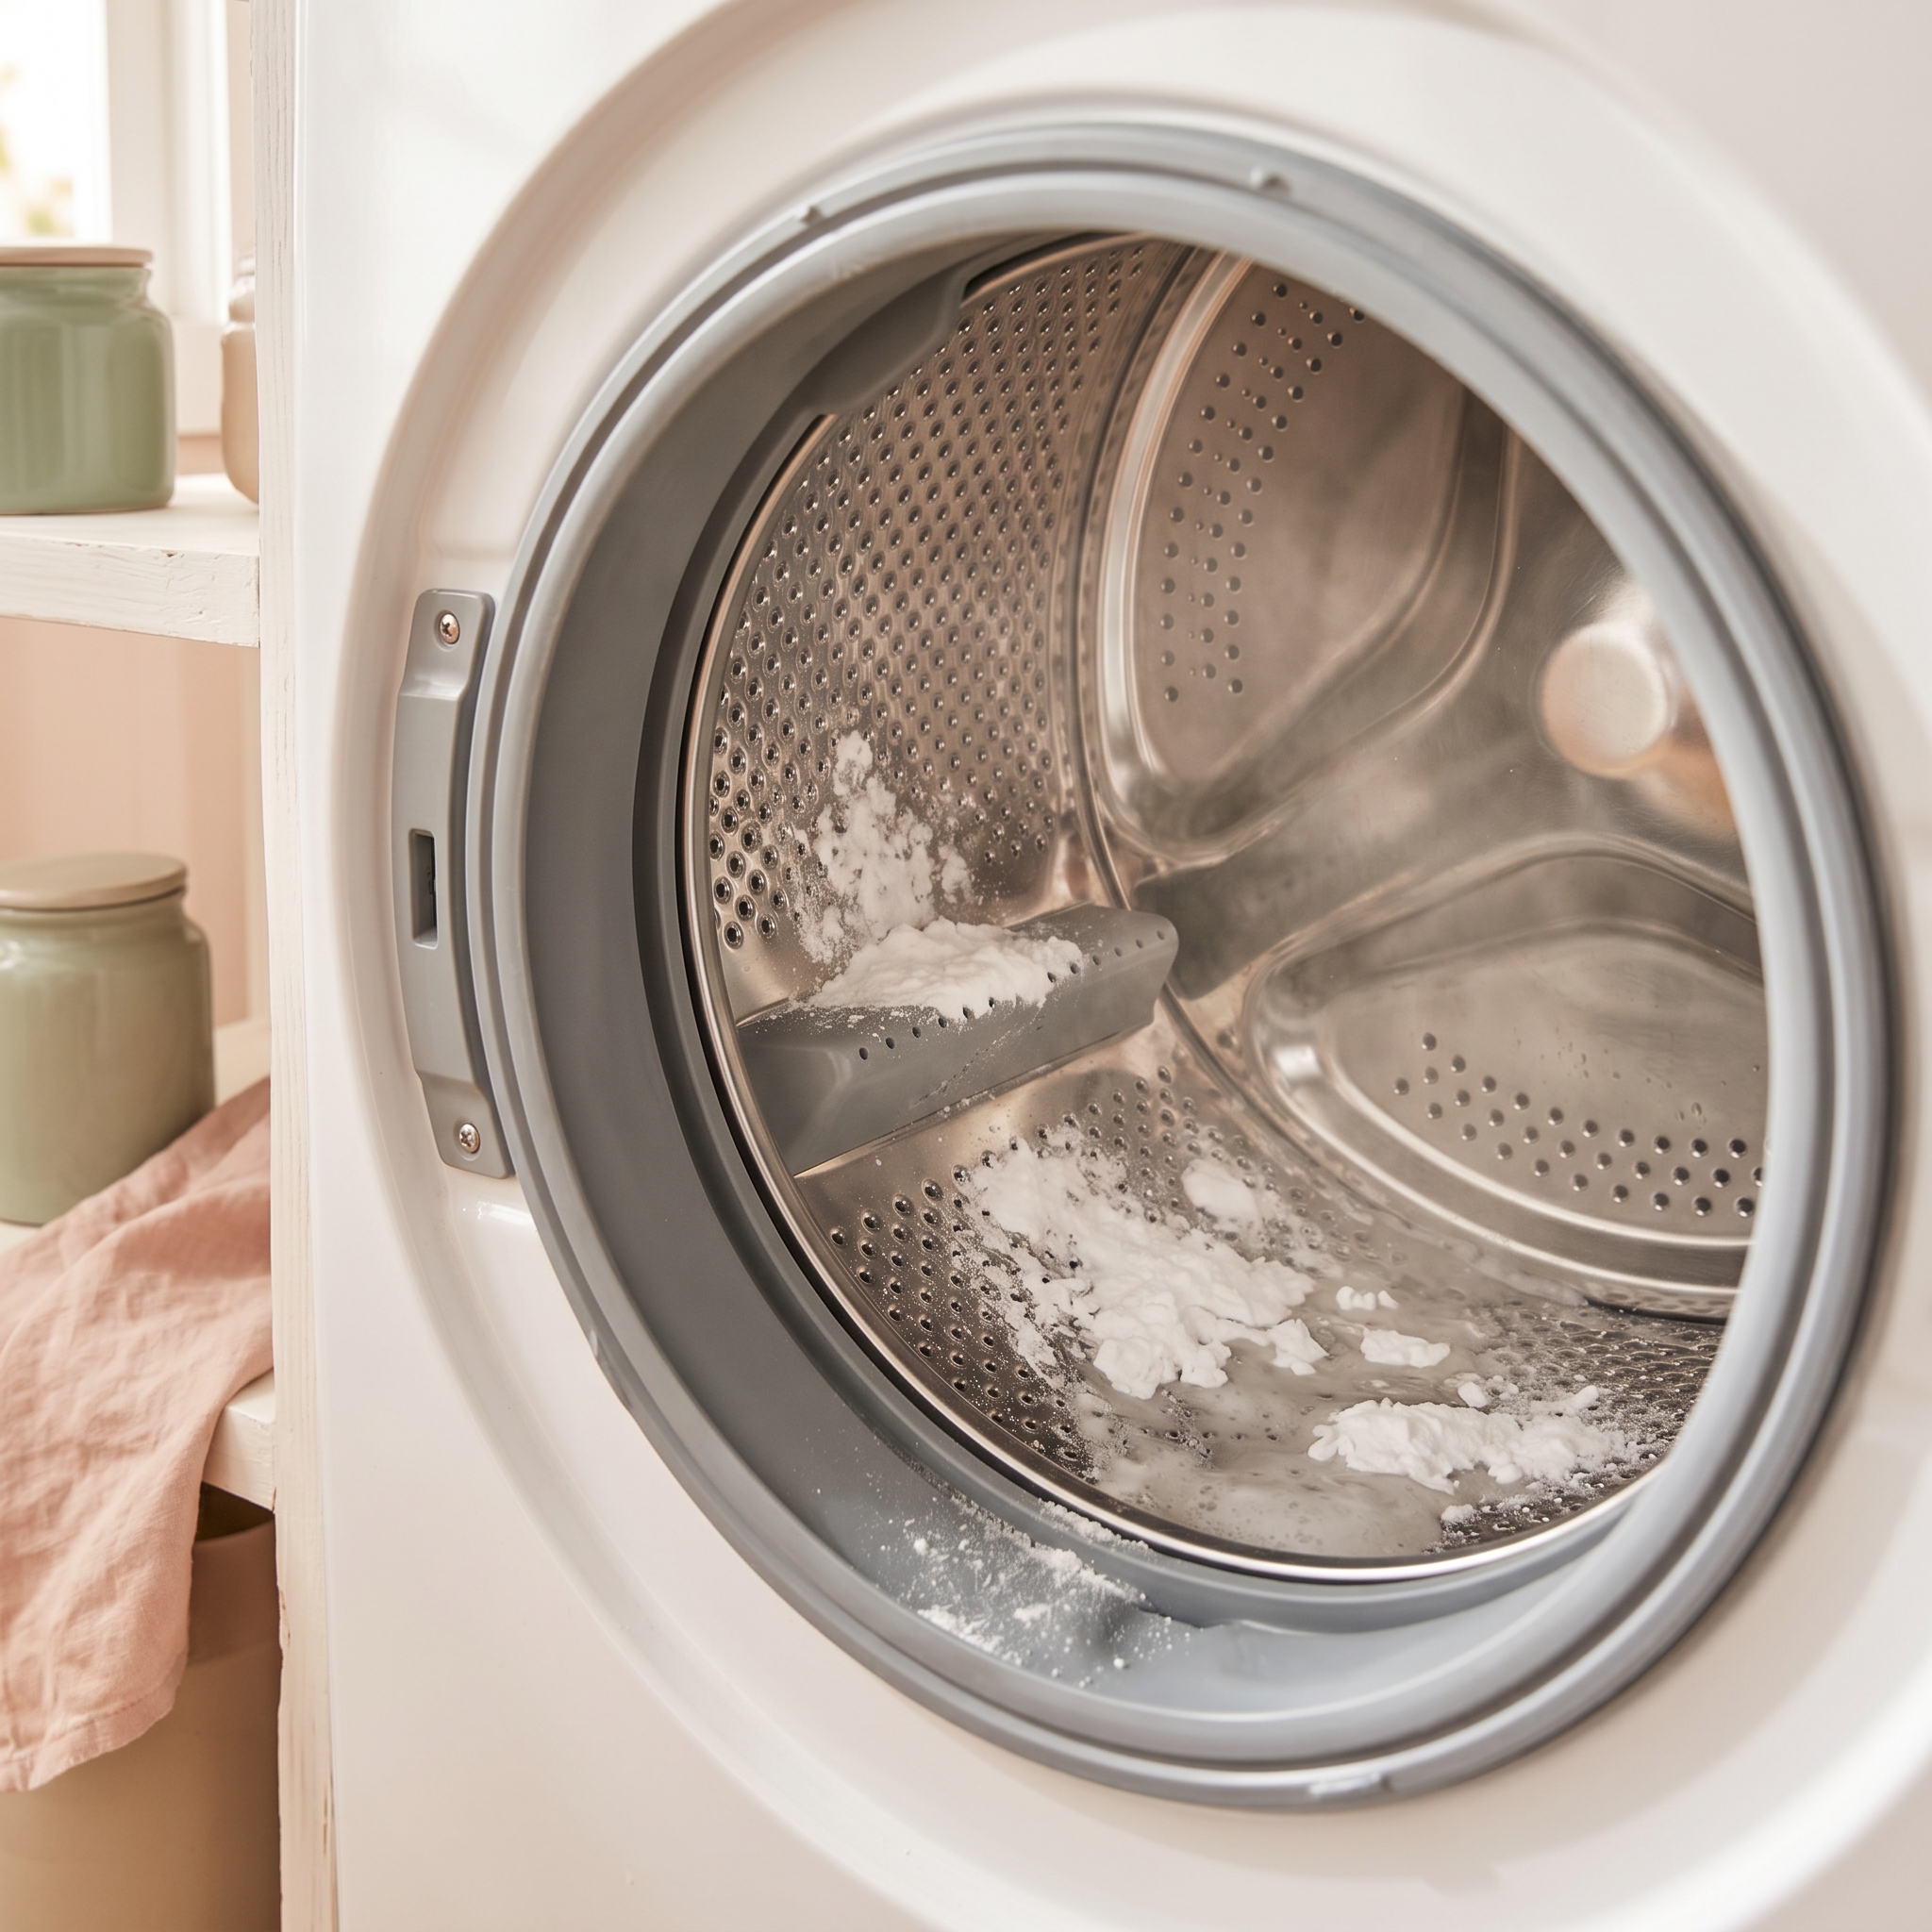
- Washing machine: Run a hot cycle with 2 cups of white vinegar and half a cup of baking soda to knock out any mildew odor that’s been building since winter.
- Dishwasher: Remove and rinse the filter at the bottom. Most people don’t even know dishwashers have a removable filter. It’s usually full of debris.
- Mop heads: Wash or replace them entirely. A dirty mop redistributes bacteria across your floors.
- Sponges: Toss them. Kitchen sponges are notorious for harboring bacteria like Salmonella and E. coli, and no amount of microwave zapping fully fixes a sponge that’s past its life.
The Room-by-Room Spring Cleaning List That Doesn’t Take All Weekend
You don’t need to do it all in one day. Finishing one room completely feels way better than having every room half-done by Sunday night. Batch by room, celebrate each finish, and move on.
Kitchen (The Hardest Room, So Do It First)
- Clear and wipe every fridge shelf; toss anything expired or unidentifiable.
- Pull the fridge out and vacuum the condenser coils. According to the U.S. Department of Energy, dirty coils can drive up a refrigerator’s energy use by as much as 35%, which shows up on your electric bill.
- Soak oven racks overnight in the bathtub with dish soap and hot water. It saves an enormous amount of scrubbing.
- Wipe inside cabinets and reline shelves if needed.
- Scrub cutting boards with coarse salt and a lemon half as a natural deodorizer. The USDA recommends sanitizing cutting boards regularly to prevent cross-contamination, especially after raw meat.
- Run the dishwasher empty with a cup of white vinegar on the top rack.
Bedrooms and Closets
- Flip or rotate mattresses and use a garment steamer to refresh the surface. Steam at 212°F kills most dust mites and bacteria hiding in the fabric.
- Do the seasonal clothing swap. Donate anything unworn in the last 12 months. If you didn’t reach for it all winter, you won’t miss it.
- Wash pillows in the washing machine on gentle, two at a time.
- Wipe baseboards and ceiling fan blades before you vacuum, always top to bottom, so the dust falls to a floor you haven’t cleaned yet.
Bathrooms
- Clean grout lines with a paste of baking soda and dish soap. Let it sit for five minutes before scrubbing with a small brush.
- Replace toothbrush holders and bath mats if they can’t be fully sanitized.
- Check expiration dates on medications and dispose of them properly. The FDA recommends using drug take-back programs rather than flushing medications down the drain.
- Wash the shower curtain liner in the washing machine with a towel to prevent wrinkling.
Living Areas and Entryway
- Vacuum and flip sofa cushions. Check underneath for approximately one semester’s worth of lost items.
- Wipe down all light switches and door handles. These are high-touch surfaces that most people skip during regular cleaning.
- Clean air vents and replace HVAC filters. Spring is the natural reset point, and most filters should be changed every one to three months anyway.
- Wipe baseboards, window sills, and blinds. Use a vacuum brush attachment on the blinds before wiping.
The Part Nobody Talks About, Cleaning With Kids at Home
Spring break and spring cleaning land in the same week every single year. It’s not a coincidence. It’s just life. Here’s how to make both happen without losing your mind.
Turn Kids Into Cleaning Helpers, Not Obstacles
Age-appropriate tasks make a real difference. Kids 4 to 6 can dust low surfaces and sort laundry into piles. Kids 7 to 10 can handle trash runs and wipe window sills. Tweens can fully own a bathroom, start to finish. Give them the supplies, set a timer, and let them go.
Safety note: Keep all cleaning supplies, including small items like spray bottle caps, essential oil bottles, and scrub brushes, out of reach of children under 3. Supervise young children any time cleaning materials are in use. Small parts from cleaning kits are a choking hazard for toddlers.
A cleaning playlist works better than a cleaning schedule for most kids. One playlist equals one room. When the music stops, the room is done. It gives them a finish line without constant reminders from you. If you’ve got toddlers who aren’t quite helpers yet, keeping them engaged with easy indoor activities in one contained space frees you up to get things done.
For the toy audit, put a labeled “donate” box in each bedroom and let kids fill it themselves. In my experience, kids are way more willing to let things go when the decision is theirs. Wash plastic toys and bath toys on the top rack of the dishwasher with no heat dry.
How to Make It Stick
The real problem isn’t spring cleaning. It’s that by July, the house looks like it never happened. A few small habits protect all that work so you’re not starting from scratch every spring.
The 10-Minute Daily Reset That Protects Your Spring Clean
Assign one room per weekday for a 10-minute wipe-down cycle. Monday is kitchen surfaces, Tuesday is bathrooms, and so on. It sounds simple because it is, but doing it consistently is what keeps the buildup from coming back.
Enforce the one-in-one-out rule at the front door, especially for kids’ backpacks and shoes. That threshold is where clutter is born. A monthly 15-minute sweep of your spring cleaning checklist catches anything that’s starting to build up before it becomes a full project again. A solid spring reset makes fall cleaning faster. Think of it as an investment in your future self.
Your Spring Cleaning List, Simplified
Here’s everything broken into two categories so you can save it, pin it, or screenshot it for later.
The Once-a-Year Tasks (Do Them Now)
- Wash windows inside and out
- Clean oven and vacuum refrigerator coils
- Flip mattresses
- Replace HVAC filters
- Wipe inside all kitchen cabinets
- Clean the dryer vent (the U.S. Fire Administration reports approximately 2,900 dryer fires annually, most caused by lint buildup)
- Launder pillows, duvets, and shower curtain liners
- Clear gutters
The Monthly Tasks You’ll Keep Up After Spring
- Wipe appliance fronts
- Clean bathroom grout
- Dust ceiling fans and vents
- Vacuum furniture and under cushions
- Wipe high-touch surfaces like light switches, door handles, and drawer pulls
Keeping this list somewhere visible, on the fridge or in your notes app, is what turns a once-a-year scramble into a system that runs.
FAQ, Spring Cleaning Questions, Answered
How do you do a good spring cleaning?
Start with a written checklist broken into rooms. Clean top-to-bottom and back-to-front in each space. Refresh your cleaning tools first, then work room by room rather than bouncing around. Aiming for two to three hours per major room, rather than trying to tackle the whole house at once, makes the whole process more manageable and less defeating.
When should you start spring cleaning?
Late February to mid-March is the sweet spot for most US households. That puts you ahead of peak allergen season and well past the holiday dust-settling period. Starting before daylight saving time also means you’ll have more usable evening light as you work through the list over several days.
What’s the difference between regular cleaning and spring cleaning?
Regular cleaning maintains surfaces. Spring cleaning goes much deeper: inside cabinets, behind appliances, seasonal clothing swaps, and once-a-year tasks like washing windows, cleaning dryer vents, and replacing HVAC filters. It’s less about keeping up and more about resetting everything that regular cleaning doesn’t reach.
How long does spring cleaning realistically take?
For an average three-bedroom home, budget somewhere between 8 and 12 hours total. Spread across a weekend or broken into two-hour daily sessions over a week, it’s manageable. The key is finishing one room before starting the next so you have something to show for your time each day.
What’s a good homemade all-purpose cleaner for spring cleaning?
Mix 1 cup water, 1 cup white vinegar, 15 drops tea tree oil, and 10 drops lemon essential oil in a spray bottle. It works well on grease and general grime, it’s safe for most surfaces, and it costs under $2 to make. Skip it on natural stone surfaces like marble or granite, where vinegar can etch the finish over time.


