
Making Mud Pies (Classic Outdoor Play)
Making mud pies is a classic outdoor play activity where kids mix soil and water to form pretend food, encouraging sensory exploration, imaginative play, and fine motor development.
Last updated: June 2026
Quick Answer: What Is Making Mud Pies?
Mud pie play is exactly what it sounds like: kids mix garden soil and water, pack the mixture into pie tins or muffin tins, decorate with natural materials, and “bake” their creations in the sun. It’s one of the oldest childhood activities there is, it costs almost nothing, and it holds a child’s attention for a surprisingly long time. Best for ages 2 through 8, with the sweet spot right around 3 to 6 years old.
There’s something about a patch of dirt and a garden hose that turns kids into the most focused, creative little chefs you’ve ever seen. No screens. No instructions. Just mud, and about two hours of pure concentration. People assume messy play is stressful to manage, but in my experience, a little preparation upfront makes the whole thing feel easy. Here’s everything you need to get the mud rolling.
What You’ll Need
The Basics (Free or Already at Home)
You don’t need to buy a single thing to start. Most of this is already in your backyard or kitchen.
- Garden soil: A patch of dirt or a container of potting soil works well. Loamy, dark garden soil is ideal. Sandy soil crumbles too easily; dense clay soil is tough to mix. Aim for about 2 cups to start.
- Water source: A garden hose, a watering can, or a small bucket. Start with about ½ cup and add more from there.
- Old kitchen tools: Wooden spoons, mixing bowls, pie tins or muffin tins, and measuring cups. Thrift stores are a goldmine for these.
- A mud zone: A designated corner of the yard. An old plastic tablecloth or drop cloth underneath is optional but very mom-approved.
Fun Add-Ins (Optional Extras)
These aren’t required, but they extend playtime and add a whole new layer of creativity.
- Natural loose parts: Sticks, pebbles, flower petals, leaves, pine cones, and grass clippings for decorating. (If you have toddlers under 3 joining in, skip the pebbles: they’re a choking hazard for that age group. Flower petals, grass, and leaves work just as beautifully.)
- Food coloring: A few drops in the water makes colorful “sauces” and “frosting.” Big hit with ages 4 and up.
- Dried herbs: Rosemary or lavender from the garden works beautifully as “garnish.” It also smells great.
- Sand: Mix a little sandbox sand into the soil for a different texture and a slightly more workable consistency.
About 90% of this list is free. The whole setup can happen in under 15 minutes if you gather supplies the night before.
How to Set It Up
Setup takes about 15 minutes, and your kids will want to help with every step.
- Pick your mud zone: a corner of the yard, a patch of garden bed, or a plastic storage bin filled with potting soil.
- Lay down a tarp or old shower curtain if you want to contain the mess. Totally optional, but it makes cleanup faster.
- Fill a watering can or small bucket with water and place it within kids’ reach.
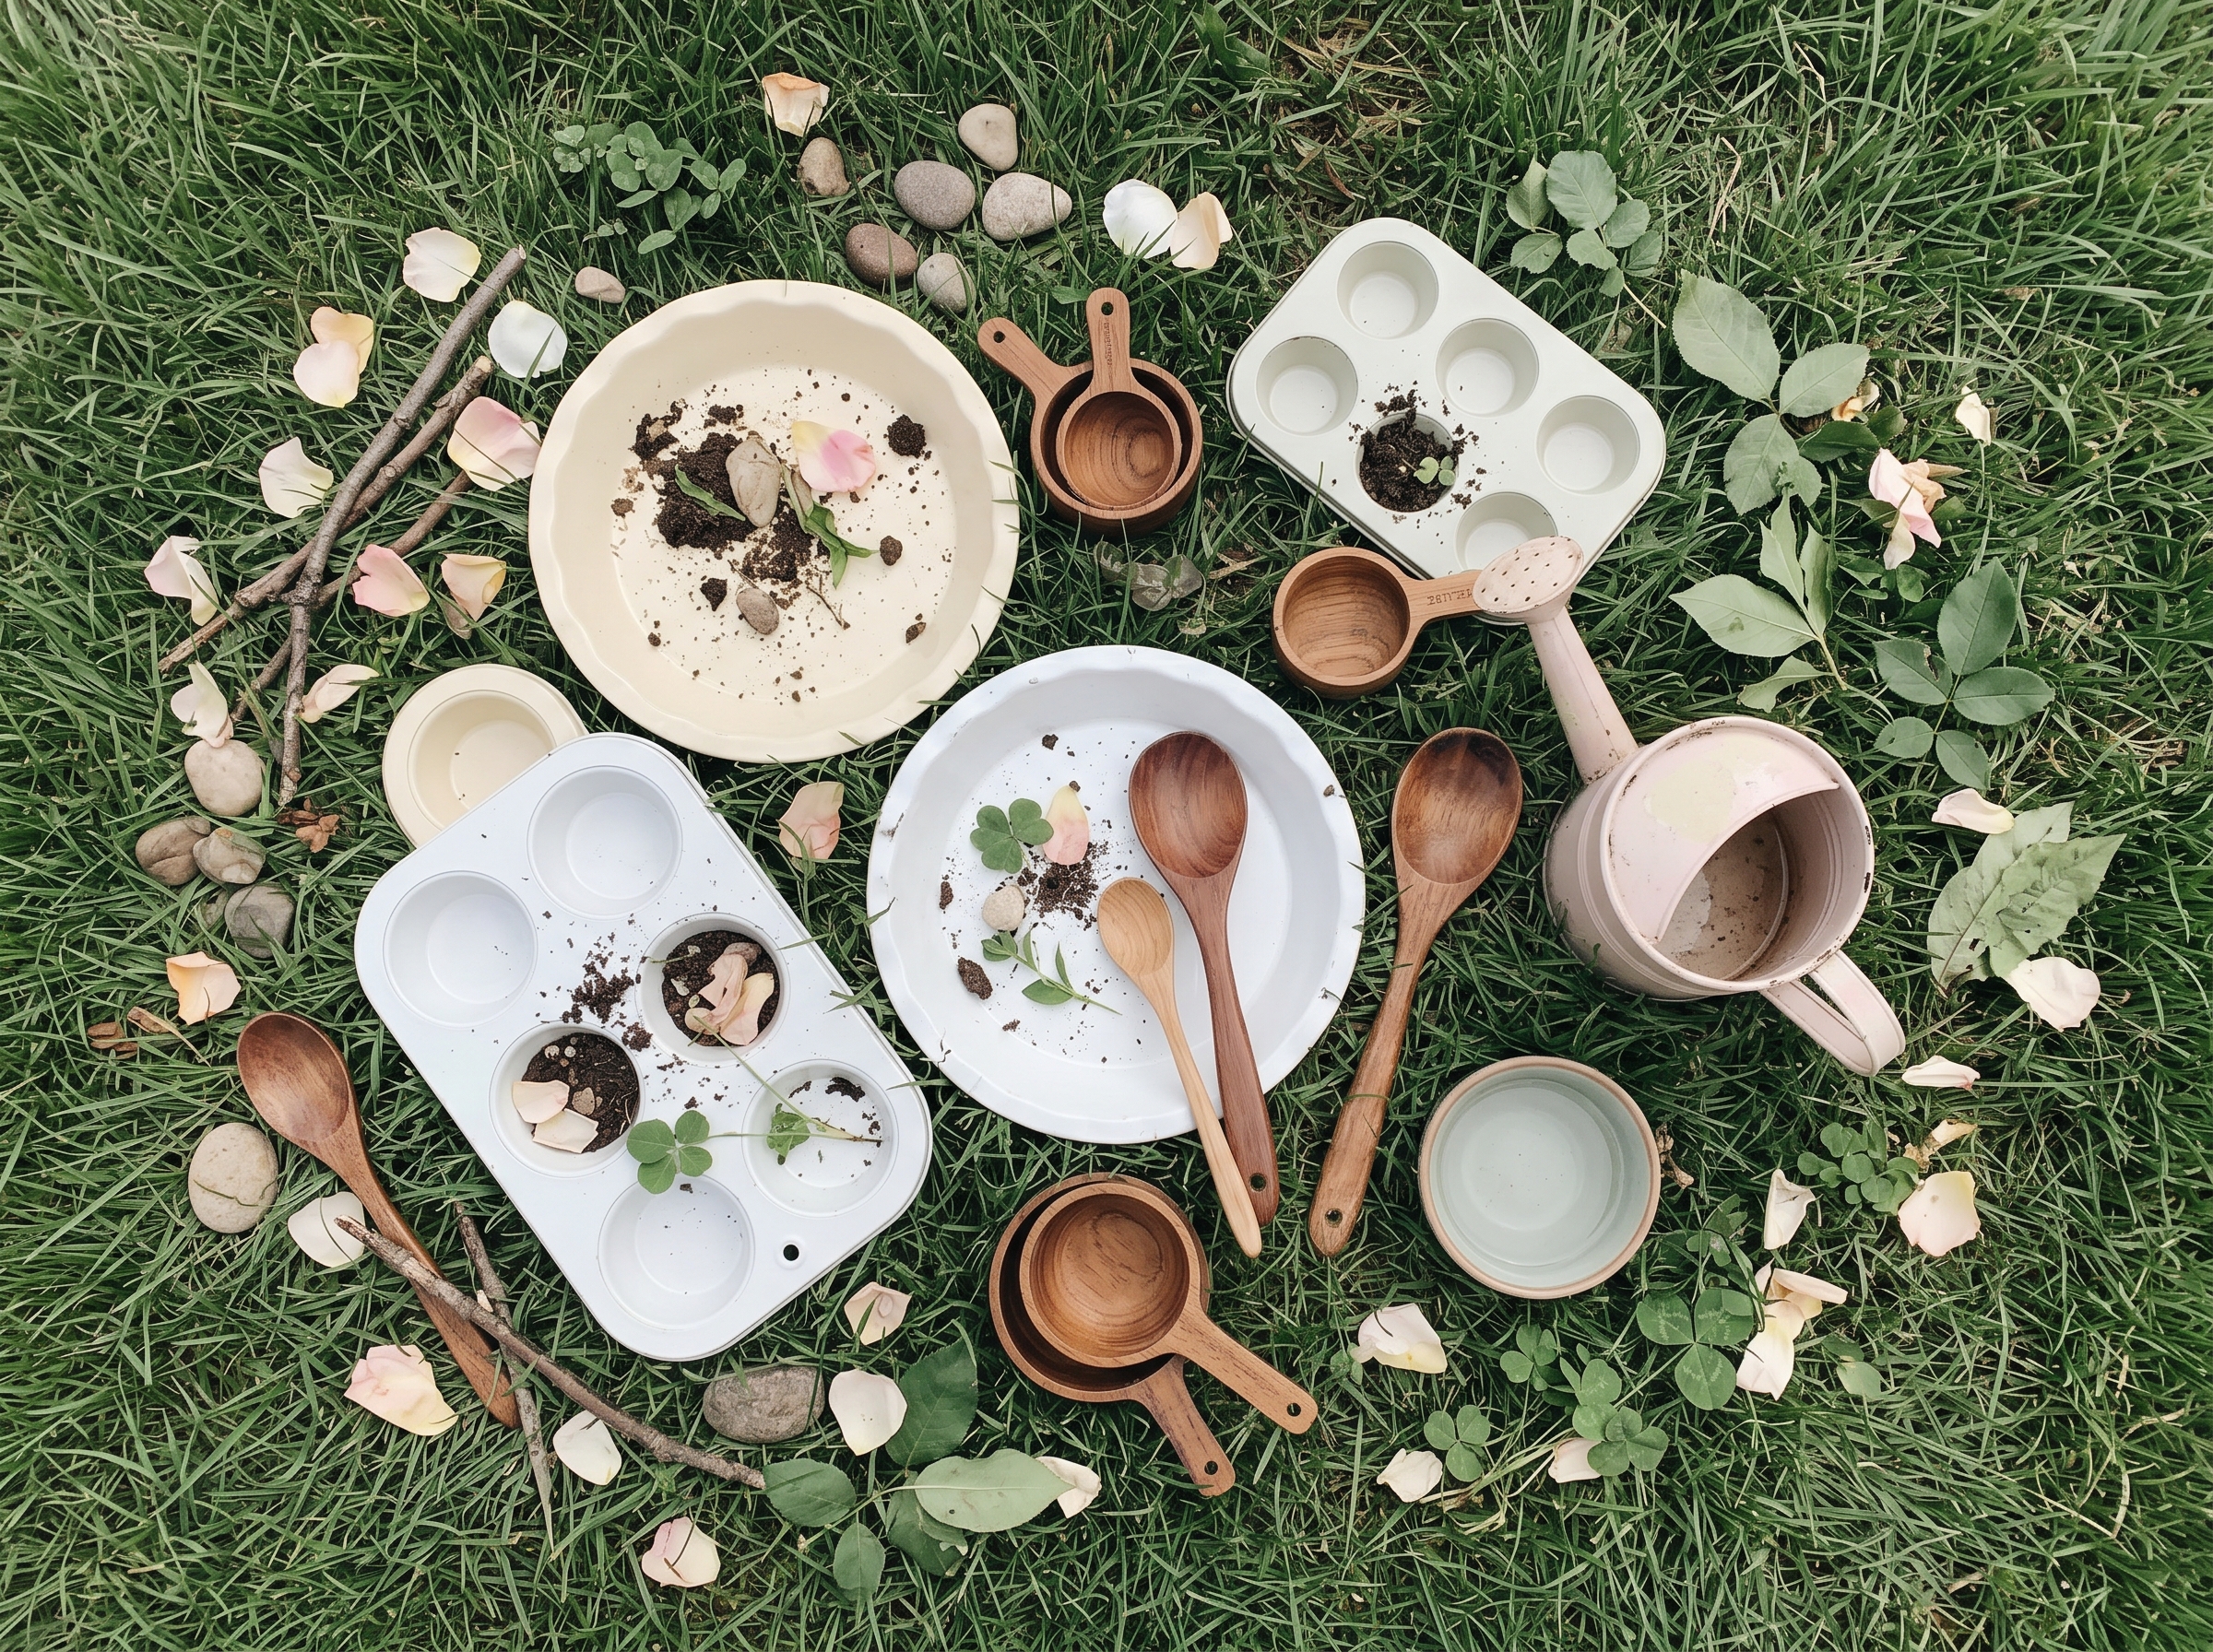
- Set out the kitchen tools: pie tins, bowls, spoons, and measuring cups, arranged like a little outdoor prep station.
- Add a small tray of loose natural materials nearby: pebbles, leaves, and flower petals as “toppings.”
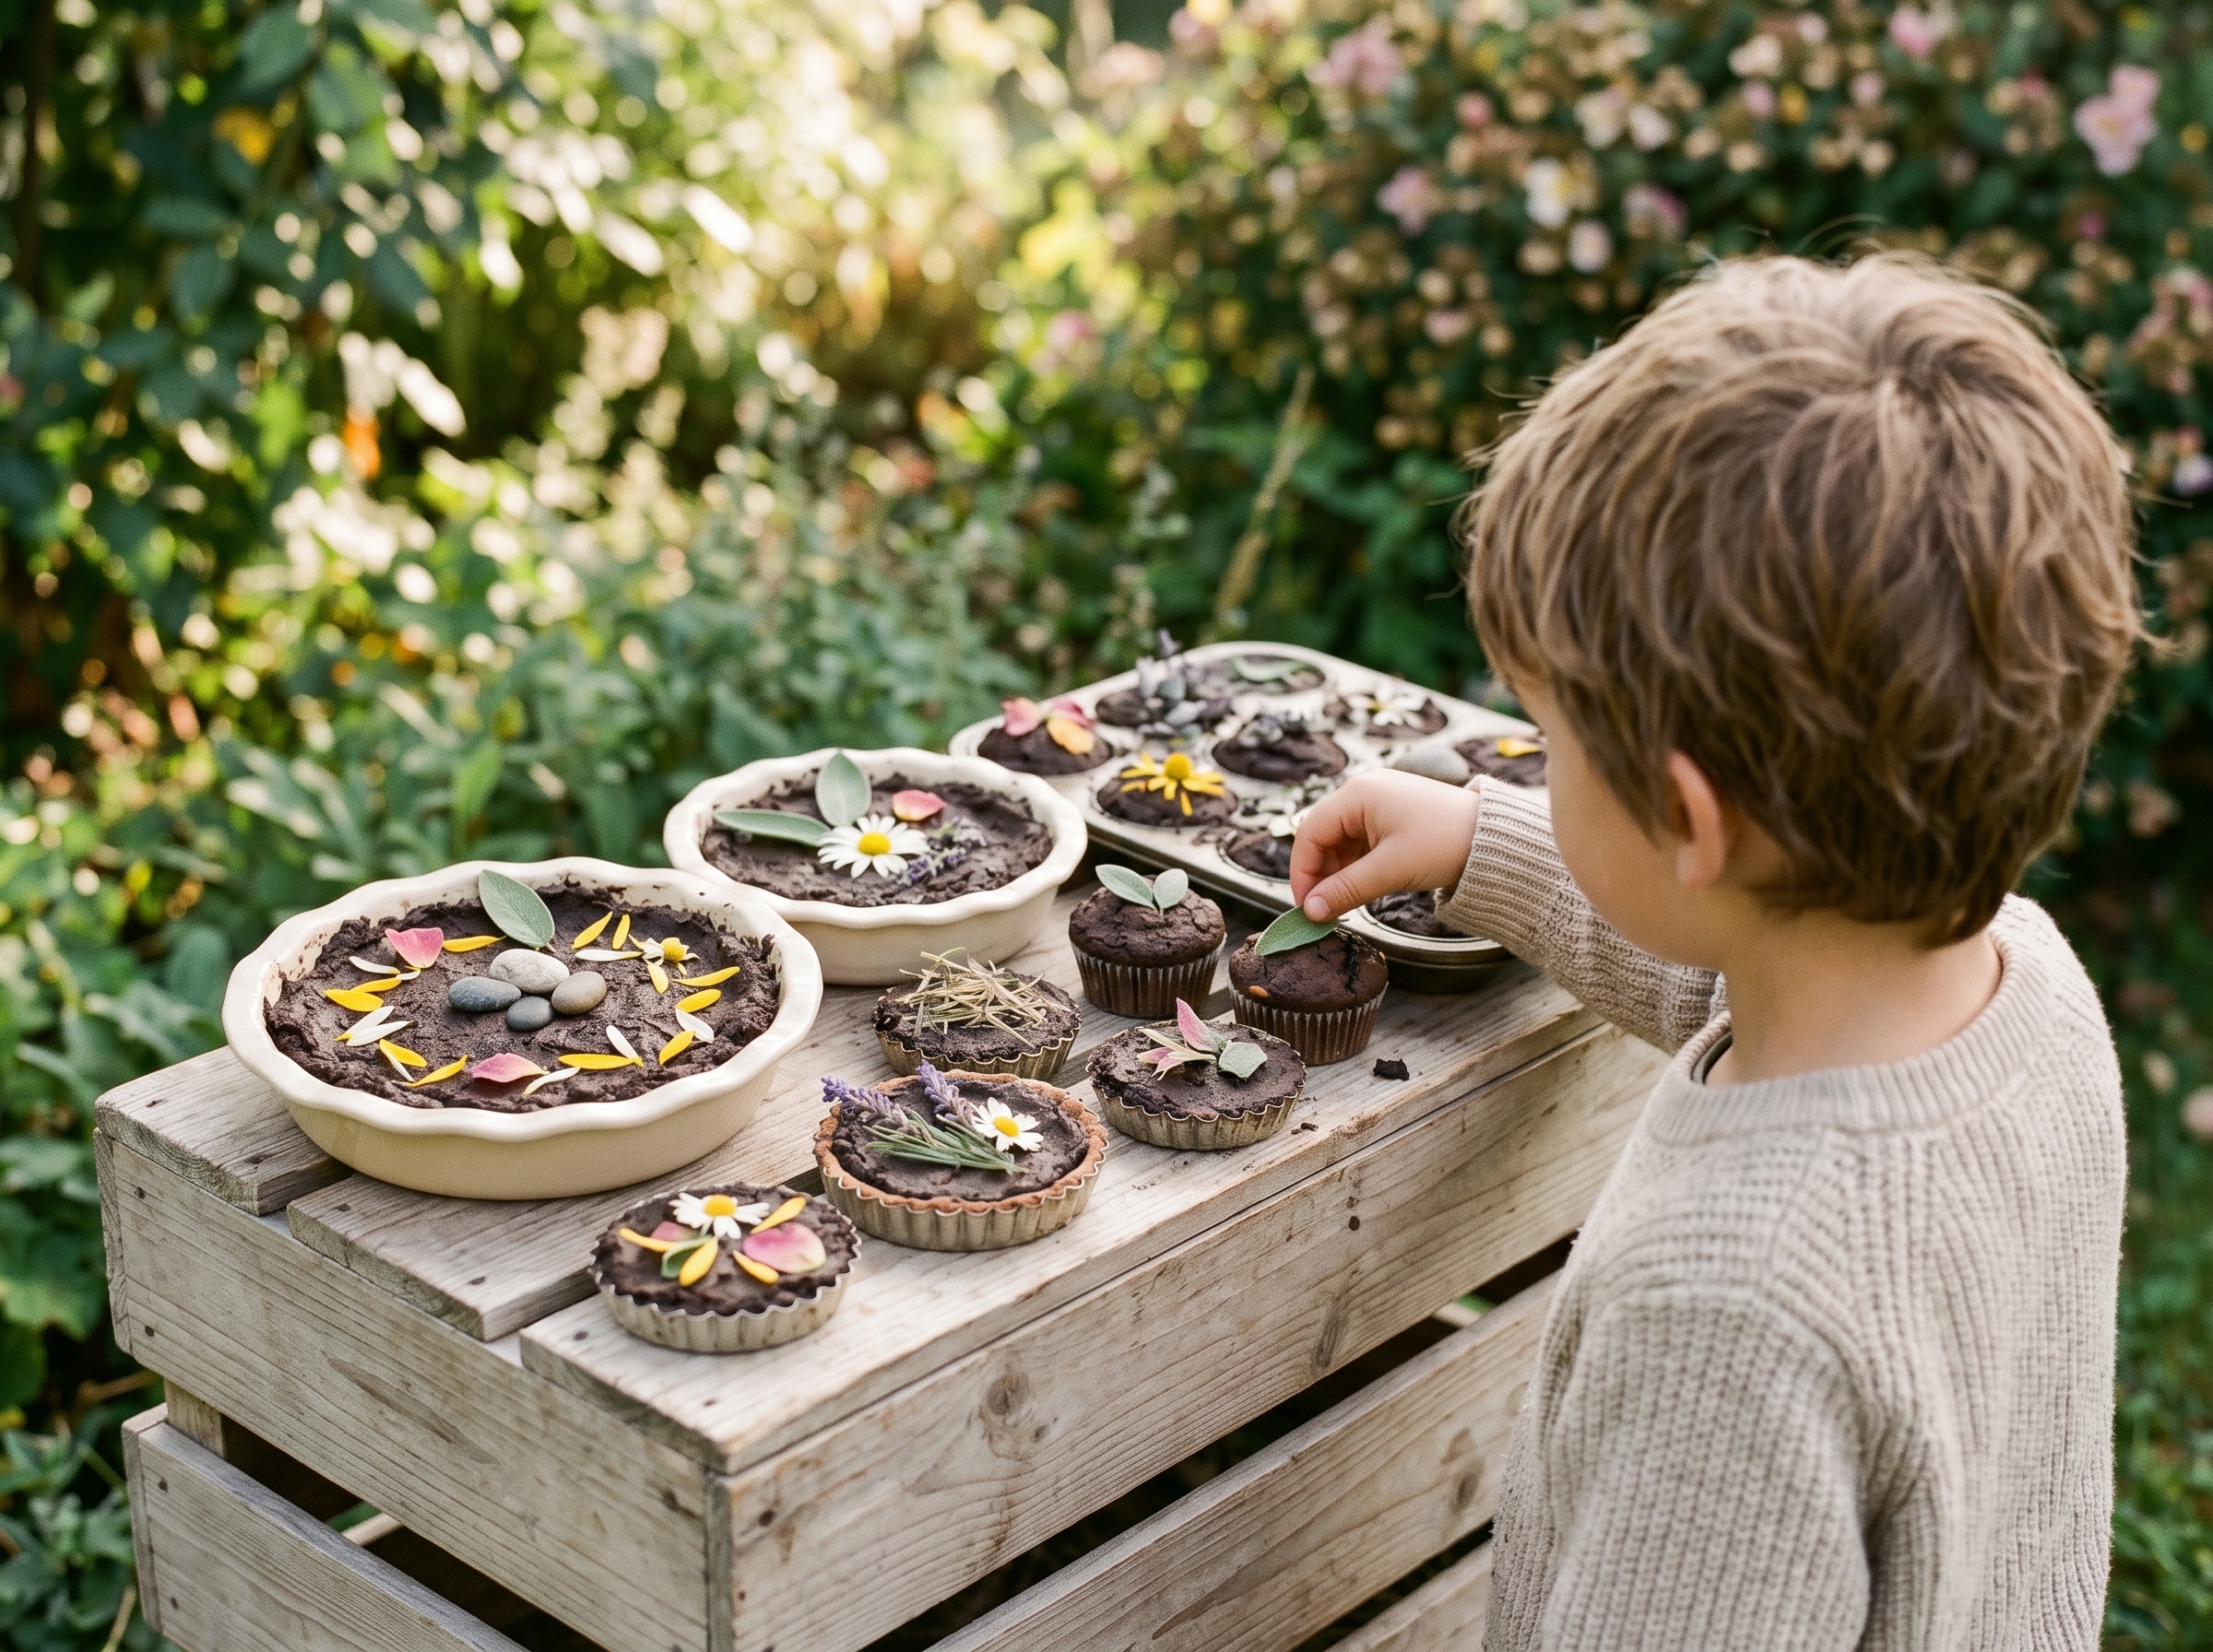
- Designate a “serving area”, a low garden wall, an upturned crate, or a wooden step, where finished pies can be displayed. This is a surprisingly underrated trick. Kids play noticeably longer when there’s somewhere to show off their work.
- Strip the kids down to old play clothes or a swimsuit, apply sunscreen if needed, and step back.
Making Mud Pies, Step by Step
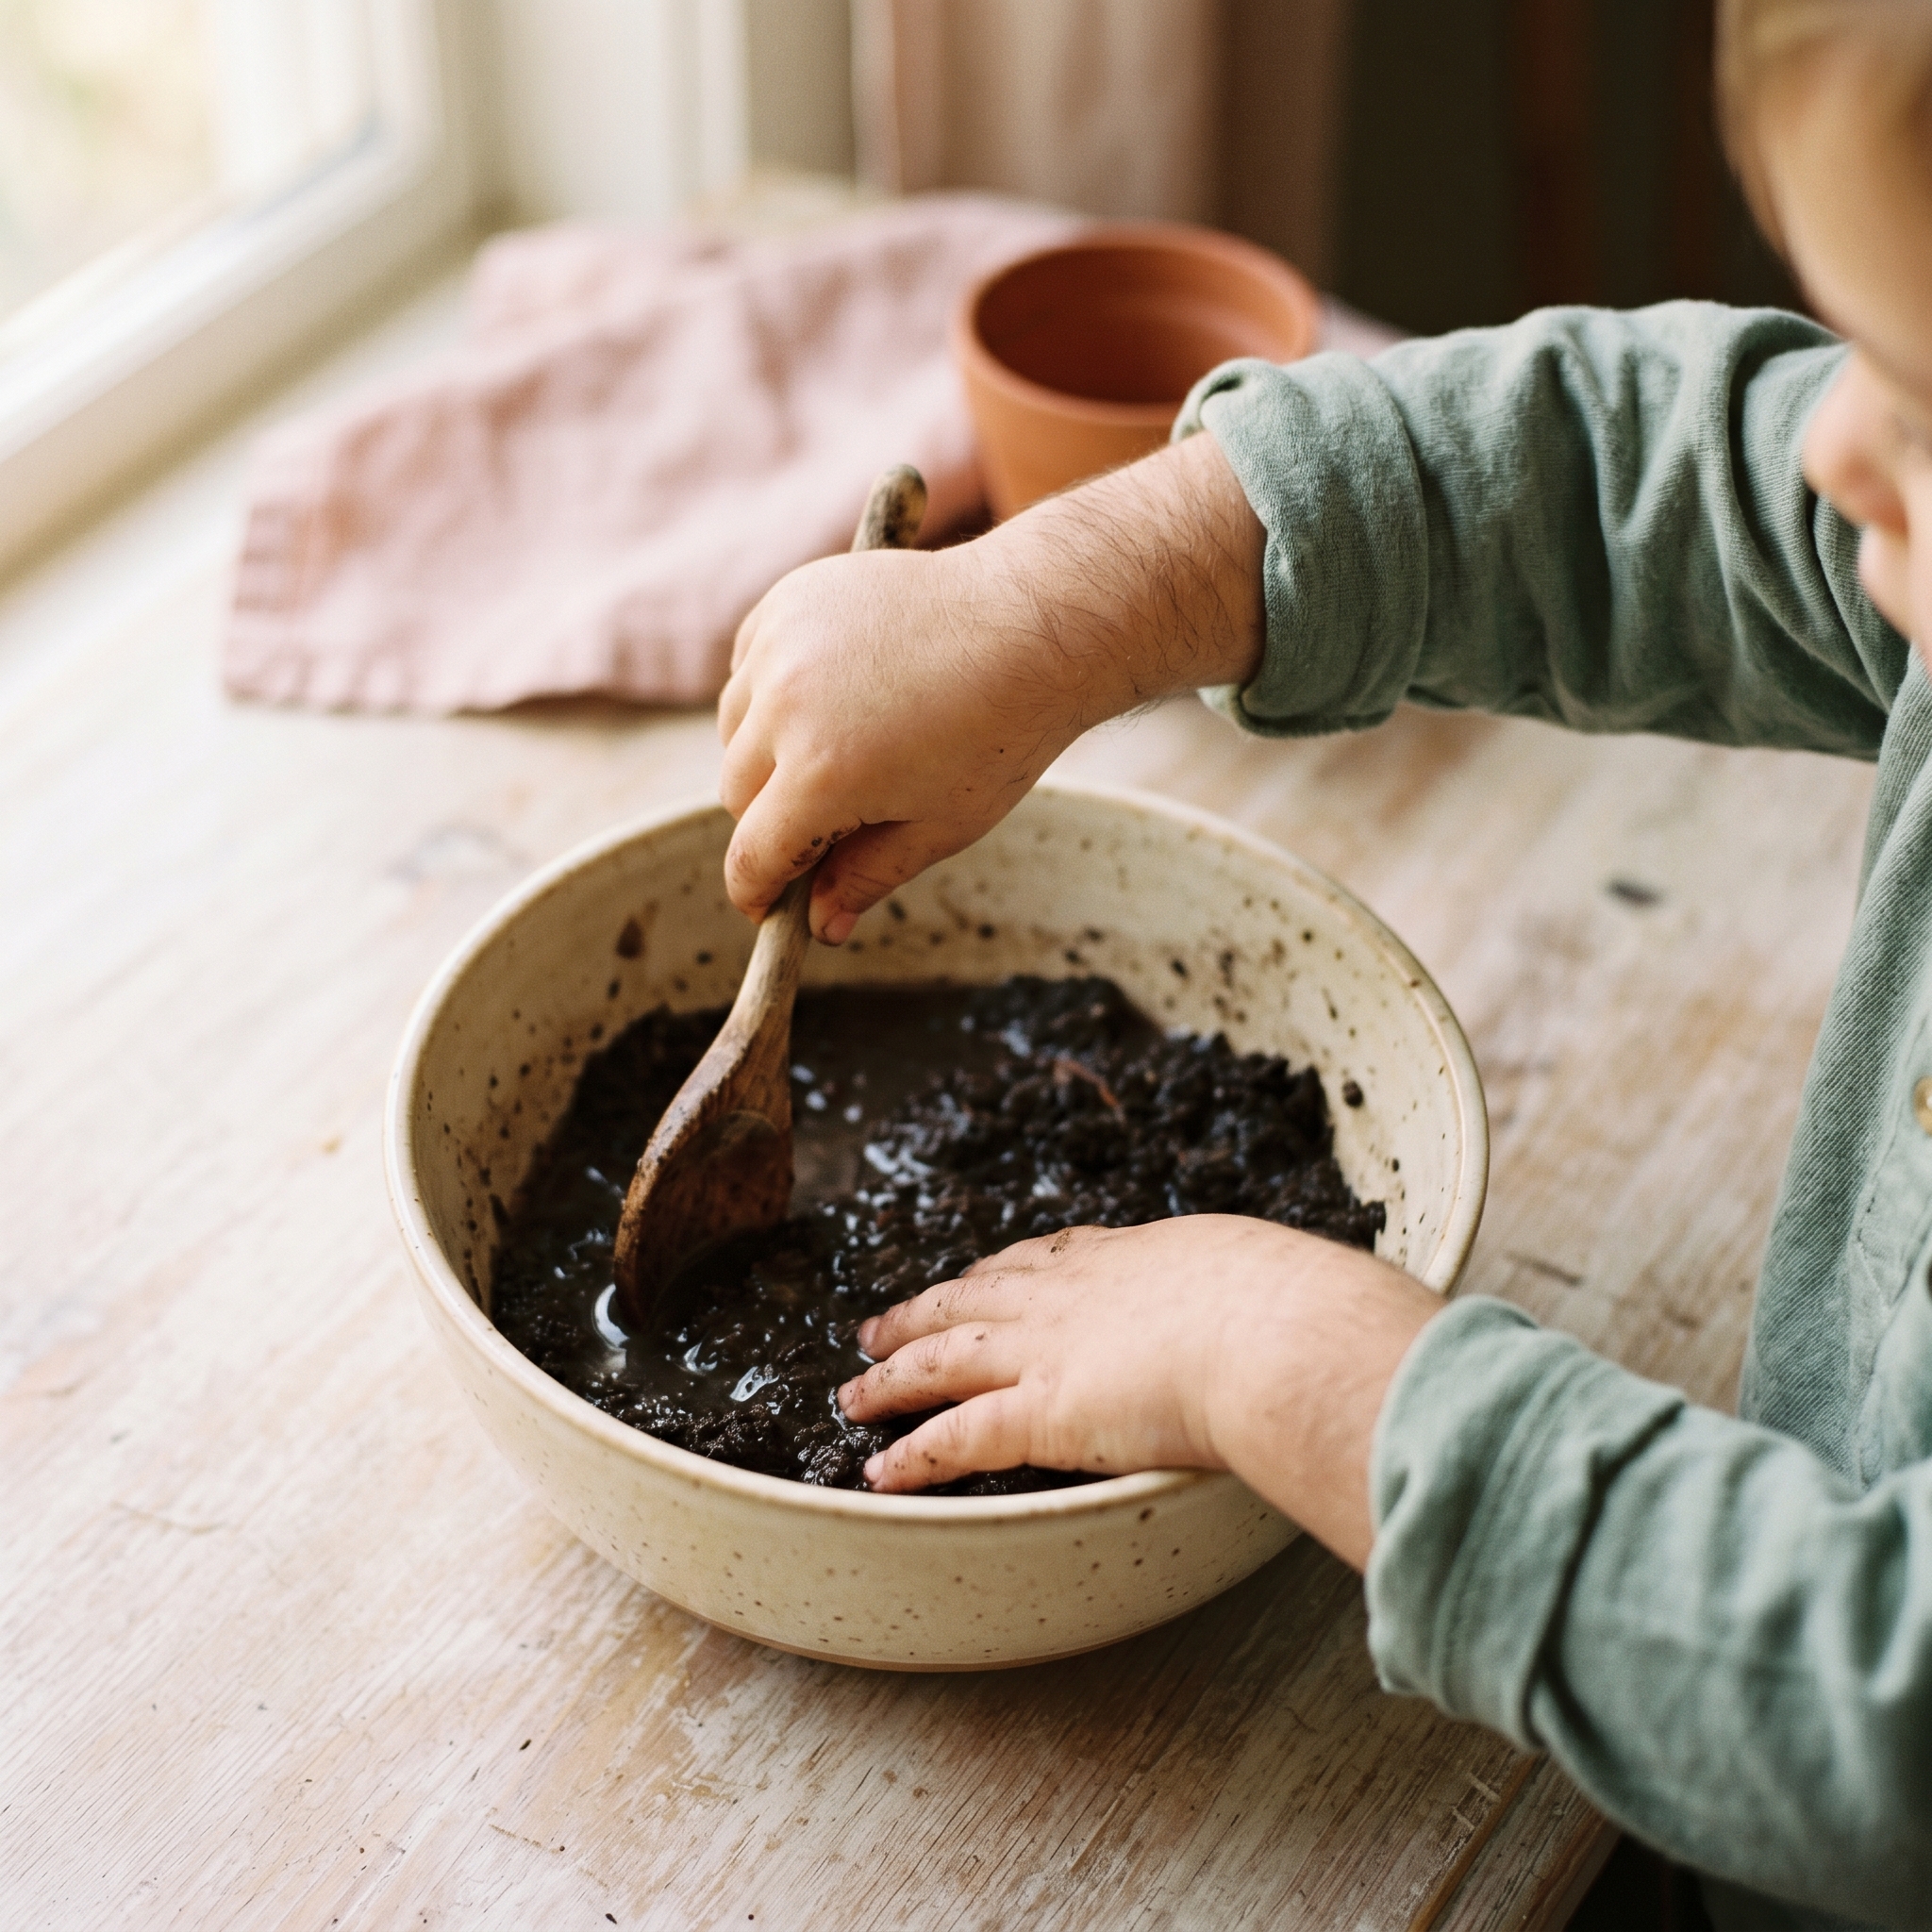
Getting the Mud Consistency Right
The starting ratio is roughly 3 parts soil to 1 part water. Mix and adjust from there. Too runny and you’ve got soup (also fun, honestly). Too dry and it crumbles when you try to pack it. Add water a little at a time until the mixture holds its shape when you press it.
Kids ages 5 and up can figure out the right consistency on their own with minimal coaching. Toddlers in the 2 to 3 range usually do better if you make a starter batch together before handing over the reins.
Building the Pie
Pat mud firmly into a pie tin or muffin tin, just like packing a sandcastle. Smooth the top with the back of a spoon. Then comes the decorating: pebbles become chocolate chips, flower petals are sprinkles, grass is shredded coconut, and sticks are birthday candles. Kids come up with their own systems fast, and no two pies look the same.
“Baking” and Serving
Set finished pies in a sunny spot to “bake.” On a warm summer day, 20 to 30 minutes in direct sun firms them up satisfyingly and makes unmolding much easier. Let a pie dry slightly before flipping it out of the tin, it holds its shape better, and that moment of successfully unmolding a perfect pie is satisfying for a four-year-old.
Encourage the dramatic play layer: taking orders, naming flavors, “charging” customers. If your toddler is anything like most, they’ll assign you the role of hungry customer and you’ll be expected to eat several courses of invisible mud cake. Play along.
How to Build a Simple DIY Mud Kitchen for Kids
A mud kitchen is the upgrade that turns a single afternoon activity into a whole season of outdoor play. You absolutely don’t need one to make mud pies, but once you set one up, it tends to become the most-used thing in your backyard.
What Is a Mud Kitchen?
A mud kitchen is a simple outdoor play station, typically a low table or repurposed piece of furniture, dedicated to mud play and equipped with kid-sized “kitchen” tools. Counter height around 20 to 24 inches works well for toddlers; 28 to 30 inches suits ages 5 and up better.
The No-Build Option (Budget: $0)
You don’t need to build anything. An old wooden pallet stood upright with a board laid across it makes an instant counter. A retired nightstand, an old IKEA KALLAX unit, or a plastic storage cart with a flat top all work perfectly. Position it near a fence or exterior wall for stability, and you’re done.
Easy Weekend DIY Version (Budget: About $30 to $50)
If you want to build something, it’s a simple weekend project. Two wooden crates or milk crates plus a plank of untreated lumber form the base. Screw in a few cup hooks along the front for hanging spoons and ladles. Drill a hole in the counter surface and drop in a plastic mixing bowl to create a “sink.” Seal the wood with outdoor paint or leave it natural, untreated wood weathers nicely. Build time runs about 1 to 2 hours.
Must-Have Mud Kitchen Accessories
- Graduated measuring cups: Sneaks in early math concepts without anyone noticing.
- A small chalkboard sign: Kids can write or draw their “daily menu.”
- Old pots and pans with lids: The lids add a whole new layer of dramatic play.
- A spray bottle: Gives kids precise control over water without flooding the whole station.
What Kids Learn While Playing in the Mud
This might look like mess. It’s actually learning in disguise.
Sensory Development
Mud engages all five senses at the same time: the texture against fingers, the temperature of cool soil or warm sun-baked mud, the earthy smell, the visual shift as dry soil darkens with water, and the satisfying squelch of mixing. According to the American Academy of Pediatrics, unstructured outdoor play supports healthy sensory and physical development in early childhood. If your kid usually resists messy play, don’t push it. In my experience, most kids warm up within 10 to 15 minutes when there’s no pressure. On days when the mess factor is a dealbreaker, no-mess painting covers a lot of the same sensory ground without the cleanup.
Early STEM Thinking
Every mud kitchen session is full of cause-and-effect discoveries: what happens when more water goes in, why the pie crumbles if it’s too dry, how sunlight changes the texture. Kids are measuring volume, observing states of matter, and testing hypotheses without realizing that’s what they’re doing. For another easy outdoor science moment, the classic baking soda and vinegar experiment pairs perfectly with a mud kitchen afternoon.
Language and Imaginative Play
Running a pretend mud bakery builds vocabulary fast: recipe, ingredients, customer, order, oven, chef. Dramatic play scenarios like these are well-documented for building narrative language skills in young children, and kids get absorbed in the storytelling in a way that’s hard to replicate with structured activities.
Fine Motor Skills
Spooning, patting, pressing, and molding all strengthen the small hand muscles that kids need for writing. Unmolding a pie from a tin requires controlled grip pressure, a genuine skill challenge for a 2 to 4 year old. For more activities that build those same fine motor skills, these toddler learning activities are worth bookmarking alongside mud kitchen days.
Mom Tips: Keeping the Mud Contained (Mostly)
I’m not going to pretend there’s a way to do this perfectly clean. But there are ways to keep it manageable.
- Clothes: Old play clothes or a cheap swimsuit plus a waterproof garden apron. Thrift stores are great for this. Accept that some staining will happen.
- Pre-set your cleanup station: A bucket of clean water and a small towel at the edge of the mud zone, set up before play starts. Rinse hands first, then feet, then walk to the hose. Doing this before you need it saves a lot of chaos.
- Mud stain hack: Rinse in cold water first. Hot water sets mud stains into fabric. Then treat with dish soap before laundering normally.
- Patio protection: A $5 plastic drop cloth under the play area stops mud from getting tracked onto concrete.
- Indoor transition rule: Shoes off at the door. A designated “mud towel” lives outside and doesn’t come in.
The cleanup honestly takes less time than you’d expect. The hardest part is convincing kids to stop playing.
Fun Variations to Try
Seasonal Twists
- Summer: Add ice cubes to the mud mix for a sensory temperature contrast. Kids love “frozen mud pies” as a concept and as a sensory experience.
- Fall: Mix in acorns, fallen leaves, and seeds. “Harvest pies” with natural autumn materials are a hit.
- Winter (cold climates): Make mud pies and leave them outside to freeze overnight, then observe what happens as they thaw. Solid STEM content, zero prep.
Party and Group Play Version
A “Mud Pie Bake-Off” makes a memorable addition to outdoor birthday parties or playdates for ages 3 through 7. Each child gets their own tin and a designated decorating tray. After a “baking” period, pies go on display and each child presents their creation. Award simple ribbons: “Most Creative Topping,” “Best Texture,” “Most Colorful.” For more outdoor party inspiration, hosting a playground birthday party has a ton of ideas that layer well with a mud kitchen setup.
Combine With a Mud Kitchen
Once kids have the basics down, a mud kitchen setup extends the activity into something they’ll return to all season. The DIY options above start at $0 and take less than an afternoon to put together. It’s one of those backyard additions that earns its space immediately.
Frequently Asked Questions About Mud Pies
What age is making mud pies good for?
Mud pie play works well for children ages 2 through 8, with the sweet spot around 3 to 6 years. Toddlers ages 2 and 3 need close supervision near the water source; kids 5 and up can run their own mud kitchen setup with minimal adult involvement beyond the initial prep.
Is playing in mud safe for kids?
Yes, outdoor soil play is generally very safe for healthy children. Use garden soil rather than soil near treated lumber, construction sites, or areas with unknown chemical exposure. Make sure kids wash hands thoroughly before eating. Children with open cuts or wounds should skip muddy play until healed. The standard US childhood vaccine schedule, which includes tetanus coverage through the DTaP series (per CDC guidelines), covers the primary concern around soil-related infections.
What’s the difference between mud pies and a mud kitchen?
Making mud pies is the activity: mixing soil and water into pretend food. A mud kitchen is the play station, a table, tools, and a dedicated outdoor space, that gives kids somewhere to do that activity repeatedly and with more variety. You don’t need a mud kitchen to make mud pies, but having one tends to make the play sessions longer and more elaborate.
Is Mud Pie the clothing brand the same as mud pies the activity?
No. Mud Pie is a separate US brand that sells baby clothes, women’s clothing, and home décor. The childhood activity of making mud pies, mixing dirt and water to form pretend food, predates that brand by generations and has nothing to do with it. If you searched for one and landed on the other, now you know why.
How do I get mud stains out of kids’ clothes?
Let the mud dry completely first, dried mud brushes off far more easily than wet mud, which spreads when you rub it. Then rinse the fabric in cold water (not hot, heat sets stains), apply dish soap or a stain pre-treater directly to the spot, and launder as normal. Most mud stains come out with this method if you catch them before running the clothes through a hot dryer.


