
Honey Nut Cheerios Snacks Kids Love
Cheerio snacks for kids are no-bake treats made by binding Honey Nut Cheerios with peanut butter and honey into bars, bites, or clusters in about 15 minutes.
Last updated: July 2026
Quick Answer: Cheerio Snacks for Kids
These Honey Nut Cheerios snacks come together with four or five pantry ingredients, a saucepan, and zero oven time. You warm the peanut butter and honey until just smooth, fold in the cereal, press it into a pan, and refrigerate until firm. The result is a portable, kid-approved bar that holds its shape all week. This post covers the base bar recipe plus three quick variations so you’ve always got options.
Here’s the thing about 3 p.m. with hungry kids circling the kitchen: you don’t want to be Googling a complicated recipe. You want something you can pull off with one pot and a box of cereal that’s probably already on your counter. These Cheerio snacks for kids are exactly that. I’m also covering bites, bark, and trail mix clusters, so you’ve got formats for every kid, every situation, and every level of mess tolerance.
Why Honey Nut Cheerios Are the Secret Upgrade
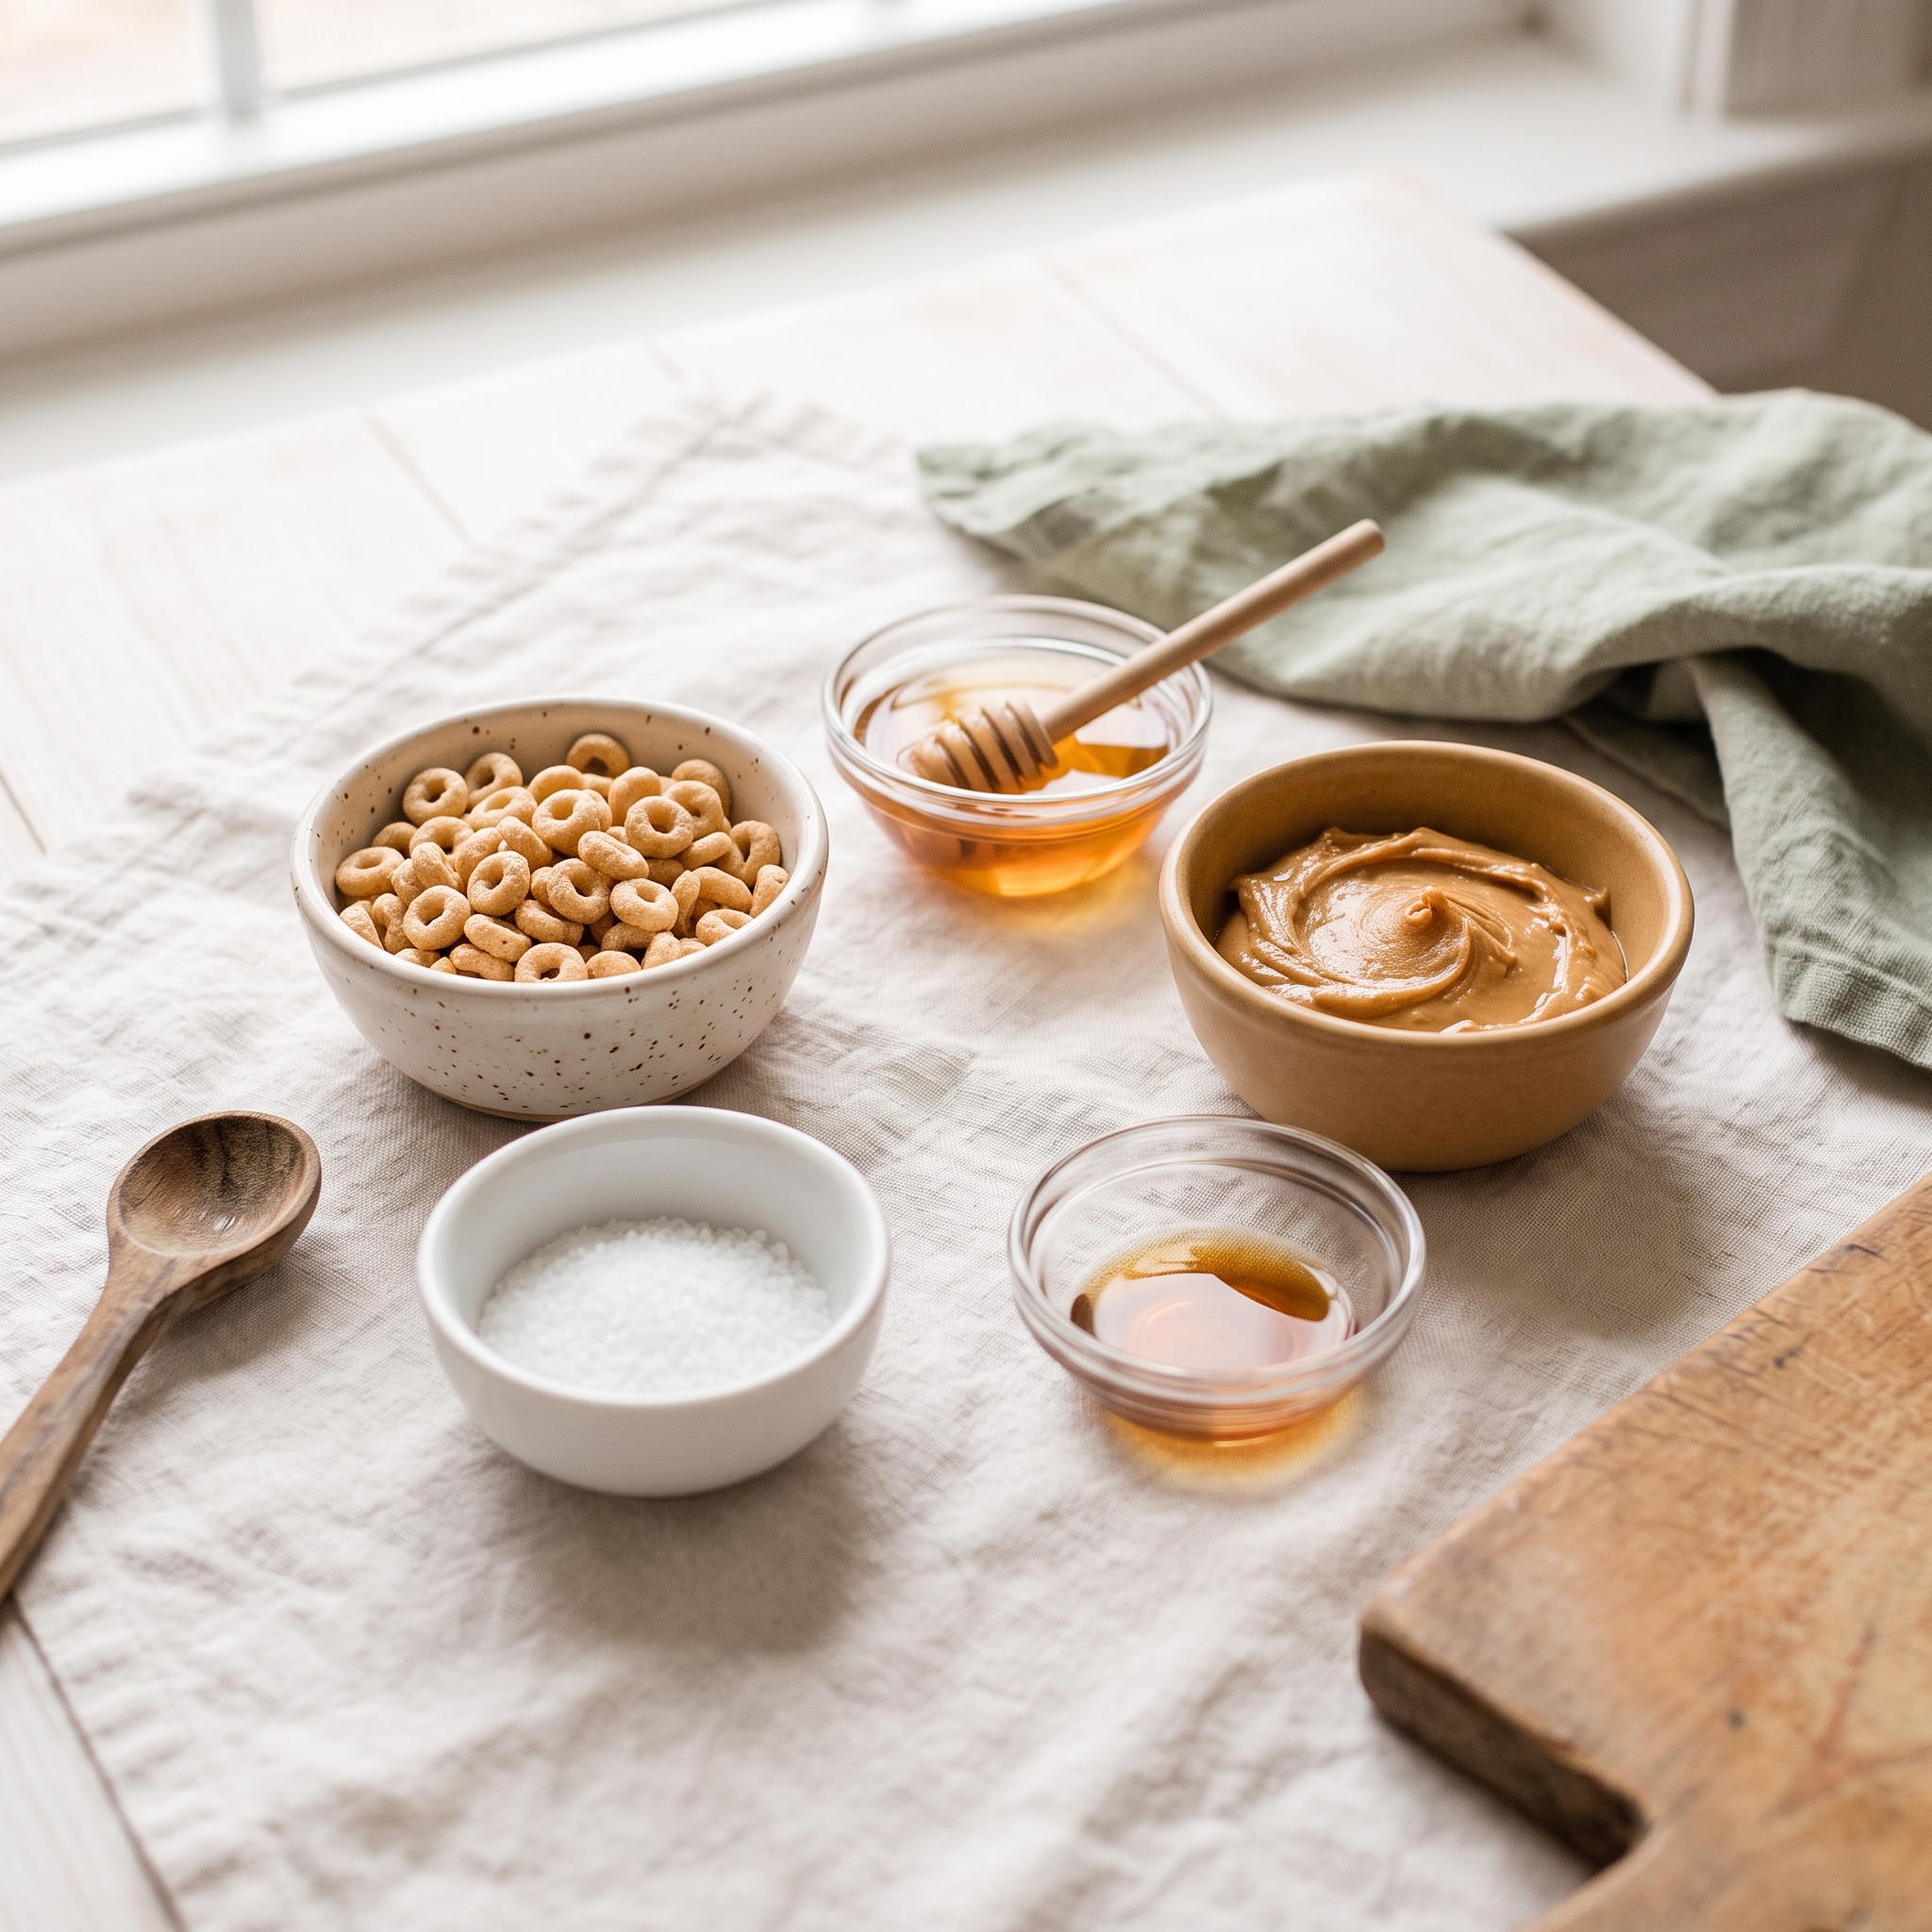
Most Cheerio snack bar recipes call for plain Cheerios, but there’s a real reason to reach for the yellow Honey Nut box instead. Plain Cheerios are mildly savory, which means most recipes compensate by piling in a full half cup of honey. Honey Nut Cheerios already carry built-in sweetness and a hint of almond flavor, so you can drop the honey down to a third of a cup and still get bars that taste like a treat.
The other thing I love: these bars are good cold straight from the fridge. No reheating, no softening on the counter first. The flavor holds up beautifully because the cereal itself is already doing some of the heavy lifting. According to the Cheerios product page, Honey Nut Cheerios contains 22 grams of whole grain per serving, with whole grain oats listed as the first ingredient. That’s a small reassurance when you’re handing this to your kids as an after-school snack. If you’re looking for more ideas that pair a whole food with a protein, this fits right in with other healthy snacks for kids that actually get eaten.
Ingredients
- 3 cups Honey Nut Cheerios: the standard yellow box; store-brand O’s work fine too
- ½ cup creamy peanut butter: natural or regular both work; avoid chunky because bars won’t hold together as well
- ⅓ cup honey: reduced from the typical ½ cup because Honey Nut Cheerios are already sweet
- 1 tsp vanilla extract: optional, but it rounds out the flavor nicely
- Pinch of fine sea salt: balances the sweetness; skip if your peanut butter is already salted
Instructions
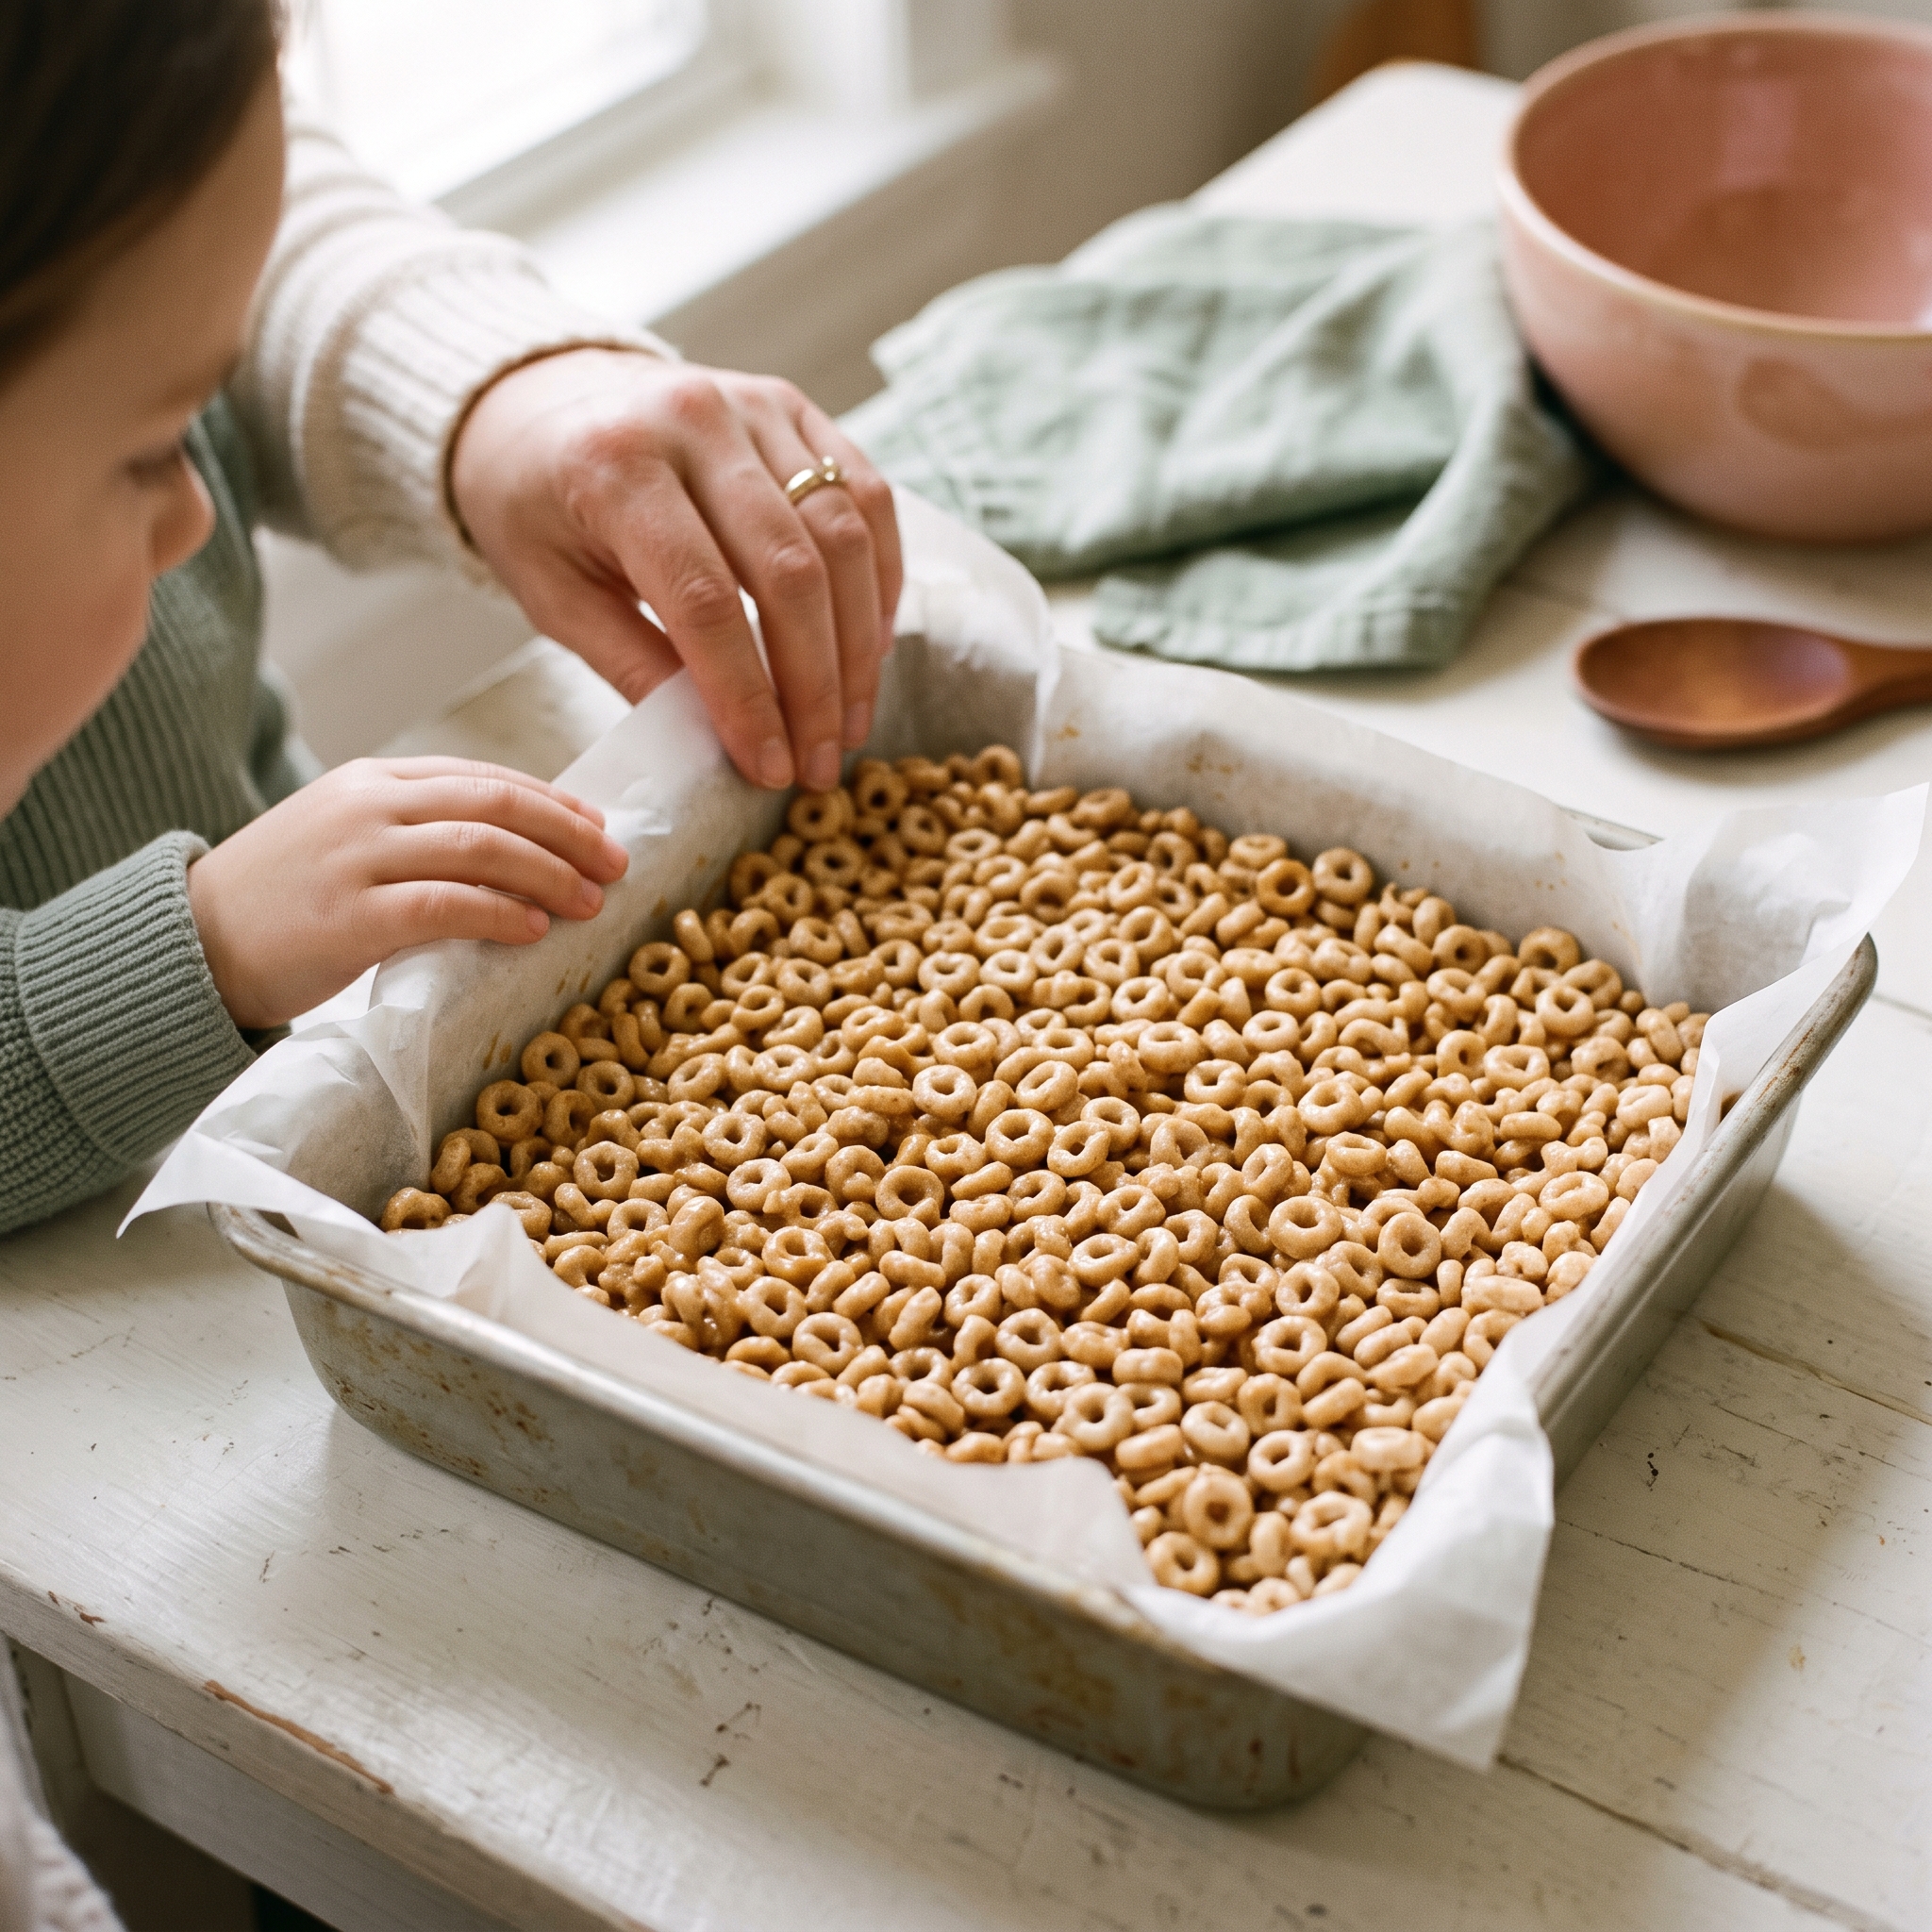
- Line an 8×8-inch baking pan with parchment paper and lightly spray with cooking spray. Set aside.
- Add the peanut butter and honey to a medium saucepan. Heat over medium-low, stirring constantly, for about 60 to 90 seconds, just until the mixture is smooth and starting to barely bubble around the edges. (Optional: stir in ½ tsp olive oil to keep the mixture from sticking to the pan.)
- Remove from heat immediately. Stir in the vanilla extract and salt.
- Pour the Honey Nut Cheerios directly into the saucepan. Fold gently with a silicone spatula until every piece is coated, about 1 minute.
- Transfer the mixture into the prepared pan. Press down firmly and evenly with the back of the spatula or a piece of parchment. The more compressed the layer, the cleaner the bars will cut.
- Cover and refrigerate for at least 1 hour (or 30 minutes in the freezer if you’re short on time) until completely set and firm.
- Lift out using the parchment edges and slice into 12 to 16 bars. Serve immediately or store for the week.
Recipe Card
| Detail | Info |
|---|---|
| Prep Time | 10 minutes |
| Cook Time | 2 minutes (stovetop) |
| Chill Time | 1 hour |
| Total Time | 1 hour 12 minutes |
| Yield | 12 to 16 bars (one 8×8 pan) |
Tips for Bars That Actually Hold Together
If your Cheerio snack bars have ever crumbled the moment you tried to slice them, one of three things probably went wrong. Here’s how to fix each one before it happens.
Press Hard, Seriously
The number one reason bars fall apart is not enough compression in the pan. A silicone spatula is okay for getting the mixture in, but finishing with the flat bottom of a measuring cup gives you even, consistent pressure across the whole surface. You’re aiming for a packed layer about ¾-inch thick. If you can see gaps or air pockets, press again.
Don’t Skip the Chill Time
One hour minimum in the fridge, full stop. If you’re in a rush, 30 minutes in the freezer gets the job done. Before you slice, press one corner of the bar with your finger. It should feel completely firm and hold its shape without any give. If there’s any softness, give it another 15 minutes.
Cut Them While Cold
Pull the bars straight from the fridge to slice. After 20 minutes at room temperature, the peanut butter starts to soften and the edges drag when you cut. Use a sharp knife in one clean downward motion, no sawing back and forth. Clean edges every time.
Substitutions and Allergy-Friendly Swaps
These bars are easy to adapt, which is one of the reasons I keep coming back to them. Here are the swaps I’d actually reach for.
Nut-Free for School Lunches
Swap the peanut butter 1:1 with sunflower seed butter. SunButter is widely available at most US grocery stores and has a similar creamy texture that binds the bars well. One heads-up: sunflower seed butter can turn baked goods green when it reacts with baking soda, but these bars don’t use any baking soda, so you shouldn’t see a color change here. Tahini (sesame paste) also works for a more neutral flavor, though always check your school’s specific allergy policy since sesame is a common allergen too.
Sweetener Swaps
Maple syrup substitutes 1:1 for honey and makes these vegan-friendly. The bars will be slightly less firm, so add an extra tablespoon to compensate. Brown rice syrup (find it in the natural foods aisle) produces the firmest, crispiest bars of any sweetener option. Agave works but gives a softer, chewier result.
Mix-In Ideas
Stir these in after removing the saucepan from heat so the add-ins don’t melt completely or get overcooked:
- 2 tbsp mini chocolate chips: add after the pan comes off the heat so they stay mostly intact
- 2 tbsp ground flaxseed or hemp hearts: folds in invisibly and adds a nutritional boost
- ¼ cup raisins or dried cranberries: adds a chewy, fruity contrast to the crispy cereal (skip these if you’re making the bars for a child under 4, since dried fruit is a choking hazard for little ones)
3 More Snacks to Make With Cheerios (Beyond Bars)
Sometimes you don’t want bars. Maybe your toddler does better with something smaller, or you need a snack in ten minutes flat. These three formats use the same basic ingredients in different ways, and they cover a lot of snacking ground.
Honey Nut Cheerio Bites (No Pan Needed)
Use the same peanut butter and honey mixture, but instead of pressing it into a pan, roll the coated cereal into 1-inch balls while it’s still warm and pliable. Set them on a parchment-lined sheet and refrigerate for about 20 minutes until firm. You’ll get roughly 20 bites from one batch. These are easy for little hands to hold, but keep the balls small and stay nearby while kids under 4 eat them, since sticky peanut butter can be a choking risk. If you love the concept, no-bake peanut butter energy balls follow a similar approach with rolled oats for a heartier bite.
Cheerio Chocolate Bark
Melt ½ cup semi-sweet chocolate chips in a microwave-safe bowl in 30-second intervals, stirring between each, until smooth. Spread the melted chocolate in a thin layer on a parchment-lined sheet pan. Scatter 1½ cups Honey Nut Cheerios across the top, then drizzle with 1 tablespoon of honey. Refrigerate for 30 minutes and break into pieces. Zero cooking required beyond the microwave.
Cheerio Trail Mix Clusters
Combine Honey Nut Cheerios with mini pretzels, dried fruit, and a handful of M&Ms in a large bowl. No binder, no baking, no binding agent at all. This works as a dry snack mix portioned into individual bags for school snack time, or packed by the handful into a cooler for a road trip with kids where you need something that travels well and requires zero refrigeration. It’s meant for school-age kids, not toddlers, because the pretzels, dried fruit, and candy are all choking hazards for children under 4.
How to Store Cheerio Snacks
Bar storage is straightforward, but there are a few details that make the difference between bars that are still good on day four and ones that turn into a sticky mess.
- Room temperature: up to 4 days in an airtight container; stack with parchment paper between layers to prevent sticking. Avoid this method if your kitchen runs warm (above around 75°F) because the bars will soften and lose shape.
- Refrigerator: up to 10 days in an airtight container; this is the method I’d recommend for keeping them at their best all week
- Freezer: wrap individual bars in plastic wrap, place in a zip-top freezer bag, and freeze for up to 2 months. Thaw in the fridge overnight or at room temperature for about 15 minutes before eating.
Make These Snacks With Your Kids
This is one of those snacks made with Cheerios that works as a kitchen activity, not just a recipe. The steps are simple, the stakes are low, and kids can participate at almost every age.
- Ages 4 to 6: measuring and pouring the Cheerios, and folding the coated cereal in the saucepan (off the heat)
- Ages 7 and up: the spatula pressing step and slicing bars with supervision
- Teens: can manage the stovetop step with a parent nearby
The bites format is especially good for younger kids. Rolling warm cereal mixture into balls is tactile and satisfying, and there’s very little that can go wrong. It’s a low-pressure way to get them involved in the kitchen and interested in what they’re eating, which in my experience makes them far more likely to actually eat it.
Frequently Asked Questions
Can I make Cheerio snack bars without peanut butter?
Yes. Sunflower seed butter, almond butter, cashew butter, and tahini all substitute 1:1 for peanut butter in this recipe. Keep in mind that almond and cashew butter are tree nuts, so they work for a peanut-free version but not for a nut-free one. For a nut-free option, sunflower seed butter is the one I’d reach for. For school lunches, always check your school’s specific policy, since many ban tree nuts in addition to peanuts.
Why are my Cheerio bars falling apart?
The two most common culprits: the peanut butter-honey mixture wasn’t warm enough to coat every piece of cereal, or the bars weren’t pressed firmly enough before chilling. If your bars are already crumbling, try pressing the mixture back together in the pan and returning it to the fridge for another 30 minutes. A firmer chill often rescues an underpressed batch.
Can I use Honey Nut Cheerios instead of plain Cheerios in any recipe?
In sweet snack recipes, yes, and it’s usually an upgrade. Because Honey Nut Cheerios already contain honey and almond flavor, you can reduce the added honey in most recipes by about 2 tablespoons compared to versions written for plain Cheerios, without losing any sweetness. For savory recipes (like party snack mixes with ranch seasoning), plain Cheerios are the better fit since the honey-almond flavor can compete.
Are these Cheerio snacks okay for toddlers?
These bars contain honey, which is not safe for babies under 12 months due to the risk of infant botulism. The CDC advises against giving honey to infants under one year of age in any form. For toddlers 12 months and older, honey is fine, but the bars are dense and sticky, and thick peanut butter is a known choking risk for children under 4. If I’m making these for a toddler, I skip the raisins, dried cranberries, and chocolate chips, cut the bars into small, thin pieces, and stay right next to them while they eat. The bites are easier for small hands, but keep them small and supervise the same way. Always supervise young children while eating.
How long do homemade Cheerio snacks last?
At room temperature in an airtight container: up to 4 days (in a cool kitchen). In the refrigerator: up to 10 days. In the freezer, individually wrapped: up to 2 months. The refrigerator is the best everyday option for keeping bars firm and fresh throughout the week.


