
Baking Soda and Vinegar Experiment for Kids (Easy Science Fun)
The baking soda and vinegar experiment is a classic kitchen science activity where an acid (vinegar) reacts with a base (baking soda) to release carbon dioxide gas, creating an immediate fizzing and bubbling reaction that kids can see, hear, and feel.
Last updated: June 2026
Quick Answer: What Is the Baking Soda and Vinegar Experiment?
Combine baking soda and vinegar and you get an instant, dramatic fizz, that’s carbon dioxide gas escaping from an acid-base chemical reaction. It takes about 5 minutes to set up, uses supplies most families already have at home, and works for kids from age 2 (with supervision) all the way through elementary school. Prep time: 5 minutes. Activity time: 20-30 minutes.
Everyone says you need a fancy science kit to do “real” experiments with kids. Not so. Some of the best kitchen science for kids is already sitting in your pantry, and this one is proof. If your household is anything like mine, the afternoons when you need something fast are exactly when you don’t want to run to a craft store. Two ingredients, one tray, and you’ve got a legit science lesson happening on your kitchen floor.
This is also one of the best easy science experiments for toddlers because the reaction is immediate and dramatic, no waiting, no mystery. Kids see the cause, they see the effect, and they want to do it again immediately. For more rainy-day ideas to keep little ones busy, indoor toddler activities like sensory bins and art projects pair beautifully with a morning of fizzing science.
What You’ll Need
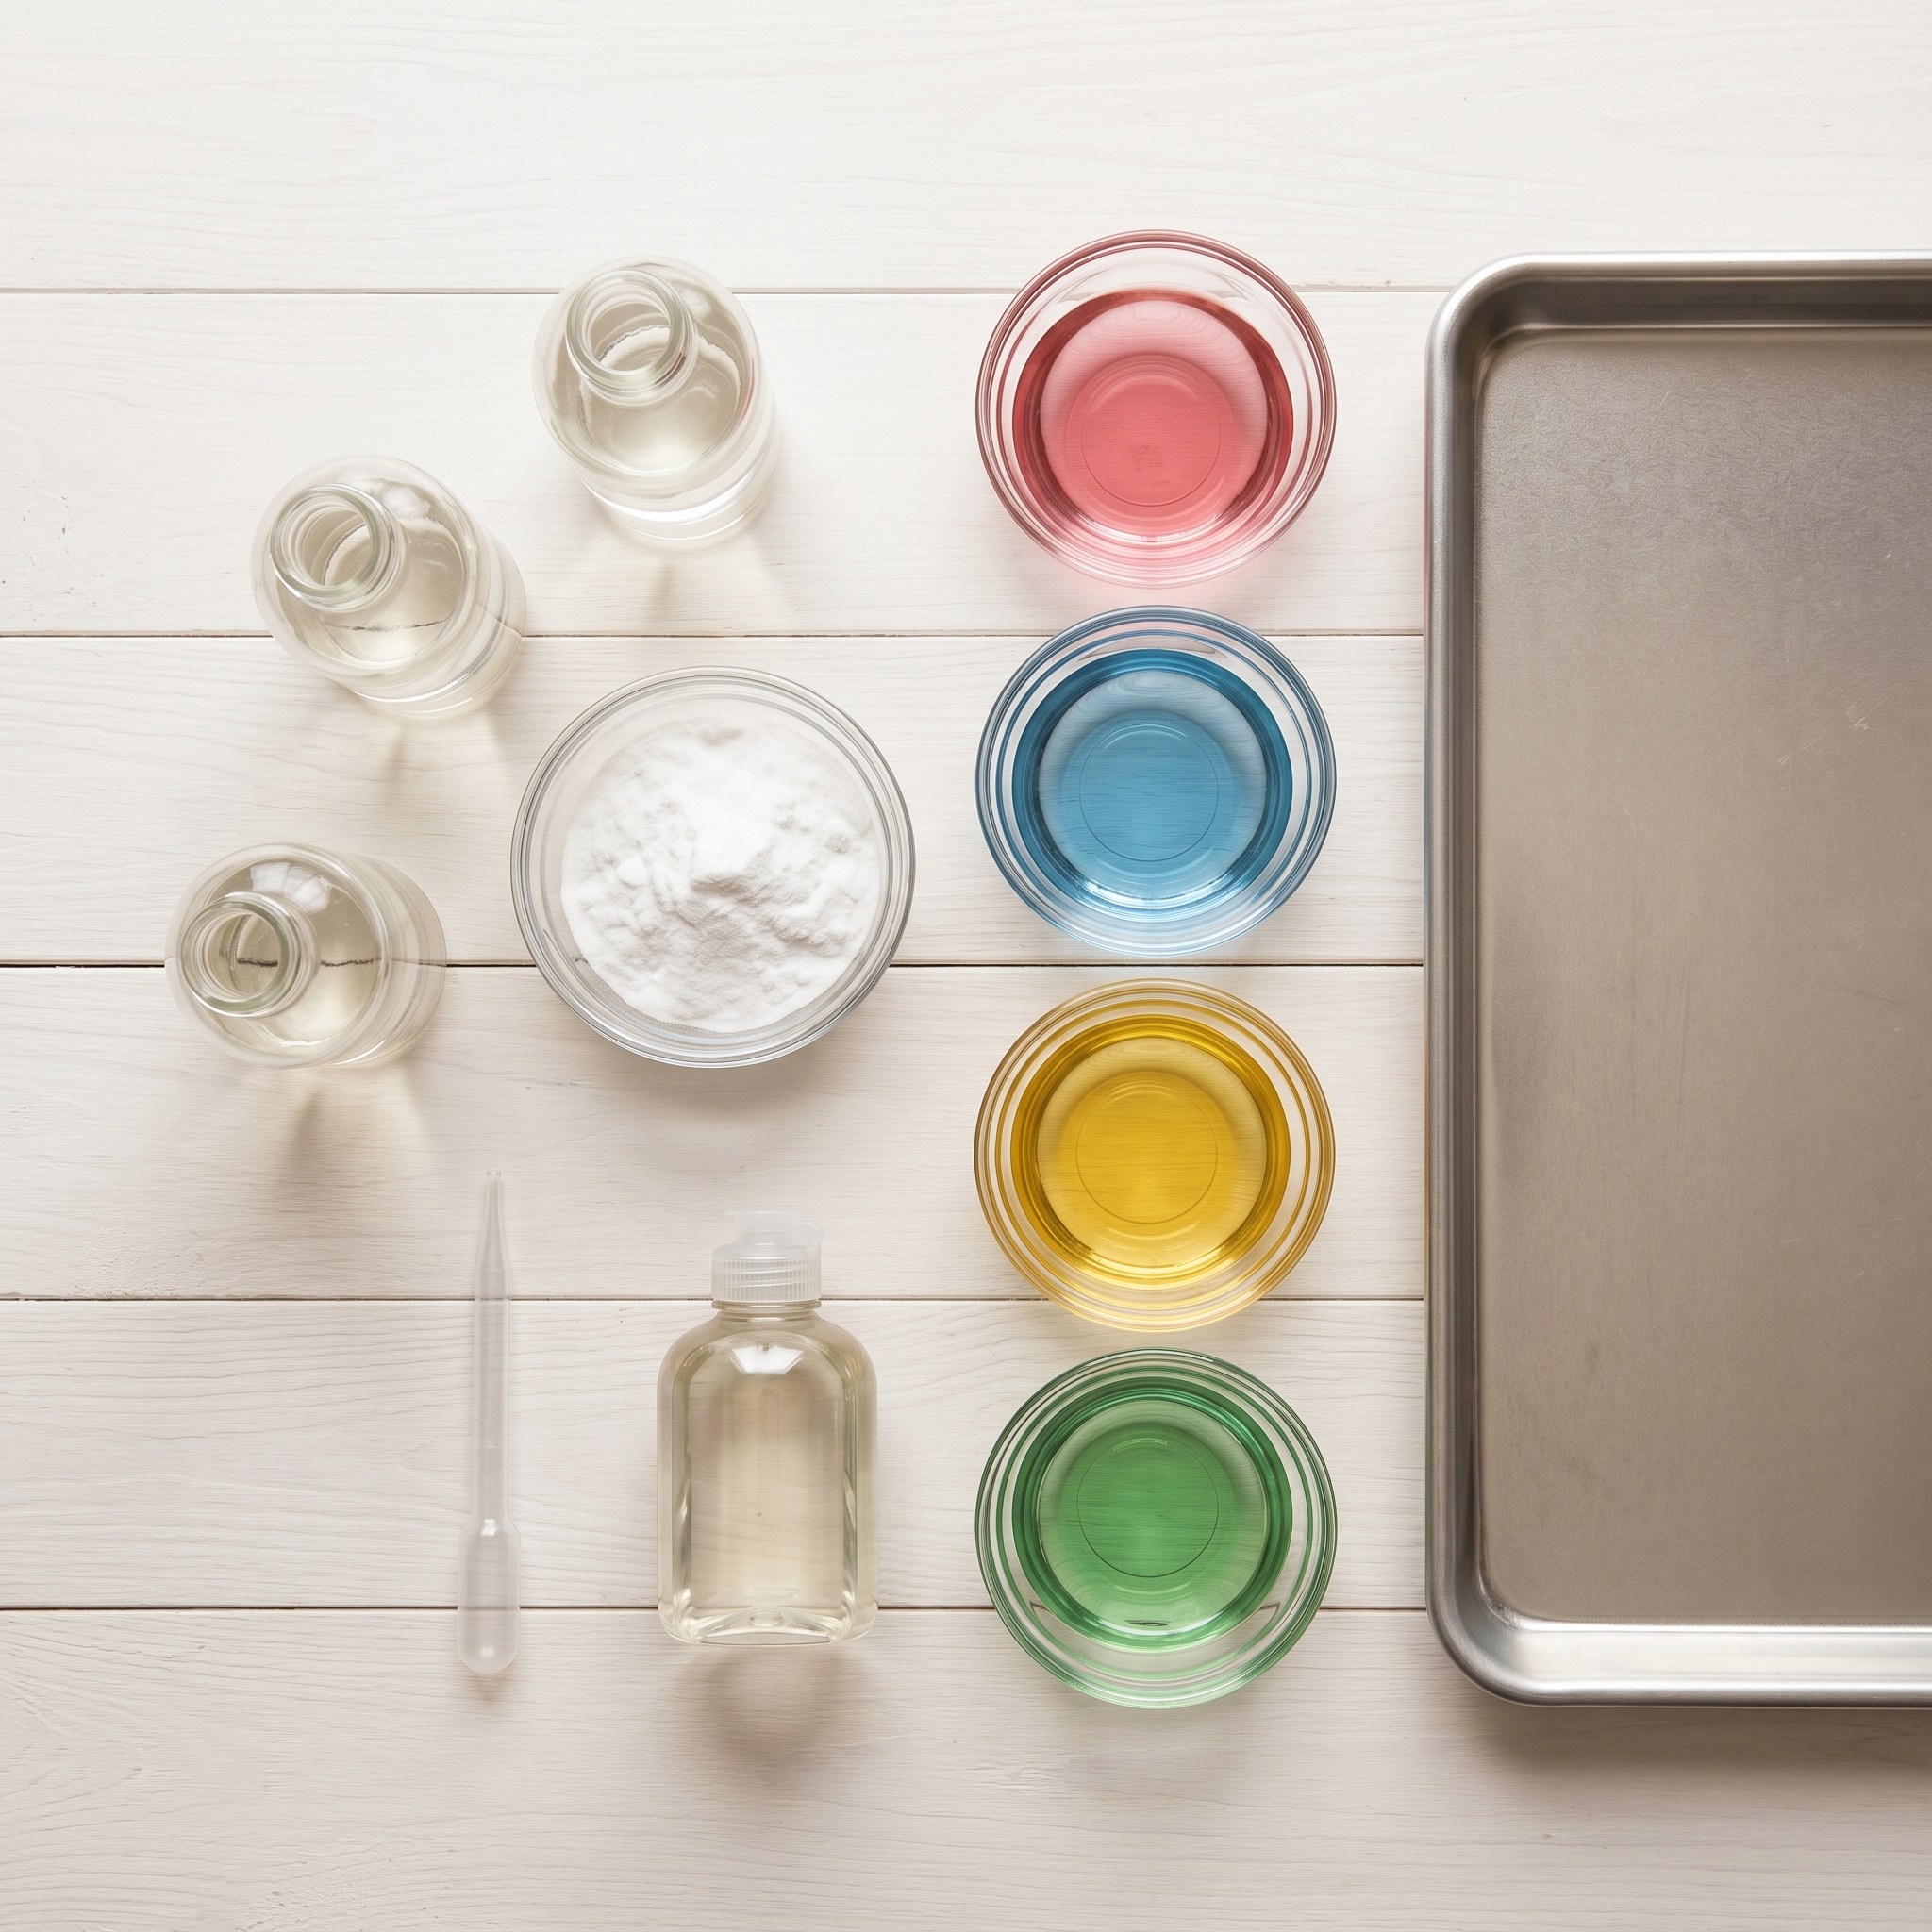
No specialty supplies required. Here’s what you need for the basic version of this kitchen science activity:
- Baking soda: 1-2 cups for a full tray setup
- White distilled vinegar: at least 1 cup (standard grocery store vinegar is about 5% acidity and works perfectly)
- Food coloring: gel or liquid, 3-4 colors recommended
- Rimmed baking sheet, muffin tin, or large plastic bin: any of these work depending on what you have
Want to stretch the fun and add a few upgrades? These optional add-ons are worth grabbing:
- Medicine dropper or pipette: makes this toddler-friendly and extends playtime significantly
- Dish soap: 1 drop per quarter cup of vinegar makes bubbles last longer (more on that in the science section)
- Small squeeze bottles or turkey baster: great for older kids who want more control
- Non-toxic glitter: adds a sensory twist for kids who love sparkle
- Small plastic bottle and modeling clay: needed for the volcano variation below
How to Set It Up
Setup is fast. Get the tray ready before you call the kids over, half the magic is watching their face when they see what’s about to happen.
- Lay your baking sheet on a table or on the floor with a vinyl tablecloth or shower curtain liner underneath for easy cleanup.
- Pour baking soda evenly across the sheet, aiming for about a quarter-inch layer (roughly half a cup per standard half-sheet pan).
- Pre-mix your vinegar into small cups or squeeze bottles, one per color, about 2-3 tablespoons each.
- Add 3-5 drops of food coloring to each vinegar cup and stir to combine.
- If you’re using dish soap, add 1 drop per cup of vinegar now, then stir gently so you don’t activate the fizz before it hits the baking soda.
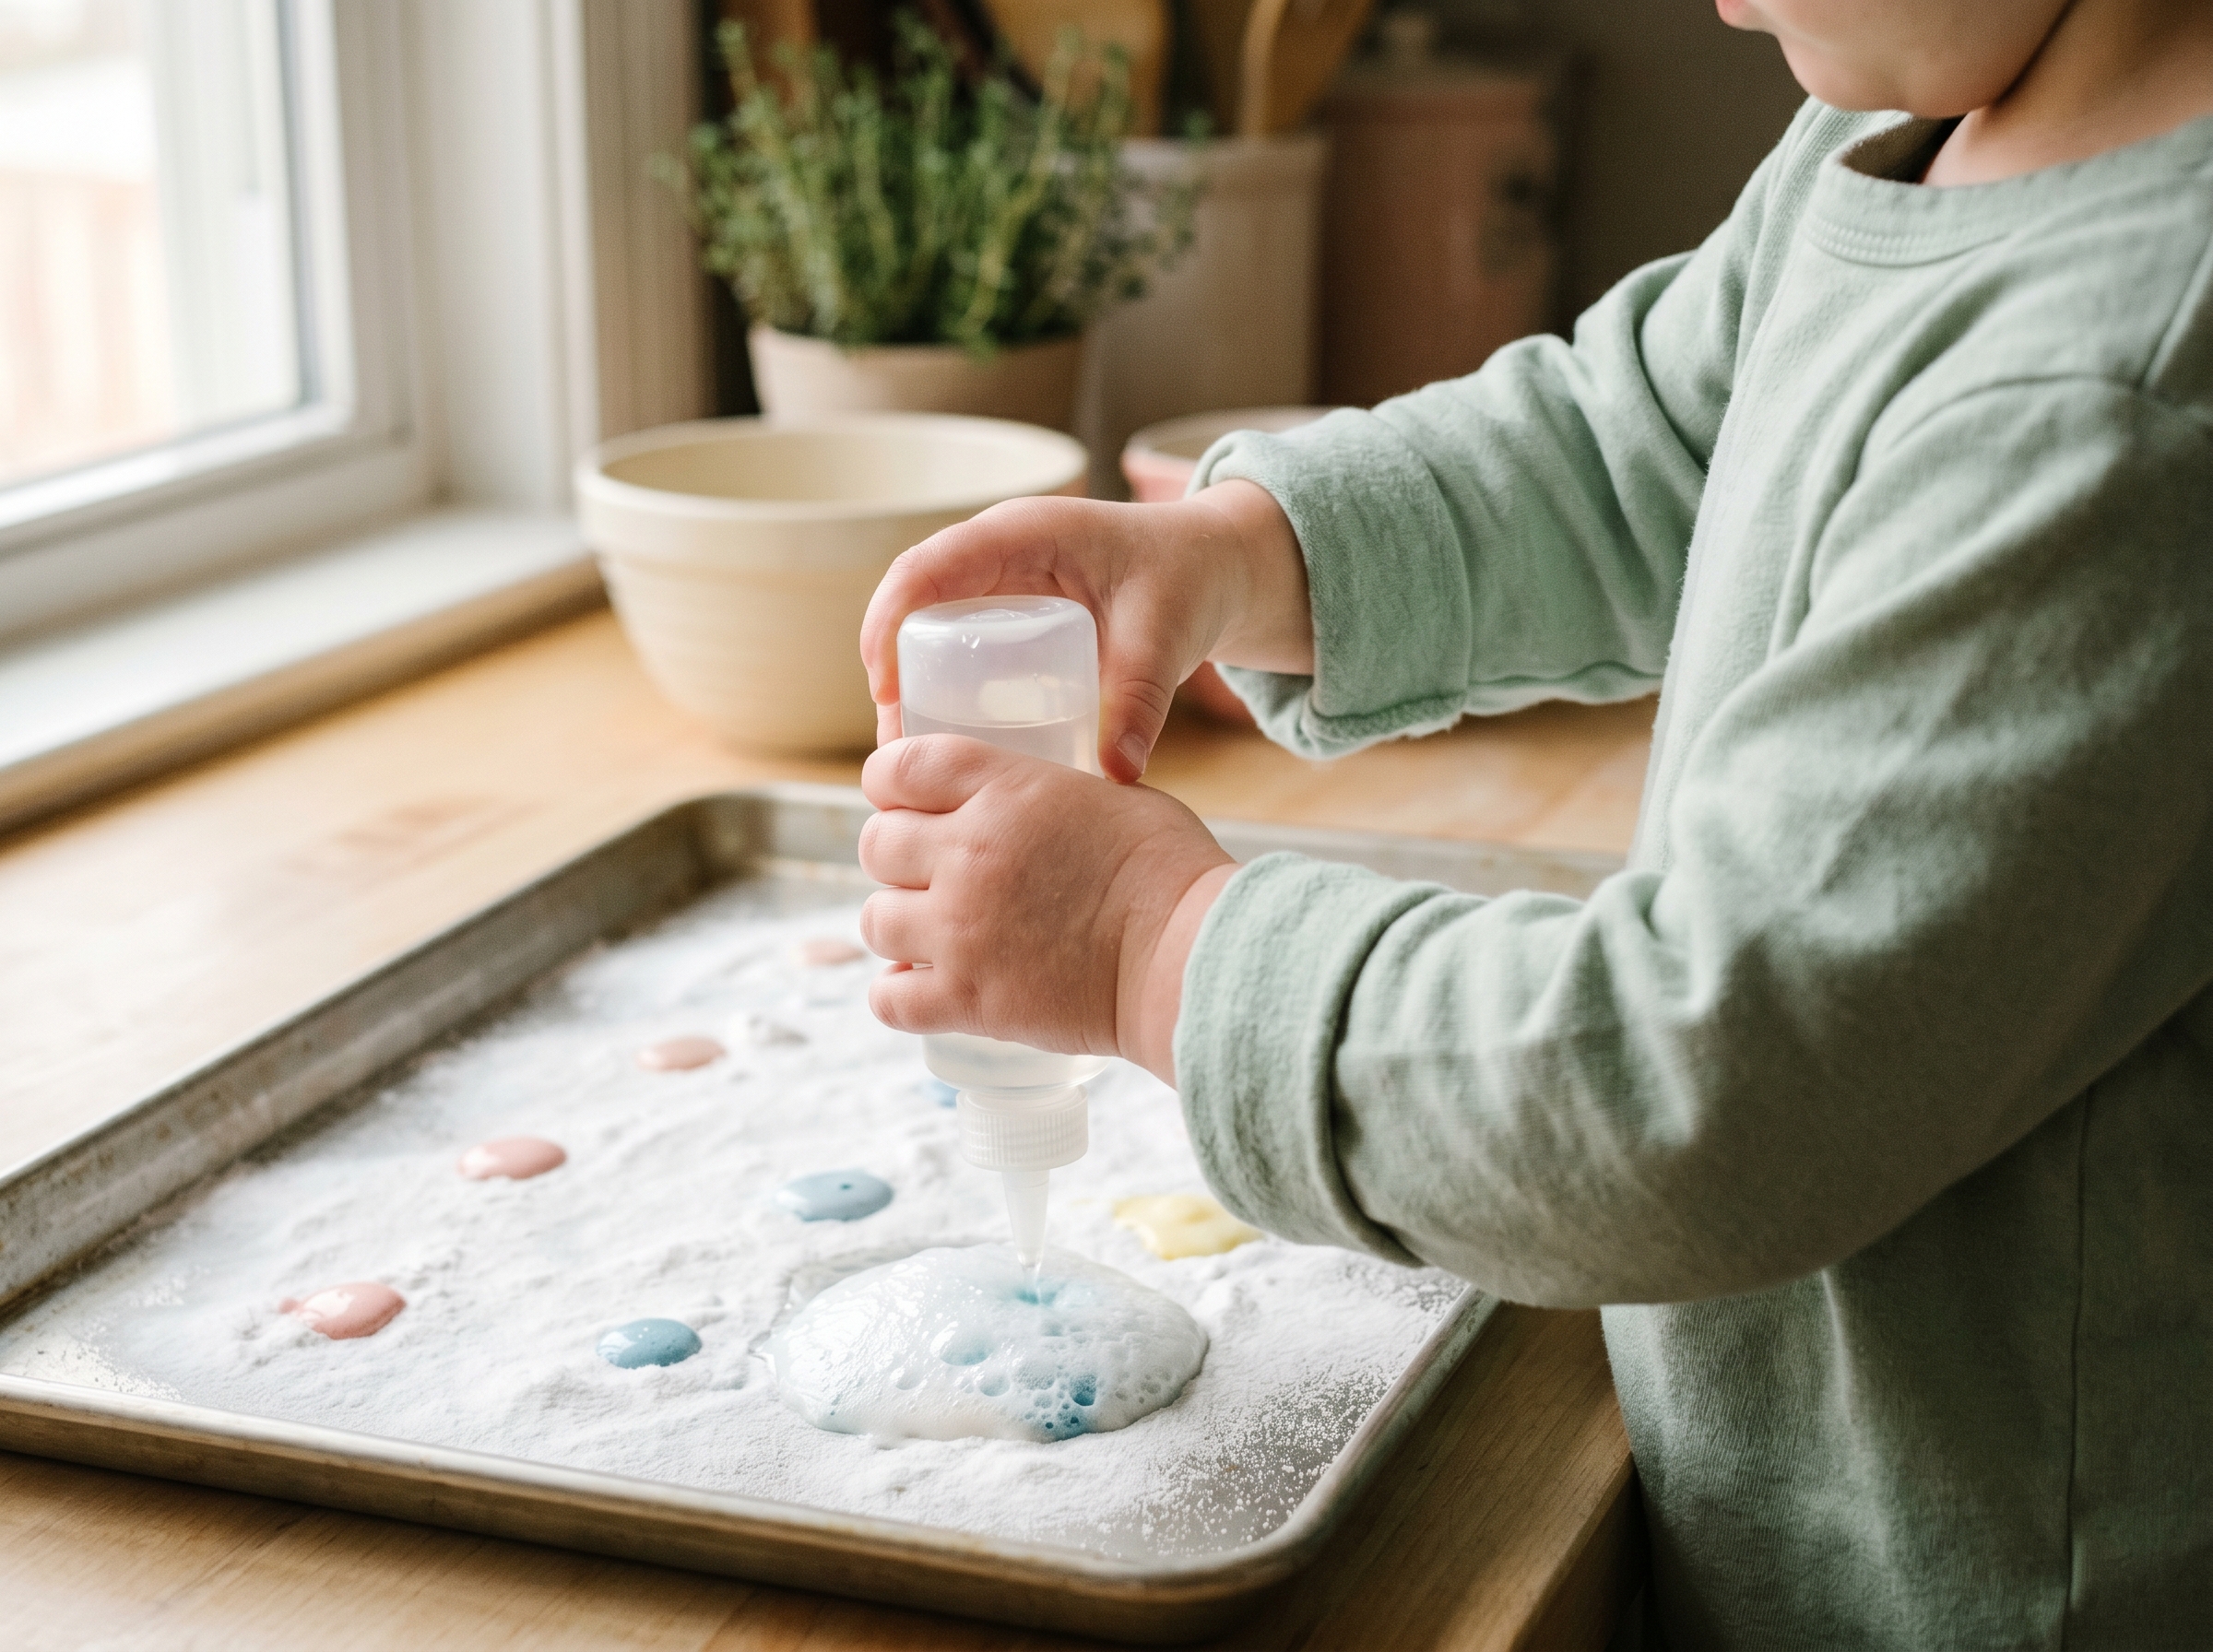
- Hand your child the dropper or squeeze bottle and let them drip the colored vinegar onto the baking soda surface.
- Watch the baking soda and vinegar reaction fizz, bubble, and swirl colors together. Encourage kids to try dropping one color directly on top of another for extra color-mixing fun.
Macy’s tip: Set up on the kitchen floor on a large sheet of butcher paper for zero-stress cleanup. The whole thing is contained, and you can just roll it up when you’re done.
What’s Actually Happening? (The Science, Made Simple)
Here’s the short version for when your 4-year-old asks “but WHY does it fizz?” The vinegar is an acid. The baking soda is a base. When an acid and a base meet, they react chemically and produce something new. In this case, that something is carbon dioxide gas, water, and sodium acetate. The CO₂ is what creates those bubbling, fizzing eruptions your kids keep coming back to.
A good starting ratio for this reaction is about 4 teaspoons of baking soda to 1 cup of vinegar, with gentle swirling to mix. That’s a helpful benchmark if your older kids want to start measuring and experimenting with proportions, though the exact ratio isn’t critical. Part of the fun is letting them test what happens when they change it.
The dish soap trick is worth understanding, too. Adding a drop of dish soap to the vinegar traps the CO₂ inside a soapy film, so the bubbles last longer than they would with plain vinegar alone. No dish soap means the gas escapes fast. A drop of dish soap means bigger, longer-lasting suds.
As for why the colors swirl and blend across the tray: the liquid vinegar carries food coloring pigment as it spreads through the baking soda layer. Two colors dripping near each other will mix right before your eyes. Even your 3-year-old can understand this with the right language. “Chemical reaction” is a perfectly fine phrase to use with toddlers. Kids absorb vocabulary early, and it’s never too soon to say it.
What Kids Learn From This Experiment
This isn’t just a mess-making activity (though it’s that too, and that’s fine). The fizzing science experiment covers a surprising range of developmental and educational goals depending on your child’s age.
- Cause and effect: Dropper touches baking soda, fizzing happens immediately. Even toddlers grasp this.
- Color mixing: Red and blue vinegar meeting on the tray creates purple. It’s art and science at once.
- Acid-base chemistry: An intro concept for ages 6 and up that lays groundwork for future science classes.
- Observation skills: Watching what changes (the fizzing, the color, the texture) and what stays the same builds attention and scientific thinking.
- Fine motor skills: Squeezing a dropper, controlling pour speed, and aiming at a target all require precision.
- Scientific method (ages 7 and up): See the full walkthrough in the section below.
For easy science experiments for toddlers in particular, this one checks every box: short attention-span-friendly, sensory-rich, repeatable, and completely non-toxic. If you’re looking for another low-prep activity your kids can do independently, a simple button heart craft is a great follow-up that uses supplies you likely already have on hand (with supervision, since buttons are a choking hazard for little ones).
Fun Variations to Try
One important safety note before you try the variations: the gas this reaction makes (carbon dioxide) needs somewhere to go. An open tray, an open cup, or a balloon (which simply stretches and inflates) is completely safe. Never seal the mixture inside a closed, rigid container, no screwed-on bottle caps, corks, or sealed jars, because the trapped gas builds pressure and the container can burst. Stick to open containers or the balloon version below and you’re all set.
The basic tray setup is fantastic, but there are four variations worth trying depending on your kids’ ages and how much you want to shake things up.
1. The Classic Volcano
Place a small plastic bottle or cup on a tray and mound modeling clay or play dough around it to look like a mountain (leave the top open). Add half a cup of baking soda to the bottle, along with a teaspoon of dish soap and a few drops of red food coloring. Pour in about 1 cup of vinegar and step back. The baking soda and vinegar experiment volcano is the version kids see in movies, and it delivers every time. The dish soap slows the CO₂ release just enough to create a proper lava-style overflow out the open top.
2. Balloon Inflation
This one is a crowd favorite because it looks like magic. Add 2 teaspoons of baking soda inside an uninflated balloon using a small funnel. Stretch the balloon over the opening of a plastic bottle that contains about a quarter cup of vinegar. Hold the balloon upright so the baking soda drops into the vinegar, and watch the CO₂ inflate the balloon to roughly 4-5 inches in diameter. Great for discussing gas and pressure with kids ages 5 and up. (The balloon is what should expand here, so don’t cap the bottle with anything rigid, the stretchy balloon safely takes the pressure.)
3. Color-Mixing Muffin Tin (Toddler Version)
Instead of a flat baking sheet, use a muffin tin. Fill each cup with a small amount of baking soda. Prepare a different color of vinegar for each cup. The contained wells keep the experiment smaller-scale and easier for toddlers to manage, and you can focus entirely on what happens when two colors mix together in one cup.
4. Measure and Predict (Older Kids Challenge)
Give your 7-or-older kid measuring spoons and a notebook. Challenge them to figure out the minimum amount of vinegar needed to fully react with 1 teaspoon of baking soda. Once the baking soda stops fizzing, all of it has reacted. This introduces the concept of a “limiting ingredient” without using the textbook term, and it keeps older kids engaged while younger siblings do the sensory play version.

Turning It Into a Real Science Experiment (For Ages 6 and Up)
Here’s something most activity guides skip: you can walk your school-age kid through an actual scientific method using this exact setup. It doesn’t need to be formal or school-y. A simple conversation structure works.
- Question: “What do you think will happen when we mix baking soda and vinegar?”
- Hypothesis: Let your child predict out loud, a little, a lot, or nothing at all. Write it down. That’s the hypothesis.
- Experiment: Run through the steps above.
- Observation: Ask what they saw, heard, and felt. Did anything smell different? Did the baking soda disappear?
- Conclusion: Was their guess right? What surprised them?
If your child’s school uses Next Generation Science Standards (NGSS), this maps directly to K-2 science practices like asking questions and planning investigations. You could also print a simple one-page recording sheet with those five steps and let your child fill it in as they go. That doubles as a baking soda and vinegar experiment worksheet they can keep, and it makes a surprisingly good refrigerator art moment.
Mess-Management Tips (Because We’re Real Moms Here)
The mess is part of the magic, but your floors don’t have to suffer for it. A little prep goes a long way.
Before you start: Put down a vinyl tablecloth, a dollar-store shower curtain liner, or take the whole thing outside on the patio. If it’s a nice day, outdoor setup means zero indoor cleanup.
During the experiment: Keep paper towels within reach. If vinegar and baking soda mixture splashes onto surfaces, it’s completely non-toxic and wipes off easily. Don’t stress mid-experiment.
After: The leftover baking soda and vinegar mixture is safe to rinse straight down the drain, and it actually helps deodorize your sink while it’s going down. Win. The one thing to watch: put old T-shirts or smocks on your kids before you start. Food coloring will stain clothes, and it tends to happen exactly when you thought you had a handle on things.
Total cleanup time is under 5 minutes if you set up on a liner. That’s the whole reason this works on a Tuesday afternoon with zero warning.
Frequently Asked Questions
How do you do the baking soda and vinegar experiment?
Spread baking soda across a rimmed baking sheet or muffin tin, then mix food coloring into small cups of white vinegar. Use a dropper or squeeze bottle to drip the colored vinegar onto the baking soda. The acid-base reaction creates immediate fizzing bubbles of carbon dioxide gas. The full step-by-step is in the “How to Set It Up” section above.
Is this experiment safe for toddlers?
Yes, both baking soda and white vinegar are non-toxic and food-safe. Supervise dropper use with children under 3, and avoid getting vinegar directly in eyes since it’s a mild irritant at close range. Food coloring may temporarily stain skin but rinses off easily. One rule for every version: never trap the mixture in a sealed, rigid container, since the gas it produces needs to escape freely. Keep to open trays, cups, or the balloon version and it’s one of the most toddler-safe science activities you’ll find.
Why does baking soda and vinegar fizz?
The acetic acid in vinegar reacts with the sodium bicarbonate in baking soda to produce carbon dioxide gas. Those bubbles you see are CO₂ escaping the liquid. It’s a classic acid-base chemical reaction, and the fizzing science experiment result is carbon dioxide gas, water, and sodium acetate. Adding dish soap traps the CO₂ inside bubbles so they last longer before popping.
How much baking soda and vinegar do you need?
For a tray activity: half a cup to 1 cup of baking soda, and about 1 cup of vinegar divided into color cups. For the balloon experiment: 2 teaspoons of baking soda and a quarter cup of vinegar. For a volcano: half a cup of baking soda and 1 cup of vinegar plus a drop of dish soap. As a general starting ratio for demonstrations, about 4 teaspoons of baking soda per 1 cup of vinegar works well.
Can you do this at home without special supplies?
Absolutely. This is one of the most accessible easy science experiments for kids precisely because the entire supply list lives in a standard kitchen pantry. No lab equipment, no specialty craft store run required. Baking soda, white vinegar, and food coloring are all you need for the basic version, and a medicine dropper from the bathroom cabinet turns it into a toddler-level fine motor activity too.


