
Painted Mason Jars (Easy DIY Decor)
Painted mason jars are glass canning jars coated with acrylic, chalk, or spray paint on the outside to create decorative vases, organizers, centerpieces, or gifts, no special skills required.
Last updated: June 2026
Quick Answer: Painted Mason Jars
You can paint a mason jar with acrylic craft paint, chalk paint, or spray paint. The process comes down to three things: wipe the jar with rubbing alcohol first, apply two to three thin coats of paint, and seal with a clear acrylic spray when you’re done. Total active time is about 20 minutes, with drying time in between. The result is a piece of decor (or a thoughtful gift) that costs a dollar or two to make.
The kitchen smells like pasta sauce, and there’s a growing collection of empty glass jars under the sink. Sound familiar? Or maybe you spotted a set of painted mason jars at a boutique for $18 each and thought, “I could do that myself for two dollars.” You absolutely can. This craft works for kids and adults, it scales from a single jar on a Tuesday afternoon to a dozen centerpieces for a party, and it requires zero artistic talent.
Below you’ll find a full breakdown of which paint types work best, a step-by-step process, tips for preventing peeling, five variation ideas, and a guide for getting kids involved by age.
- Age Range: 5 and up (with adult help for sealing steps; ages 3-4 can finger-paint with supervision)
- Time: 20 minutes active / 1-2 hours total including dry time between coats
What Kind of Paint Works Best on Mason Jars?
Most tutorials gloss over paint type and just say “use craft paint.” But the paint you choose affects the finish, how much prep you need, and whether your jar holds up for a week or for years. Here’s how the four main options compare.
Acrylic Craft Paint
This is the most accessible option. Brands like DecoArt, Folk Art, and Apple Barrel cost around $1-$2 a bottle and come in hundreds of colors. Acrylic paint requires a rubbing alcohol wipe-down before you start, and you’ll want a sealer topcoat when you’re finished. Expect two to three coats for full, opaque coverage on glass. It dries in about 30 minutes per coat.
Chalk Paint
Chalk paint is the low-prep option. It’s designed to adhere to almost any surface, including glass, so you can skip the primer. The finish is matte and distresses beautifully with 220-grit sandpaper, which makes it the go-to for a farmhouse or rustic look. Brands like Country Chic Paint and Annie Sloan run $15-$20 for a small pot, but a little goes a long way on jars.
Spray Paint
Spray paint gives the fastest, most even coverage and is great when you’re painting a large batch. Krylon and Rust-Oleum both offer glass-compatible formulas. Hold the can 12-14 inches from the jar and use short, overlapping passes. Always spray in a well-ventilated area, and keep kids away during application.
Transparent Glass Paint
This creates a stained-glass effect where light shines through the jar. Pébéo Vitrea 160 is a popular option because it oven-bakes to cure permanently at 325°F for 40 minutes. It’s stunning on a windowsill with sunlight coming through. FolkArt Enamels also work in transparent finishes and can be oven-cured for durability.
Materials
- Clean glass mason jars: any size works; 16 oz wide-mouth Ball jars are ideal for beginners
- Rubbing alcohol (about 70% isopropyl) and cotton balls or pads: for cleaning and prepping the glass surface
- Paint of your choice: acrylic craft paint, chalk paint, or spray paint (see guide above)
- Foam brush or flat paintbrush: a 1-inch foam brush gives the smoothest coat
- 220-grit sandpaper: optional, for a distressed finish
- Clear acrylic sealer spray: Krylon Crystal Clear or a brush-on option like Mod Podge Gloss
- Drop cloth or wax paper: to protect your work surface
- Painter’s tape: optional, for color-blocking or stripe designs
How to Paint Mason Jars (Step-by-Step)
- Clean and prep the jar. Wipe the outside thoroughly with a rubbing alcohol-soaked cotton ball and let it dry for five minutes. This removes the oils and residue that cause paint to peel later.
- Tape off any areas you want paint-free. Use painter’s tape to mask the rim or create a stripe. Press the tape edges down firmly so paint doesn’t bleed underneath.
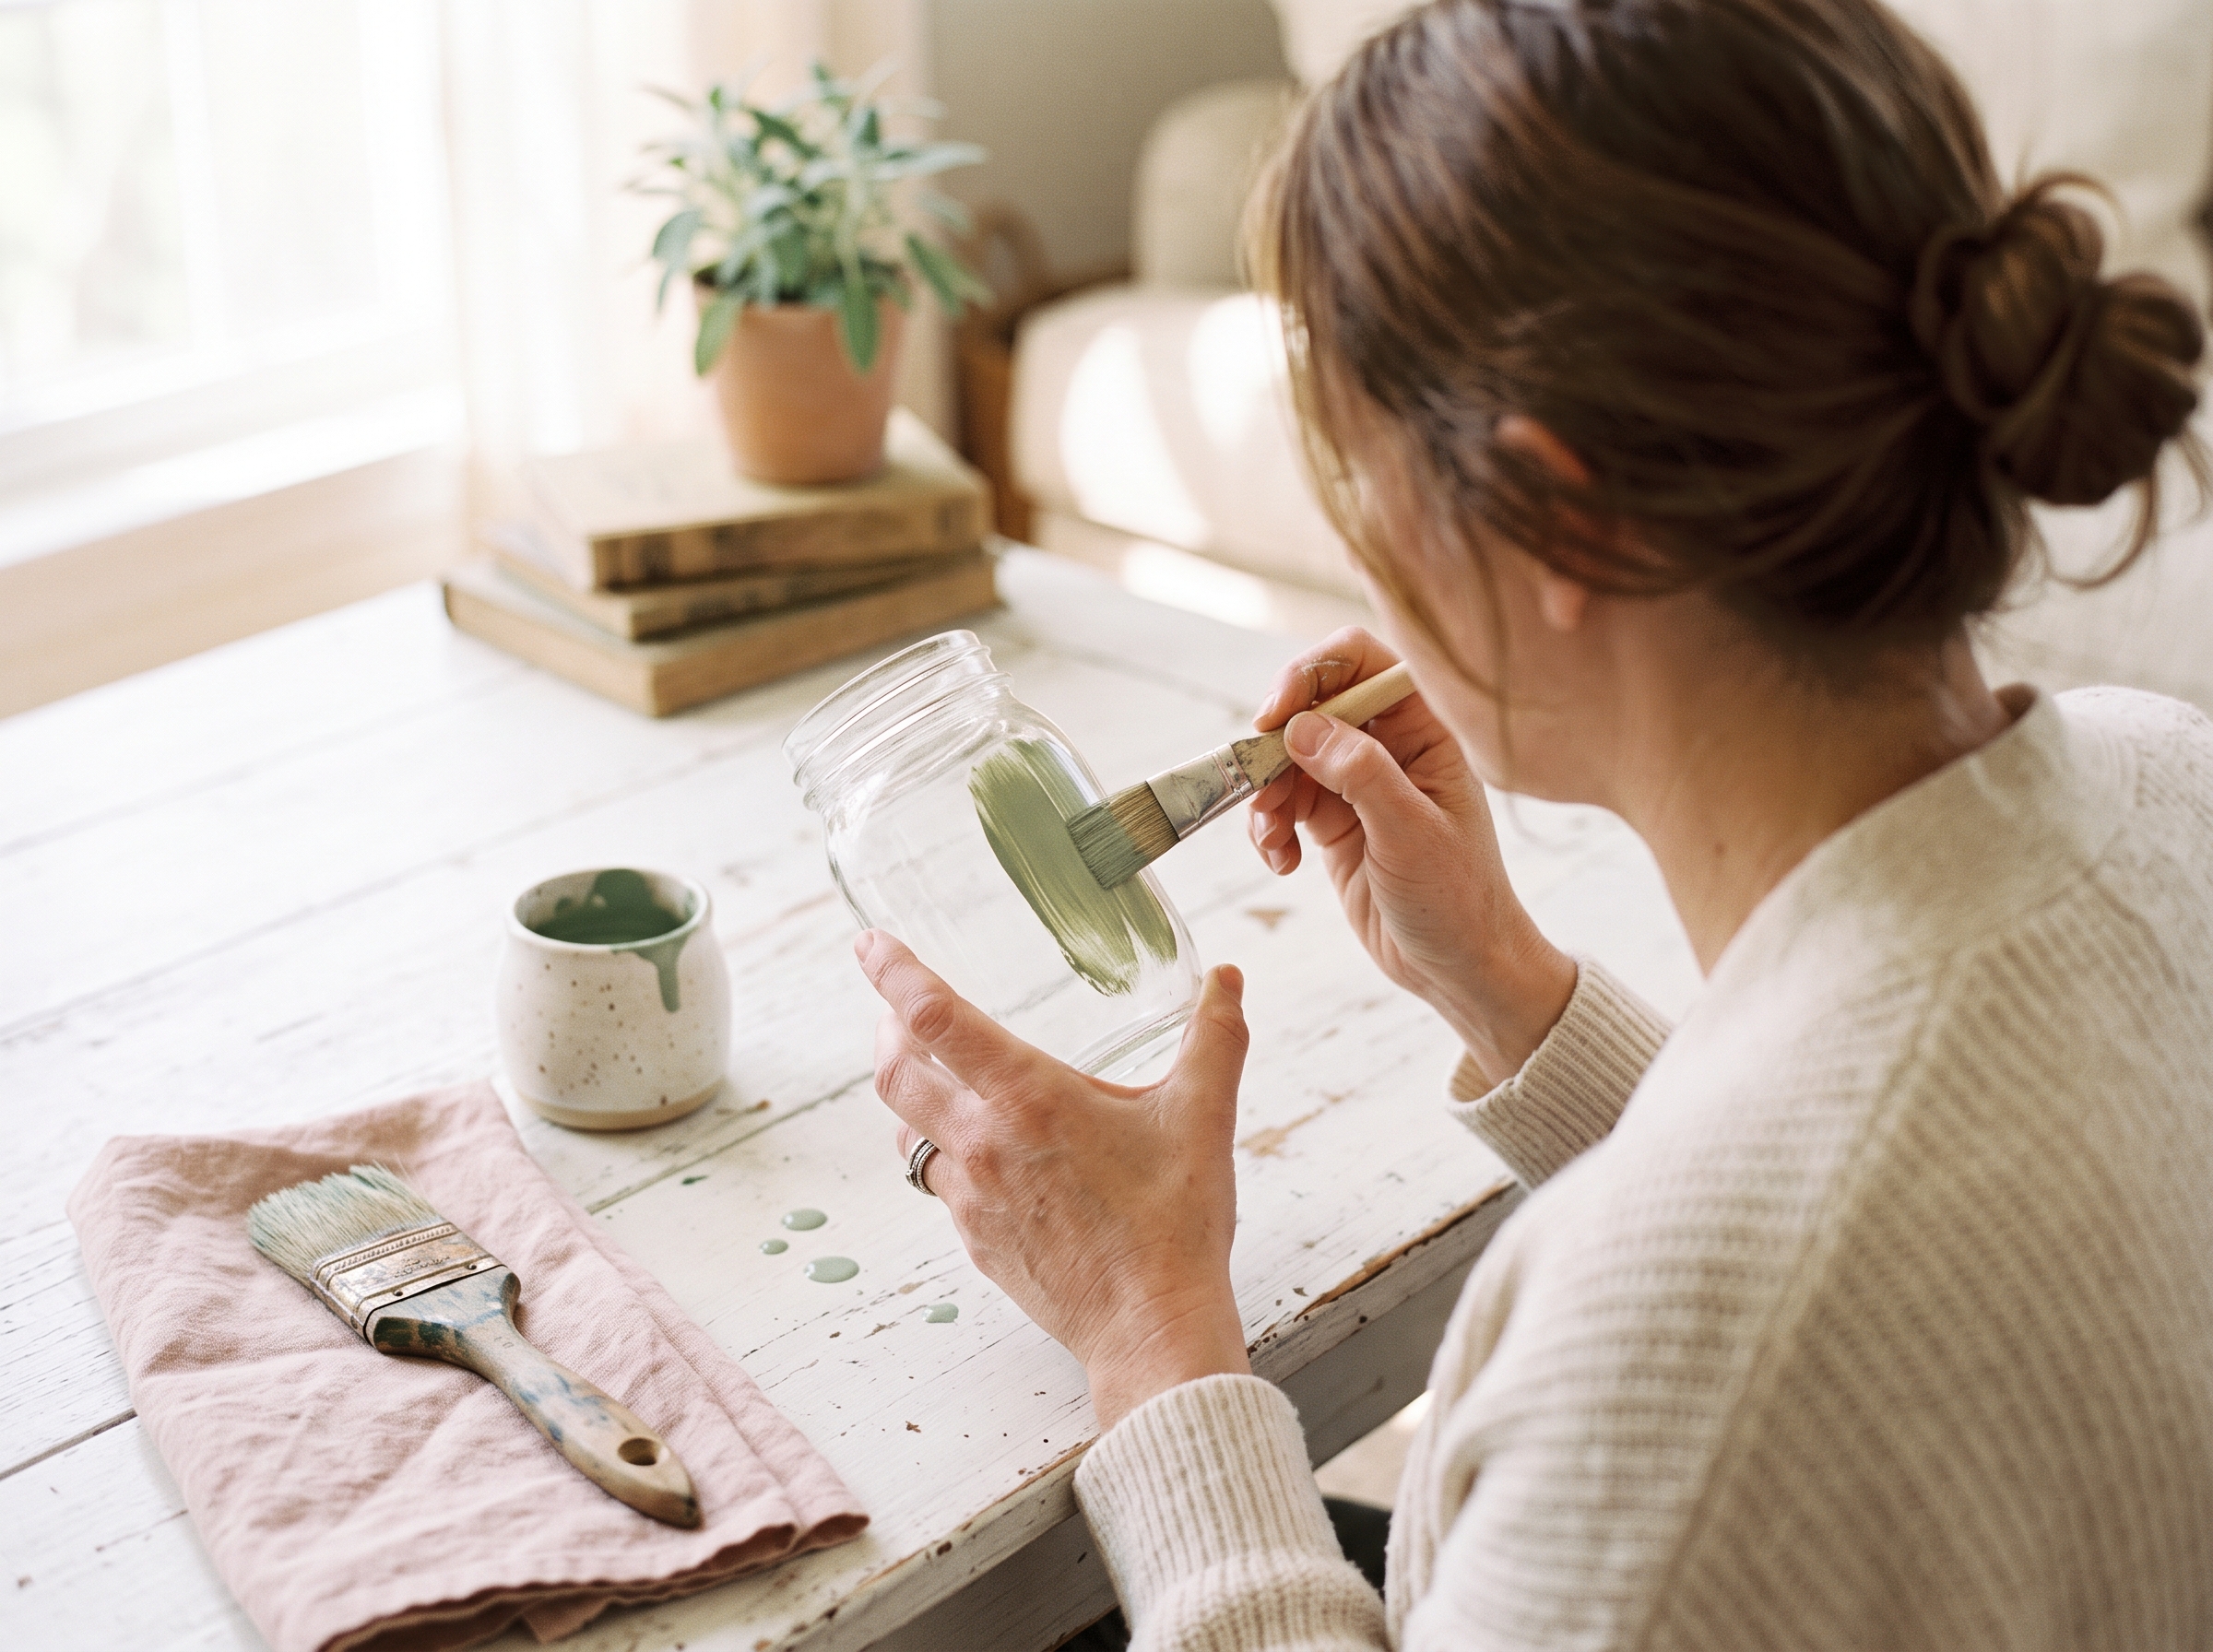
- Apply your first coat of paint. Put one hand inside the jar for control. Paint the rim first, then flip the jar upside down on wax paper and paint the body with thin, even strokes.
- Let the first coat dry completely. Wait at least 30 minutes for acrylic paint or up to one hour for chalk paint before you touch it.
- Apply a second coat. Two coats are the minimum for full, even coverage on glass. Go with three coats for lighter colors like white or pale yellow.
- Distress the jar (optional). Once the paint is fully dry, lightly sand the edges and raised lettering with 220-grit sandpaper for a worn, farmhouse look. Wipe dust away with a barely damp paper towel.
- Seal the jar. Spray an even coat of clear acrylic sealer from about 12 inches away, or brush on Mod Podge. For jars that will hold water or flowers, use acrylic spray sealer (wax is not water-friendly).
- Remove tape and let cure. Peel painter’s tape while the paint is still slightly warm. Let the finished jar cure for 72 hours before heavy handling.
One note worth keeping in mind: painting the inside of a jar is not food-safe, and it actually skips the need for sealing the exterior if you never get the outside wet. Stick to painting the outside only for any jar you plan to use as a vase or organizer.
How to Keep Paint from Peeling Off Mason Jars
Peeling is the number one complaint with painted mason jars, and it’s almost always preventable. Here’s what actually causes it, and how to stop it before it starts.
Skipping the alcohol wipe is the biggest culprit. Glass jars come out of manufacturing and storage with oils and residue on the surface. Paint can’t grip a slick, oily surface, so it lifts off in sheets. That two-minute wipe-down makes a huge difference.
Thin coats beat thick coats every time. A heavy glob of paint shrinks unevenly as it dries and cracks or peels at the edges. Two to three thin coats will always outlast one thick one.
Cure time is not the same as dry time. Paint feels dry to the touch in 30 minutes, but it doesn’t fully harden for 72 hours. Rushing that window, especially by handling or filling the jar too soon, is a fast track to peeling.
Sealer is non-negotiable. Even chalk paint, which sticks better than most, will eventually chip on glass without a protective topcoat.
Oven-curing is the most permanent option. For acrylic enamel paints like FolkArt Enamels, bake the finished jar at 350°F for 30 minutes after a one-hour air-dry. Always start with a cool oven and let the jar heat up gradually as the oven does. Putting glass straight into an oven that’s already hot can make it crack or even shatter, so let it cool all the way down inside the oven before you touch it. The bond becomes nearly permanent and holds up to light moisture on the exterior.
Painted Mason Jar Ideas and Variations
1. Ombre / Gradient Jars
Blend two colors while the paint is still wet using a dry brush technique. Start with the darker shade at the base, pick up the lighter shade on a separate brush, and blend where the two colors meet. This works best with acrylic paint and is a great project for kids ages 8 and up with a little blending help.
2. Distressed Farmhouse Jars
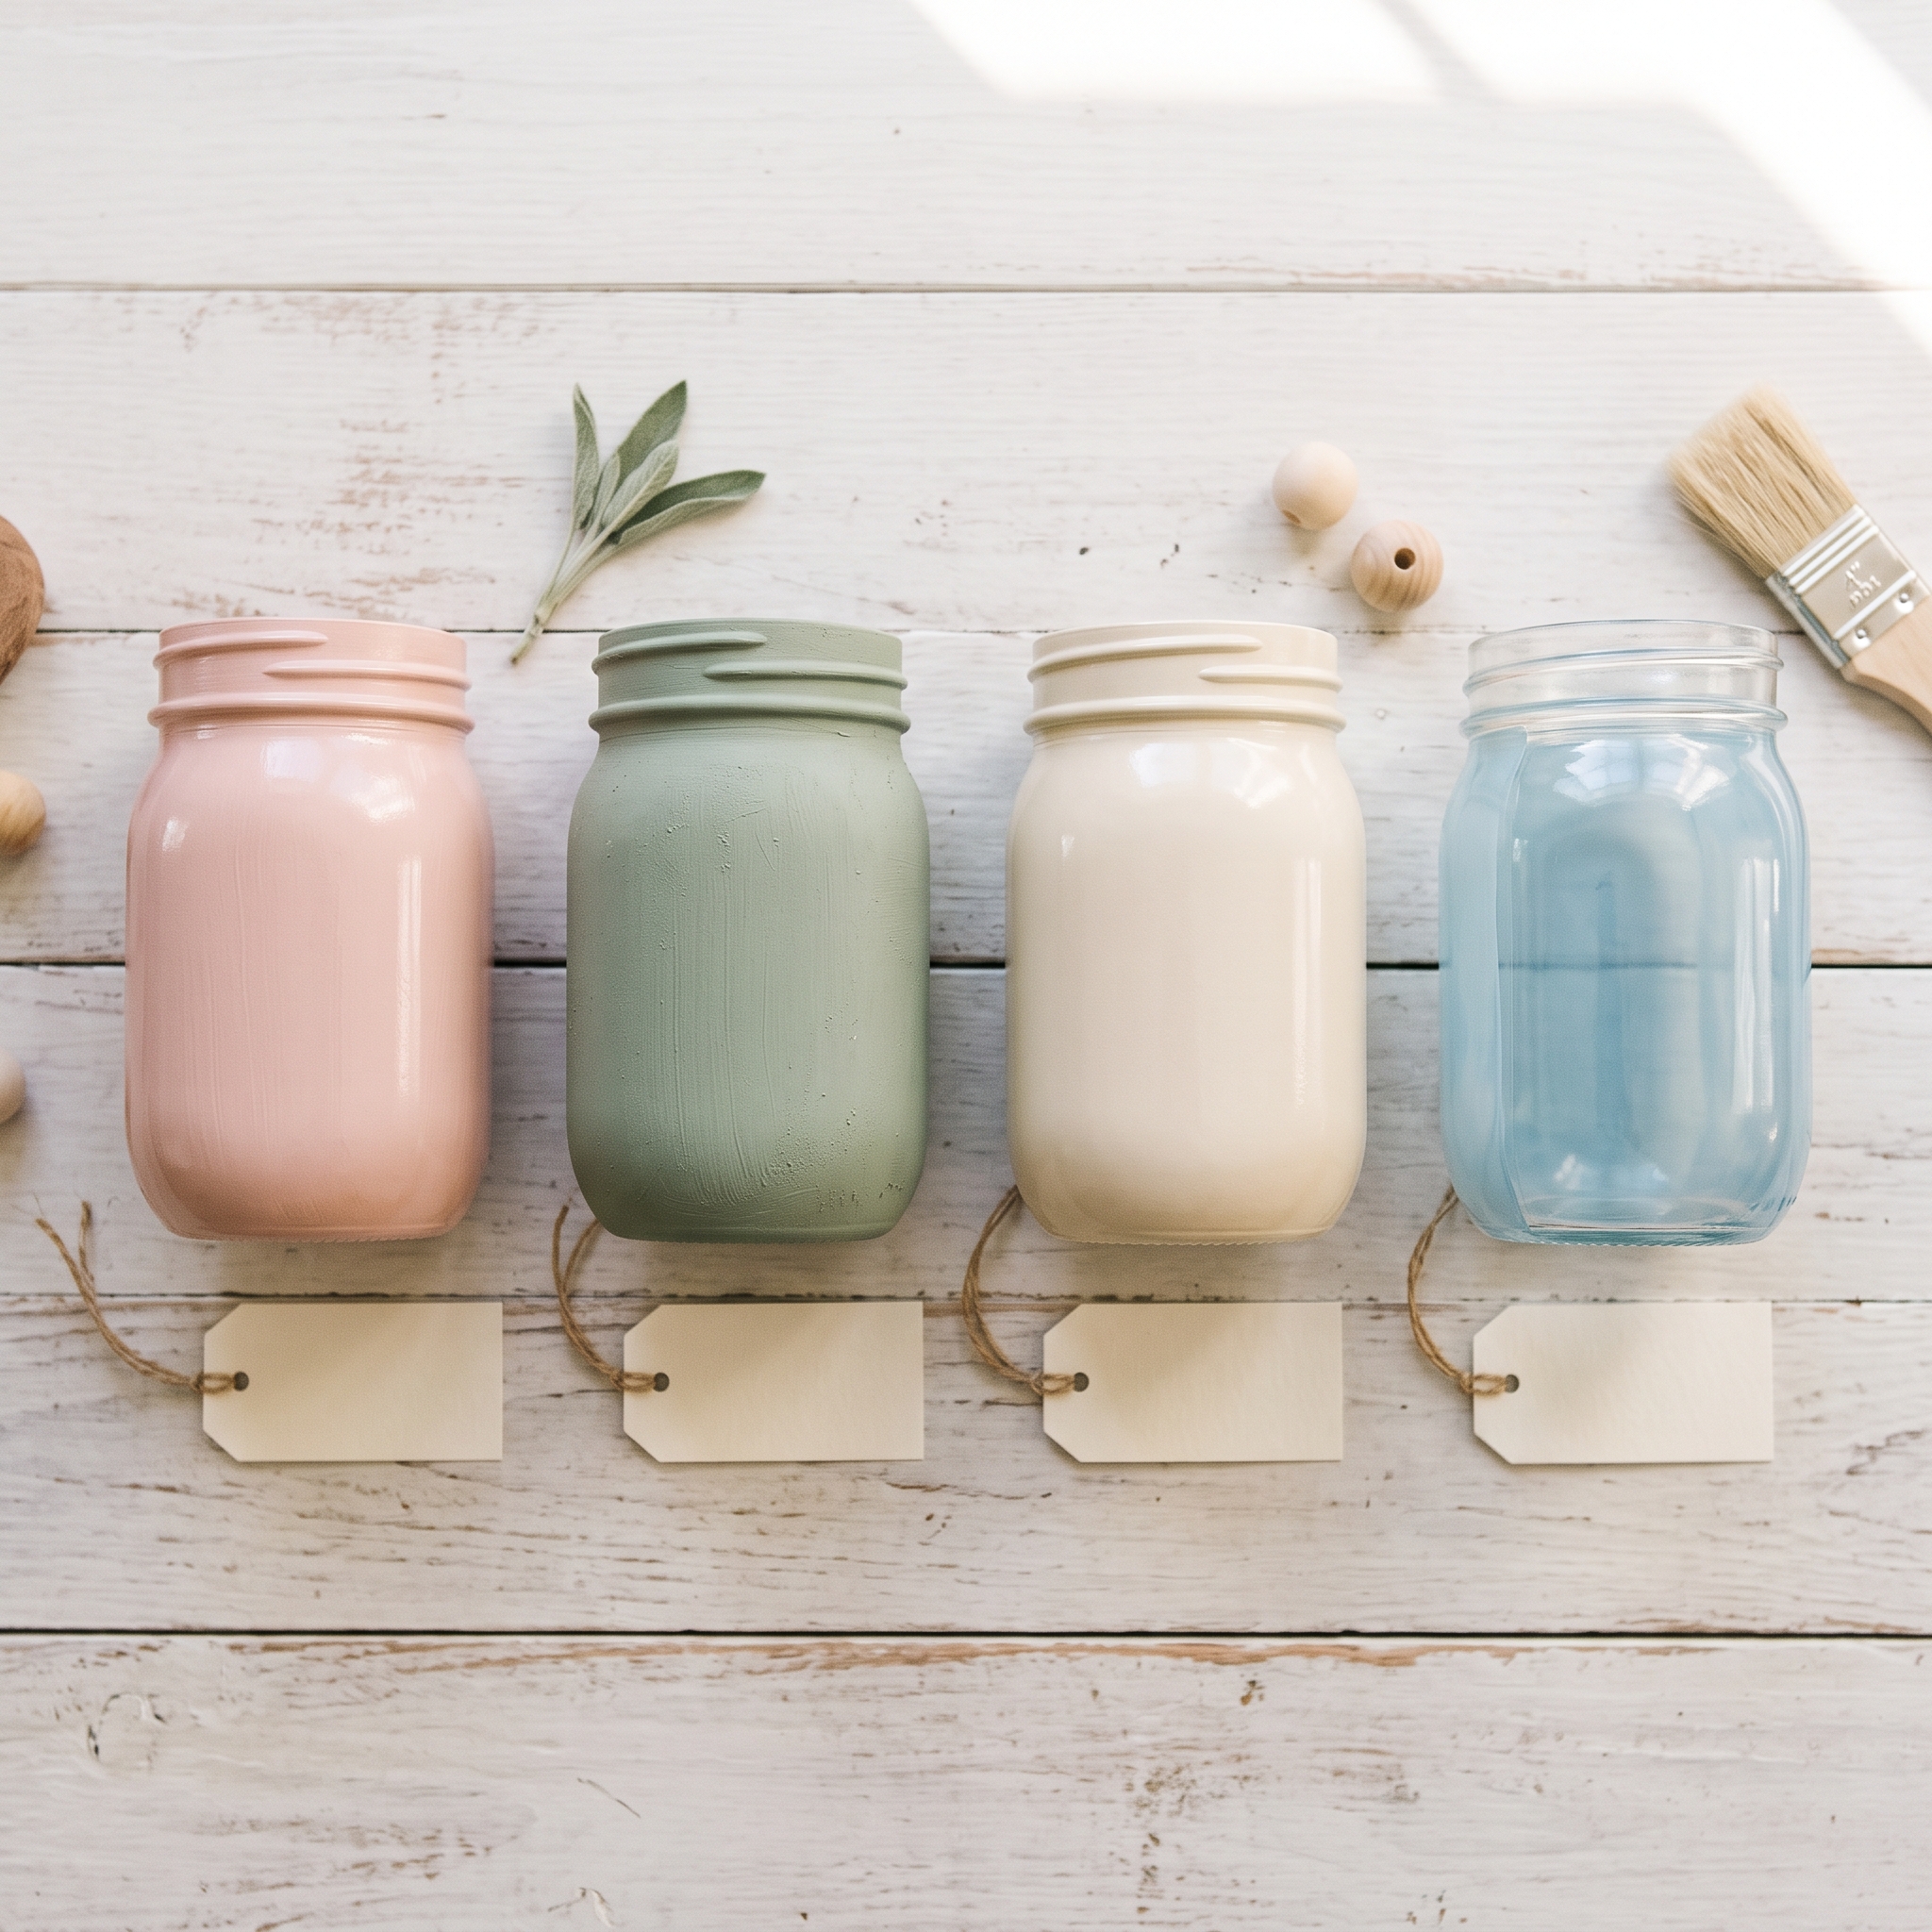
Apply chalk paint in a neutral like linen, cream, or sage, let it dry fully, then sand the raised lettering and rim edges with 220-grit sandpaper. The worn spots reveal the glass underneath and create the kind of texture that looks expensive and takes about 20 minutes to achieve.
3. Chalkboard Jars
Chalkboard spray paint turns any jar into a re-labelable surface. These are great for pantry organization, a kids’ art station, or a classroom. Kids can write (and erase, and rewrite) their own labels with chalk markers, which makes these jars endlessly reusable. If your kids love this kind of open-ended craft, the spring crafts roundup has more projects along the same lines.
4. Color-Block or Striped Jars
Painter’s tape creates crisp geometric stripes with almost no effort. Apply tape in a horizontal band, paint the exposed section, let it dry, then peel the tape. Two or three coordinating colors in different stripe widths make a set that looks intentional and polished.
5. Transparent Stained-Glass Jars
Use Pébéo Vitrea 160 or diluted acrylic paint in translucent washes for a stained-glass effect. Drop a tea light inside and the color glows beautifully. Oven-cure at 325°F for 40 minutes if you’re using Pébéo Vitrea for a finish that holds up long-term.
Getting Kids Involved (By Age)
No SERP article covers this, but for most of us, “mason jar craft” means “something to do with the kids.” Here’s how to match the task to the age.
- Ages 3-4: Finger painting with washable paint on the outside of the jar, the same kind of open-ended toddler sensory activity that’s always a hit on a rainy afternoon. Focus on the process, not the result. Seal the jar when it’s dry before giving it to them to play with.
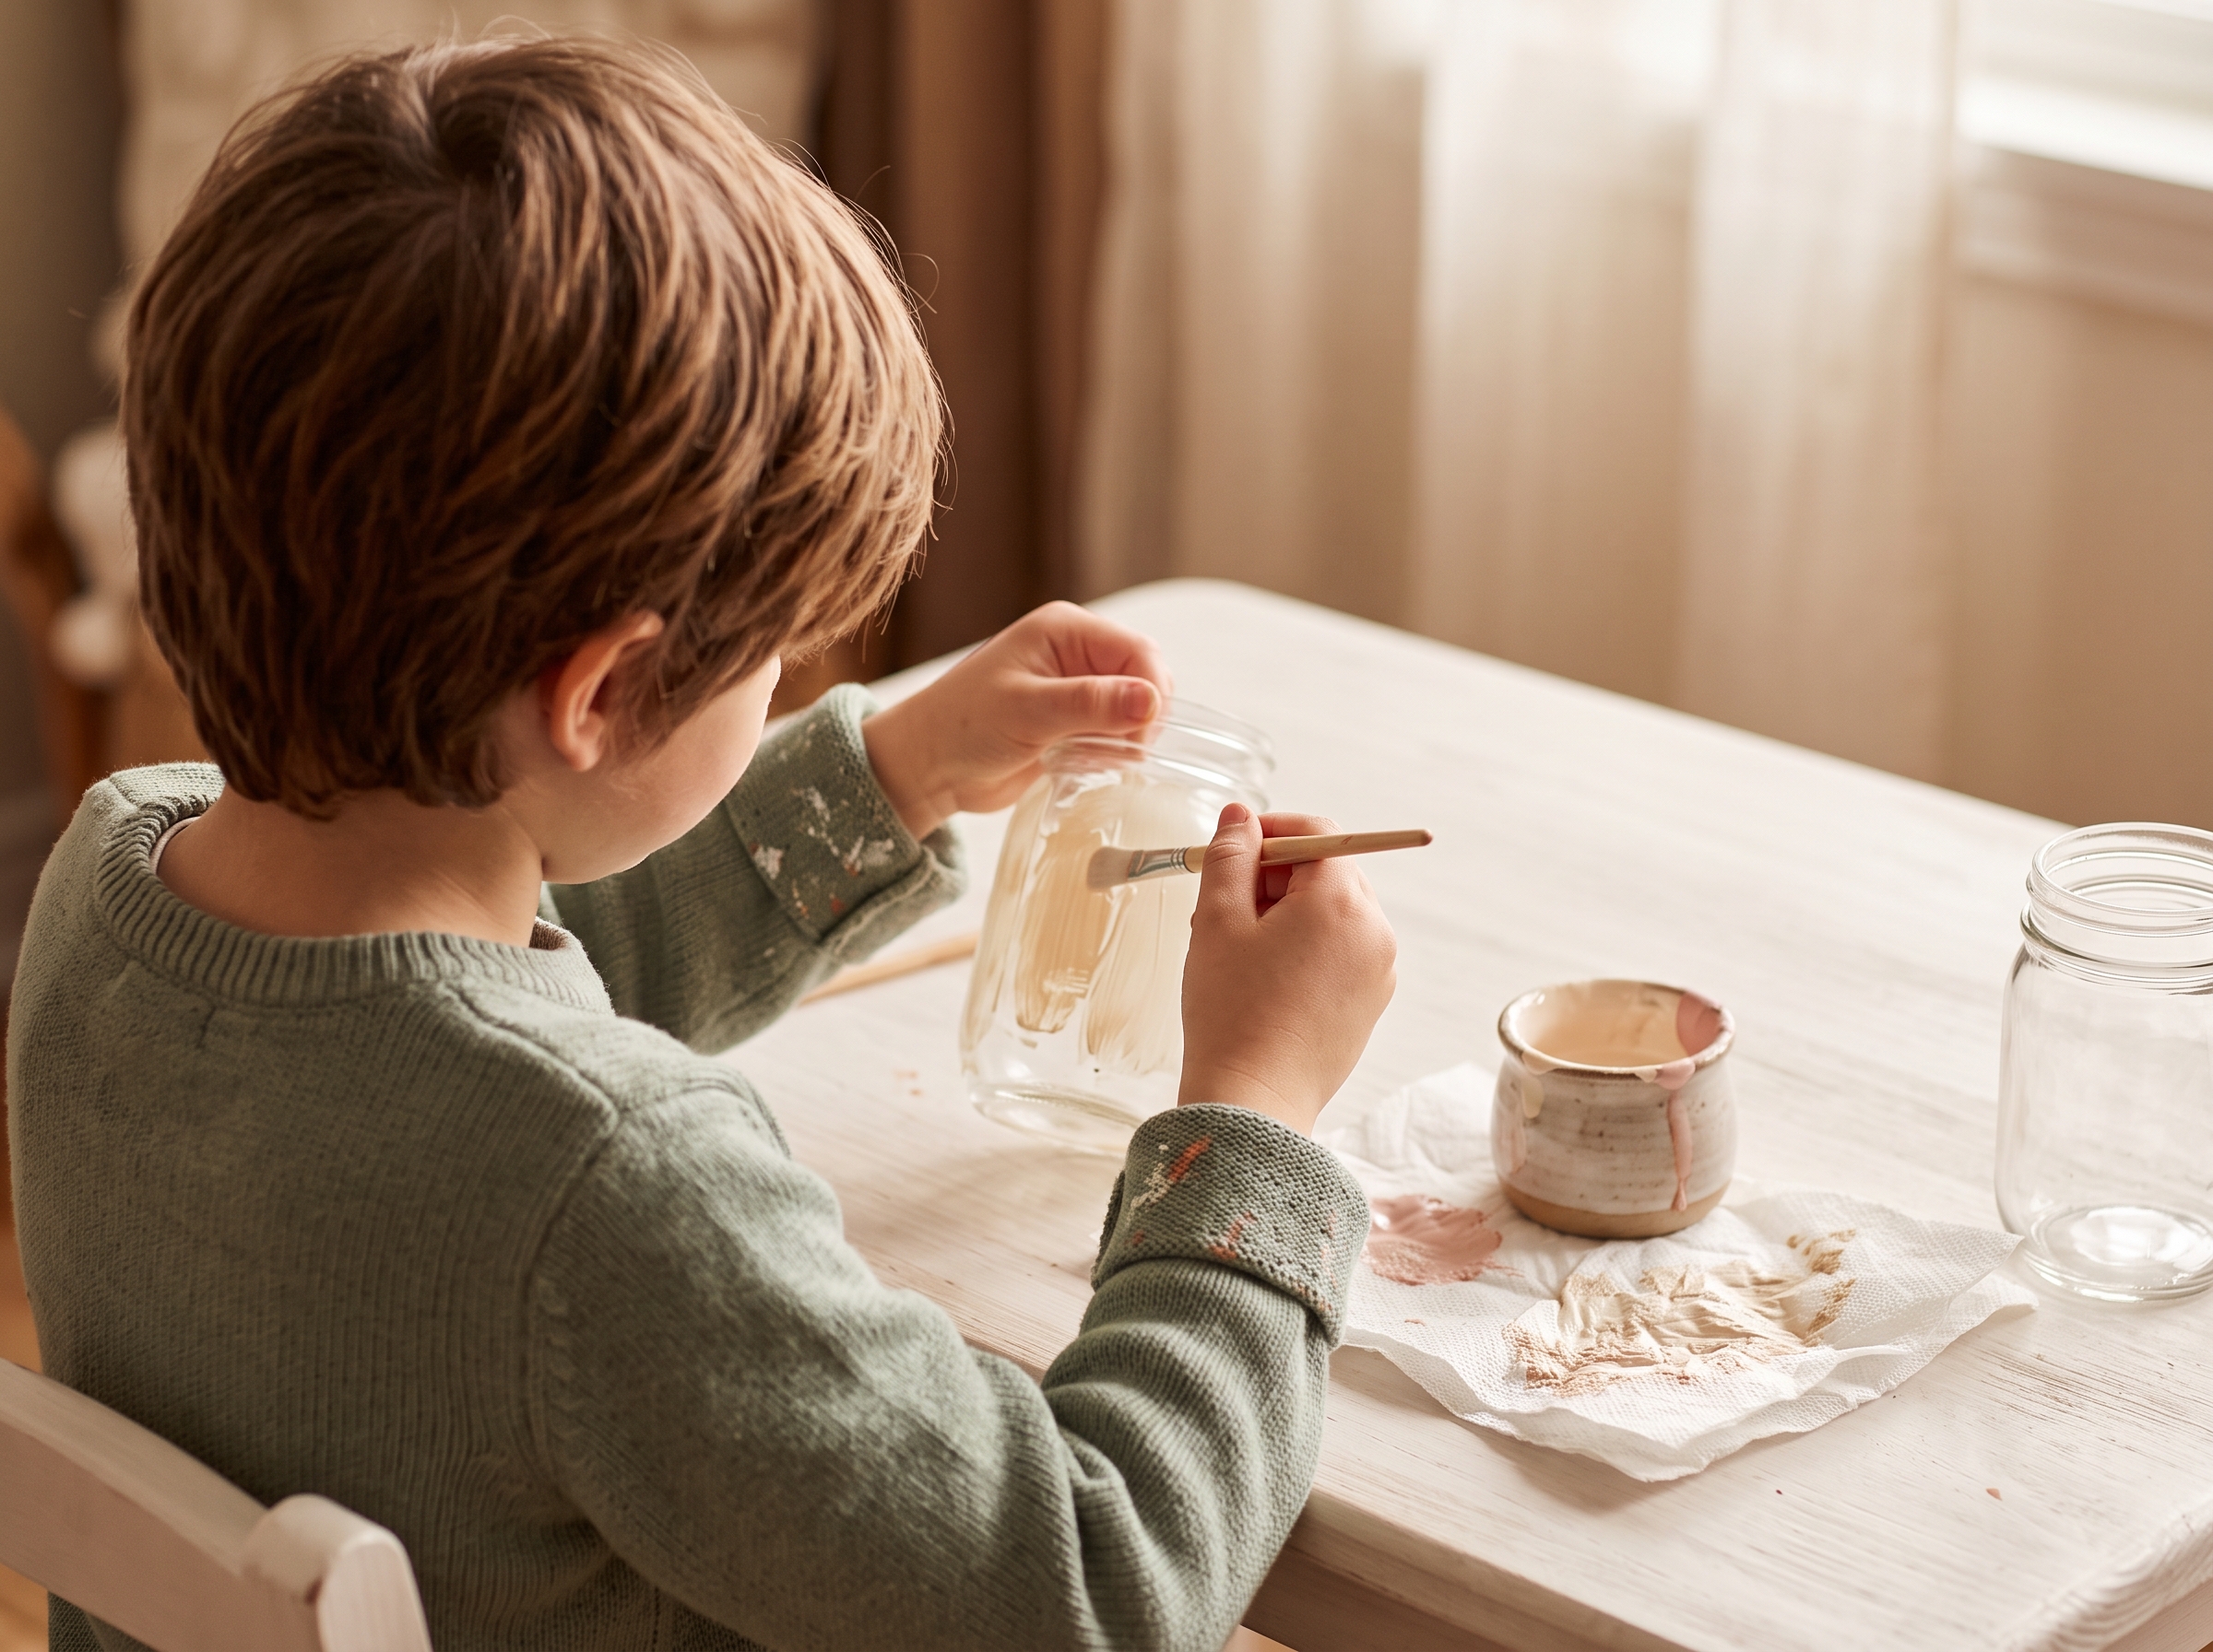
- Ages 5-7: Foam brush coat application using the jar-flipping trick (hand inside, rim first, then flip). Let them choose the colors. Two coats is a manageable goal for this age group.
- Ages 8-10: Painter’s tape stripe designs and light distressing with sandpaper (supervised). Kids in this range can handle the two-coat process mostly independently.
- Ages 11+: Full project from start to finish, including ombre blending and brush-on Mod Podge sealing. They can take the lead and own the result.
Spray paint and oven-curing are adult-only steps at any age. For mess management, wax paper on the table, an old shirt, and a paper plate as a palette go a long way. If your household leans toward low-mess crafting, the tips in this no-mess painting guide for kids pair nicely with this project.
Ways to Use Your Painted Mason Jars
Half the fun of this project is figuring out what to do with the finished jars. Here are the most practical options:
- Vases: Fill with fresh or faux flowers. If you’re using fresh flowers, seal with acrylic spray (not wax) so the base can handle moisture.
- Desk and craft organizers: Group a few jars on a tray to corral pens, markers, scissors, and paintbrushes.
- Gift packaging: Fill with homemade cookie mix, a small candle, or bath salts and tie with twine. A painted jar makes the gift, not just the container.
- Party centerpieces: Group three to five jars in coordinating colors, add greenery or candles, and you have a table arrangement that costs almost nothing.
- Holiday decor: Paint in seasonal colors, orange and rust for fall, red and green for Christmas, soft pastels for spring, and swap them out through the year.
Frequently Asked Questions About Painted Mason Jars
Can you use regular acrylic paint on mason jars?
Yes. Acrylic craft paint works well on mason jars as long as you prep the glass first by wiping it with rubbing alcohol and seal it with a clear acrylic topcoat when you’re done. Without sealing, acrylic paint will eventually peel off glass because it can’t grip a smooth surface permanently on its own.
How do you paint mason jars without the paint peeling?
The two most important steps are cleaning the glass surface with rubbing alcohol before painting and sealing the finished jar with a clear acrylic spray or Mod Podge. Thin coats and a full 72-hour cure time before heavy use also make a significant difference. Skipping any one of those three steps is usually what causes peeling.
What is the difference between chalk paint and acrylic paint for mason jars?
Chalk paint adheres to glass without primer and gives a matte, distress-friendly finish. It’s more forgiving on glass and requires less surface prep. Acrylic craft paint offers more color variety at a lower price point but benefits more from the rubbing alcohol prep and a sealer coat to stay durable. Both work well as long as you seal the finished jar.
Can painted mason jars hold water for flowers?
Yes, but only if you’ve painted the outside of the jar and sealed it with a water-resistant acrylic spray sealer rather than wax. Wax-sealed or unsealed jars can develop peeling or water damage at the base after sitting in a puddle of condensation or overflow from a vase.
Are painted mason jars food-safe?
Standard craft paints and sealers are not food-safe, so painted mason jars should not be used to store or serve food or drinks. Use your painted jars for decorative purposes only, as vases, organizers, or gift packaging with non-food contents. If a jar already has a food-safe interior (unpainted glass), you can still use it for food storage as long as the painted and sealed exterior stays dry.


