
Clay Handprint Keepsakes (DIY Guide)
A clay handprint keepsake is a three-dimensional impression of a child’s hand pressed into a flat slab of clay, then dried or baked to preserve it permanently.
Last updated: July 2026
Quick Answer: What Is a Clay Handprint Keepsake?
Air-dry clay, baking soda clay, and polymer clay are the three most common DIY options for making one at home. You roll the clay to about half an inch thick, press your child’s hand firmly into the surface, add a name and date, then dry or bake depending on the clay type you chose. The whole active process takes 15-20 minutes, with 24-48 hours of drying time for air-dry versions, or about 30 minutes total if you go the polymer clay route.
You know that moment when your child reaches up for your hand and you notice, out of nowhere, how much bigger their fingers have gotten? Or you dig out an old pair of shoes and can’t believe they ever fit? Time slips past even when you’re paying close attention. A clay handprint keepsake is one of the few ways to actually freeze a moment in physical form, something you can hold ten years from now and feel that same wave all over again.
This guide covers everything from picking the right clay type (they’re not interchangeable) to age-specific pressing tips, decoration ideas, and how to make sure your finished piece actually lasts. Whether you’re making this for yourself or as a gift, you’ll leave here knowing exactly what to do. Best for ages six months and up, with toddlers ages two to five as the sweet spot for detail and cooperation.
A quick safety note from me: clay is not food, and little ones put everything in their mouths. Stay right beside any baby or toddler the whole time, and keep clay scraps and small extras like glitter and stamps out of reach. Sculpey’s product labels carry a small-parts warning for kids under 3, so the oven step is a grown-up job in a well-ventilated kitchen, and I never walk away while polymer clay bakes. Baking soda clay is cooked on the stovetop, so let it cool completely before small hands get involved.
What Type of Clay Should You Use?
Not all clay behaves the same way, and the wrong choice can mean cracking, fading, or an impression that loses detail before it even sets. Here’s how the three main options compare.
Air Dry Clay
Air dry clay is the go-to for beginners because there’s no oven involved. It dries at room temperature in 24-48 hours and is widely available at craft stores (Crayola and Activa are popular brands). For handprints, roll it to at least ½ inch (1.27 cm) thick. Thinner than that and edges tend to crack as moisture evaporates unevenly. Air dry clay handprint ornaments come out beautifully smooth, especially once sanded and sealed. The main drawback is a higher risk of cracking compared to the other two options if the slab dries too quickly in a warm, dry room.
Baking Soda Clay (DIY Recipe)
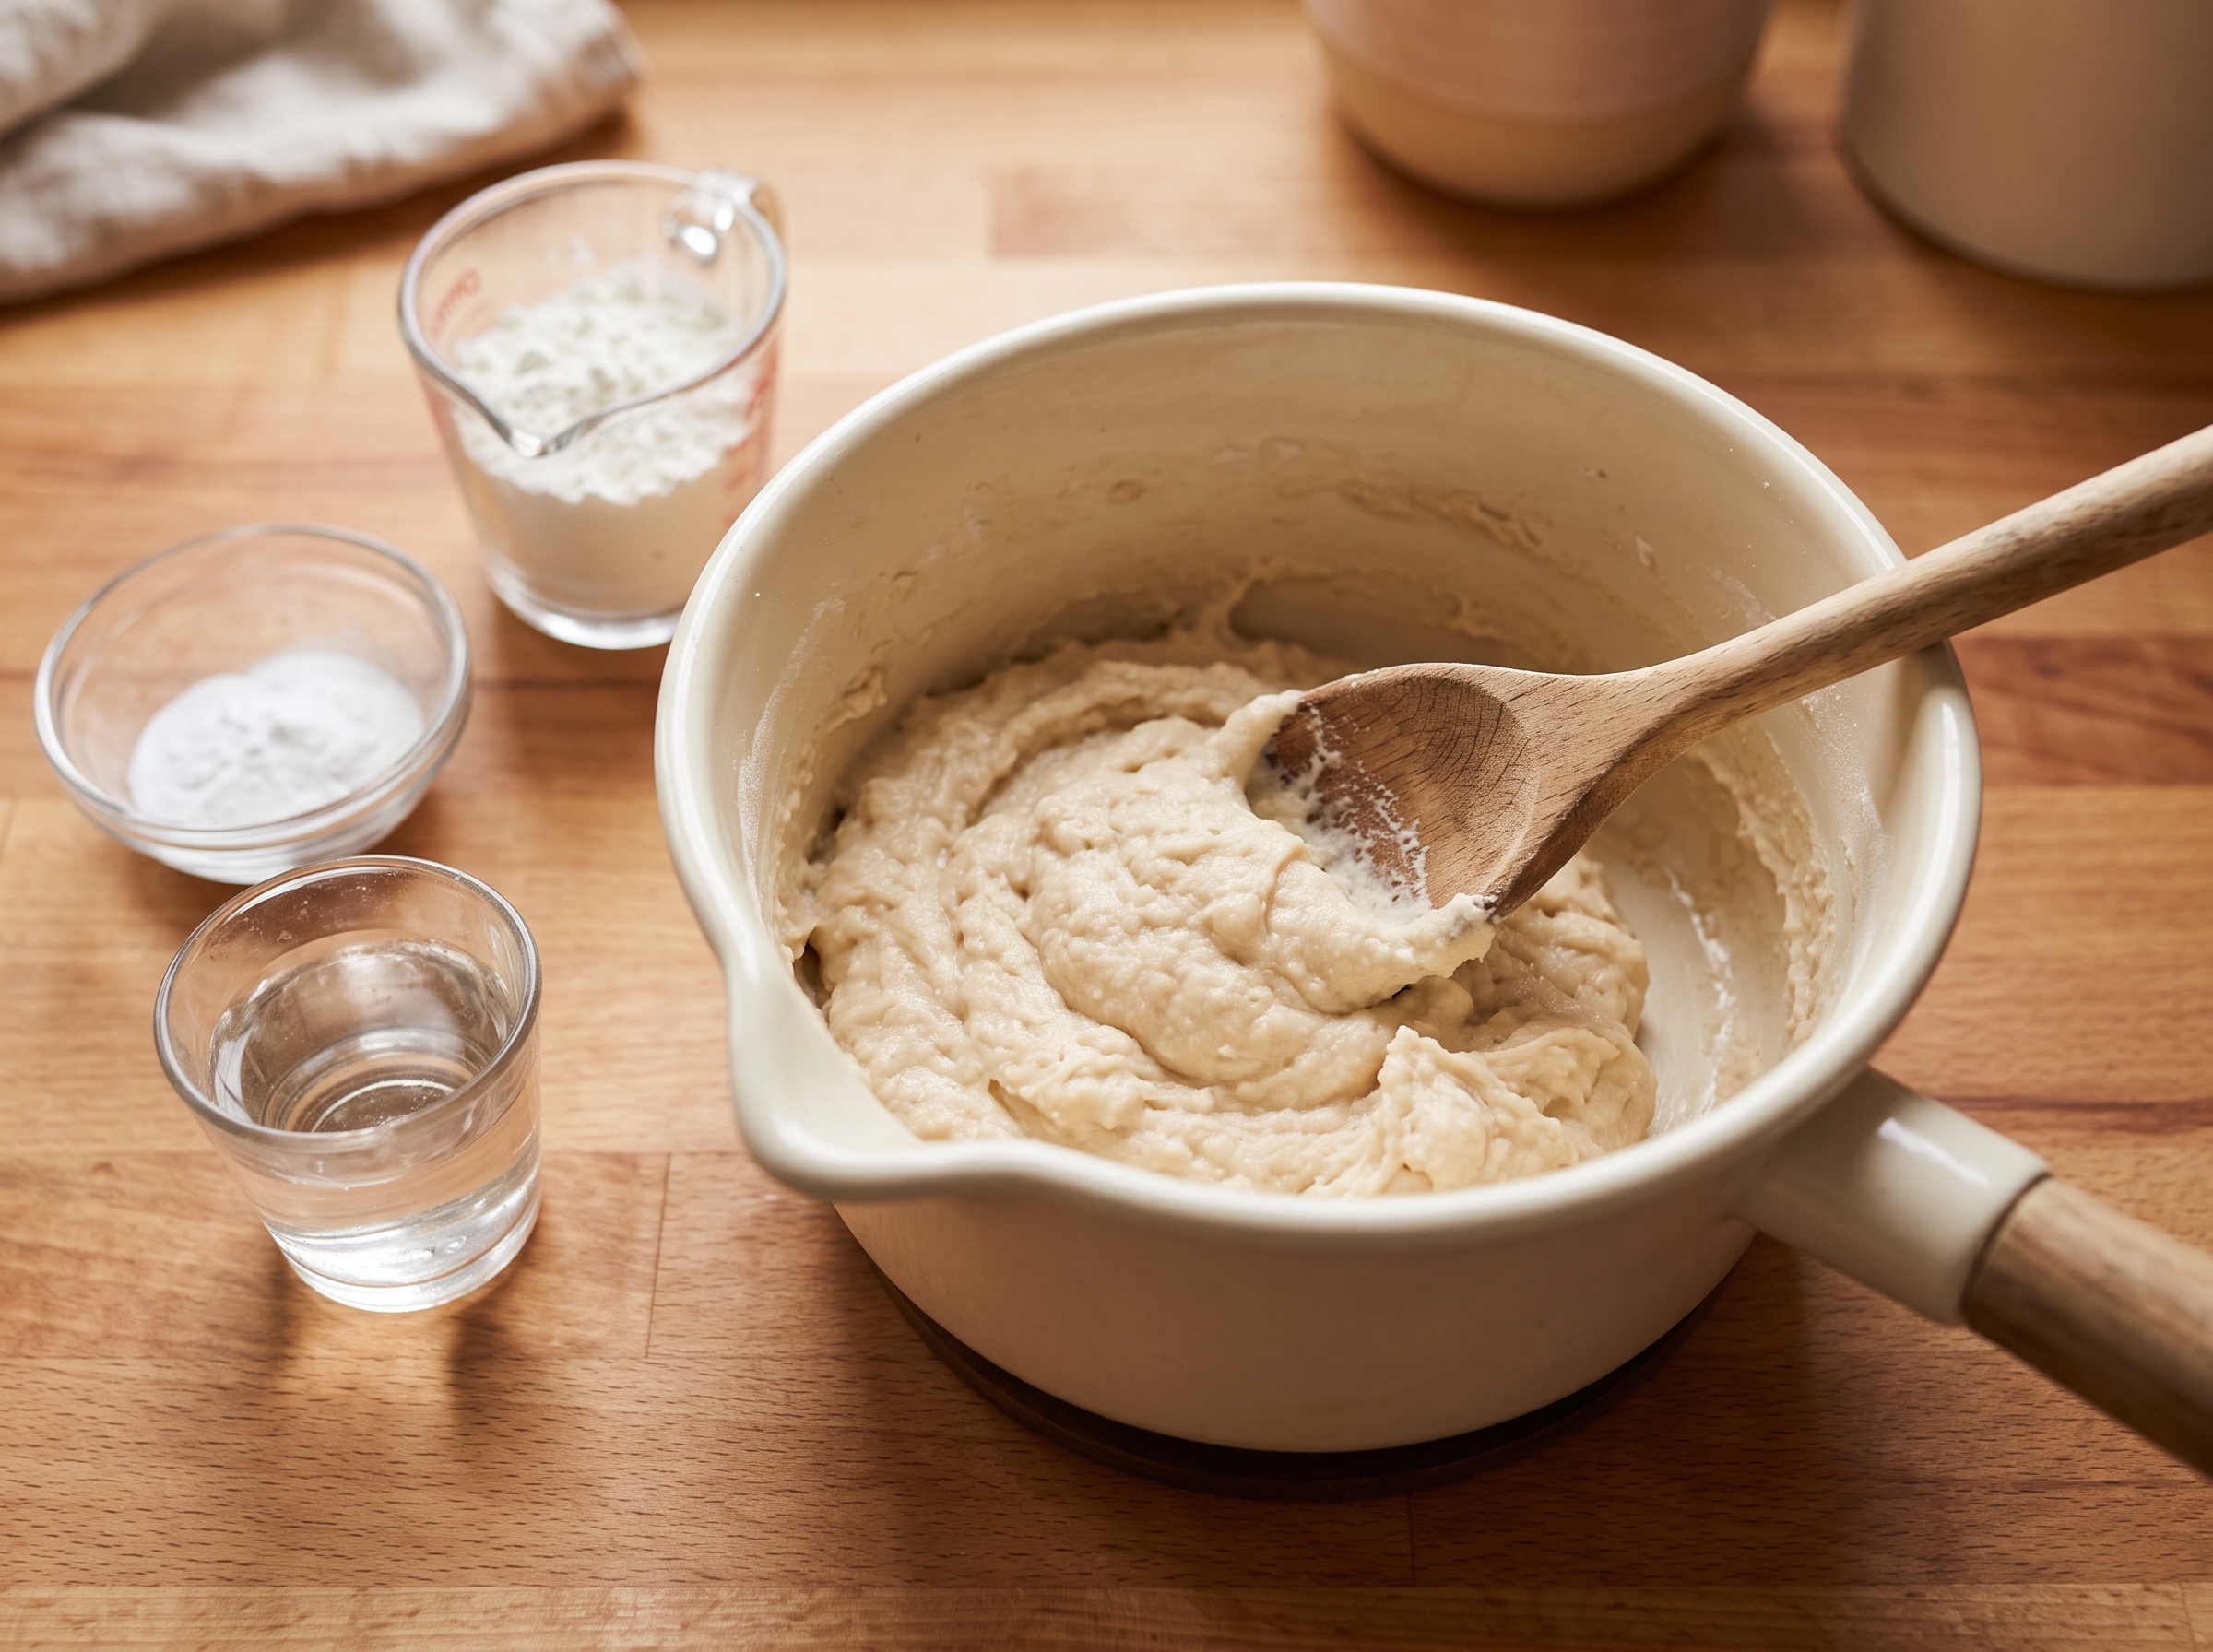
Baking soda clay is the most budget-friendly option, and there’s a good chance you already have the ingredients. Combine 2 cups baking soda, 1 cup cornstarch, and 1¼ cups cold water in a saucepan, then cook over medium heat for about 10 minutes, stirring constantly, until it reaches a Play-Doh-like consistency. Let it cool before use. It dries bright white and takes paint beautifully, which makes it ideal when you plan to add color or stamped lettering. Some crafters prefer to bake it at 200°F for about two hours for a firmer finish instead of air drying.
Polymer Clay
Polymer clay holds the finest detail of any DIY option and doesn’t shrink or crack during curing. Sculpey bakes in a home oven at 275°F for 15 minutes per ¼ inch of thickness, so a ½-inch slab needs about 30 minutes. Sculpey and Fimo are the two most widely recommended brands, but Fimo bakes at its own temperature, so always follow the package directions for whichever you buy. It comes in a range of pre-mixed colors, so you can skip painting entirely if you want. The trade-off is a slightly higher cost per block and the need to condition it thoroughly (kneading until it’s warm and pliable) before the clay picks up a clean impression.
| Clay Type | Drying Method | Drying Time | Detail Level | Approx. Cost | Best For |
|---|---|---|---|---|---|
| Air Dry Clay | Room temperature | 24-48 hours | Good | $5-$10 | Beginners, budget builds |
| Baking Soda Clay | Air dry or 200°F oven | 24-48 hrs / 2 hrs baked | Good, very smooth | Under $5 | Painting, making from scratch |
| Polymer Clay | 275°F oven (Sculpey) | About 30 minutes for a ½-inch slab | Excellent | $8-$15 | Fine detail, no painting needed |
Materials
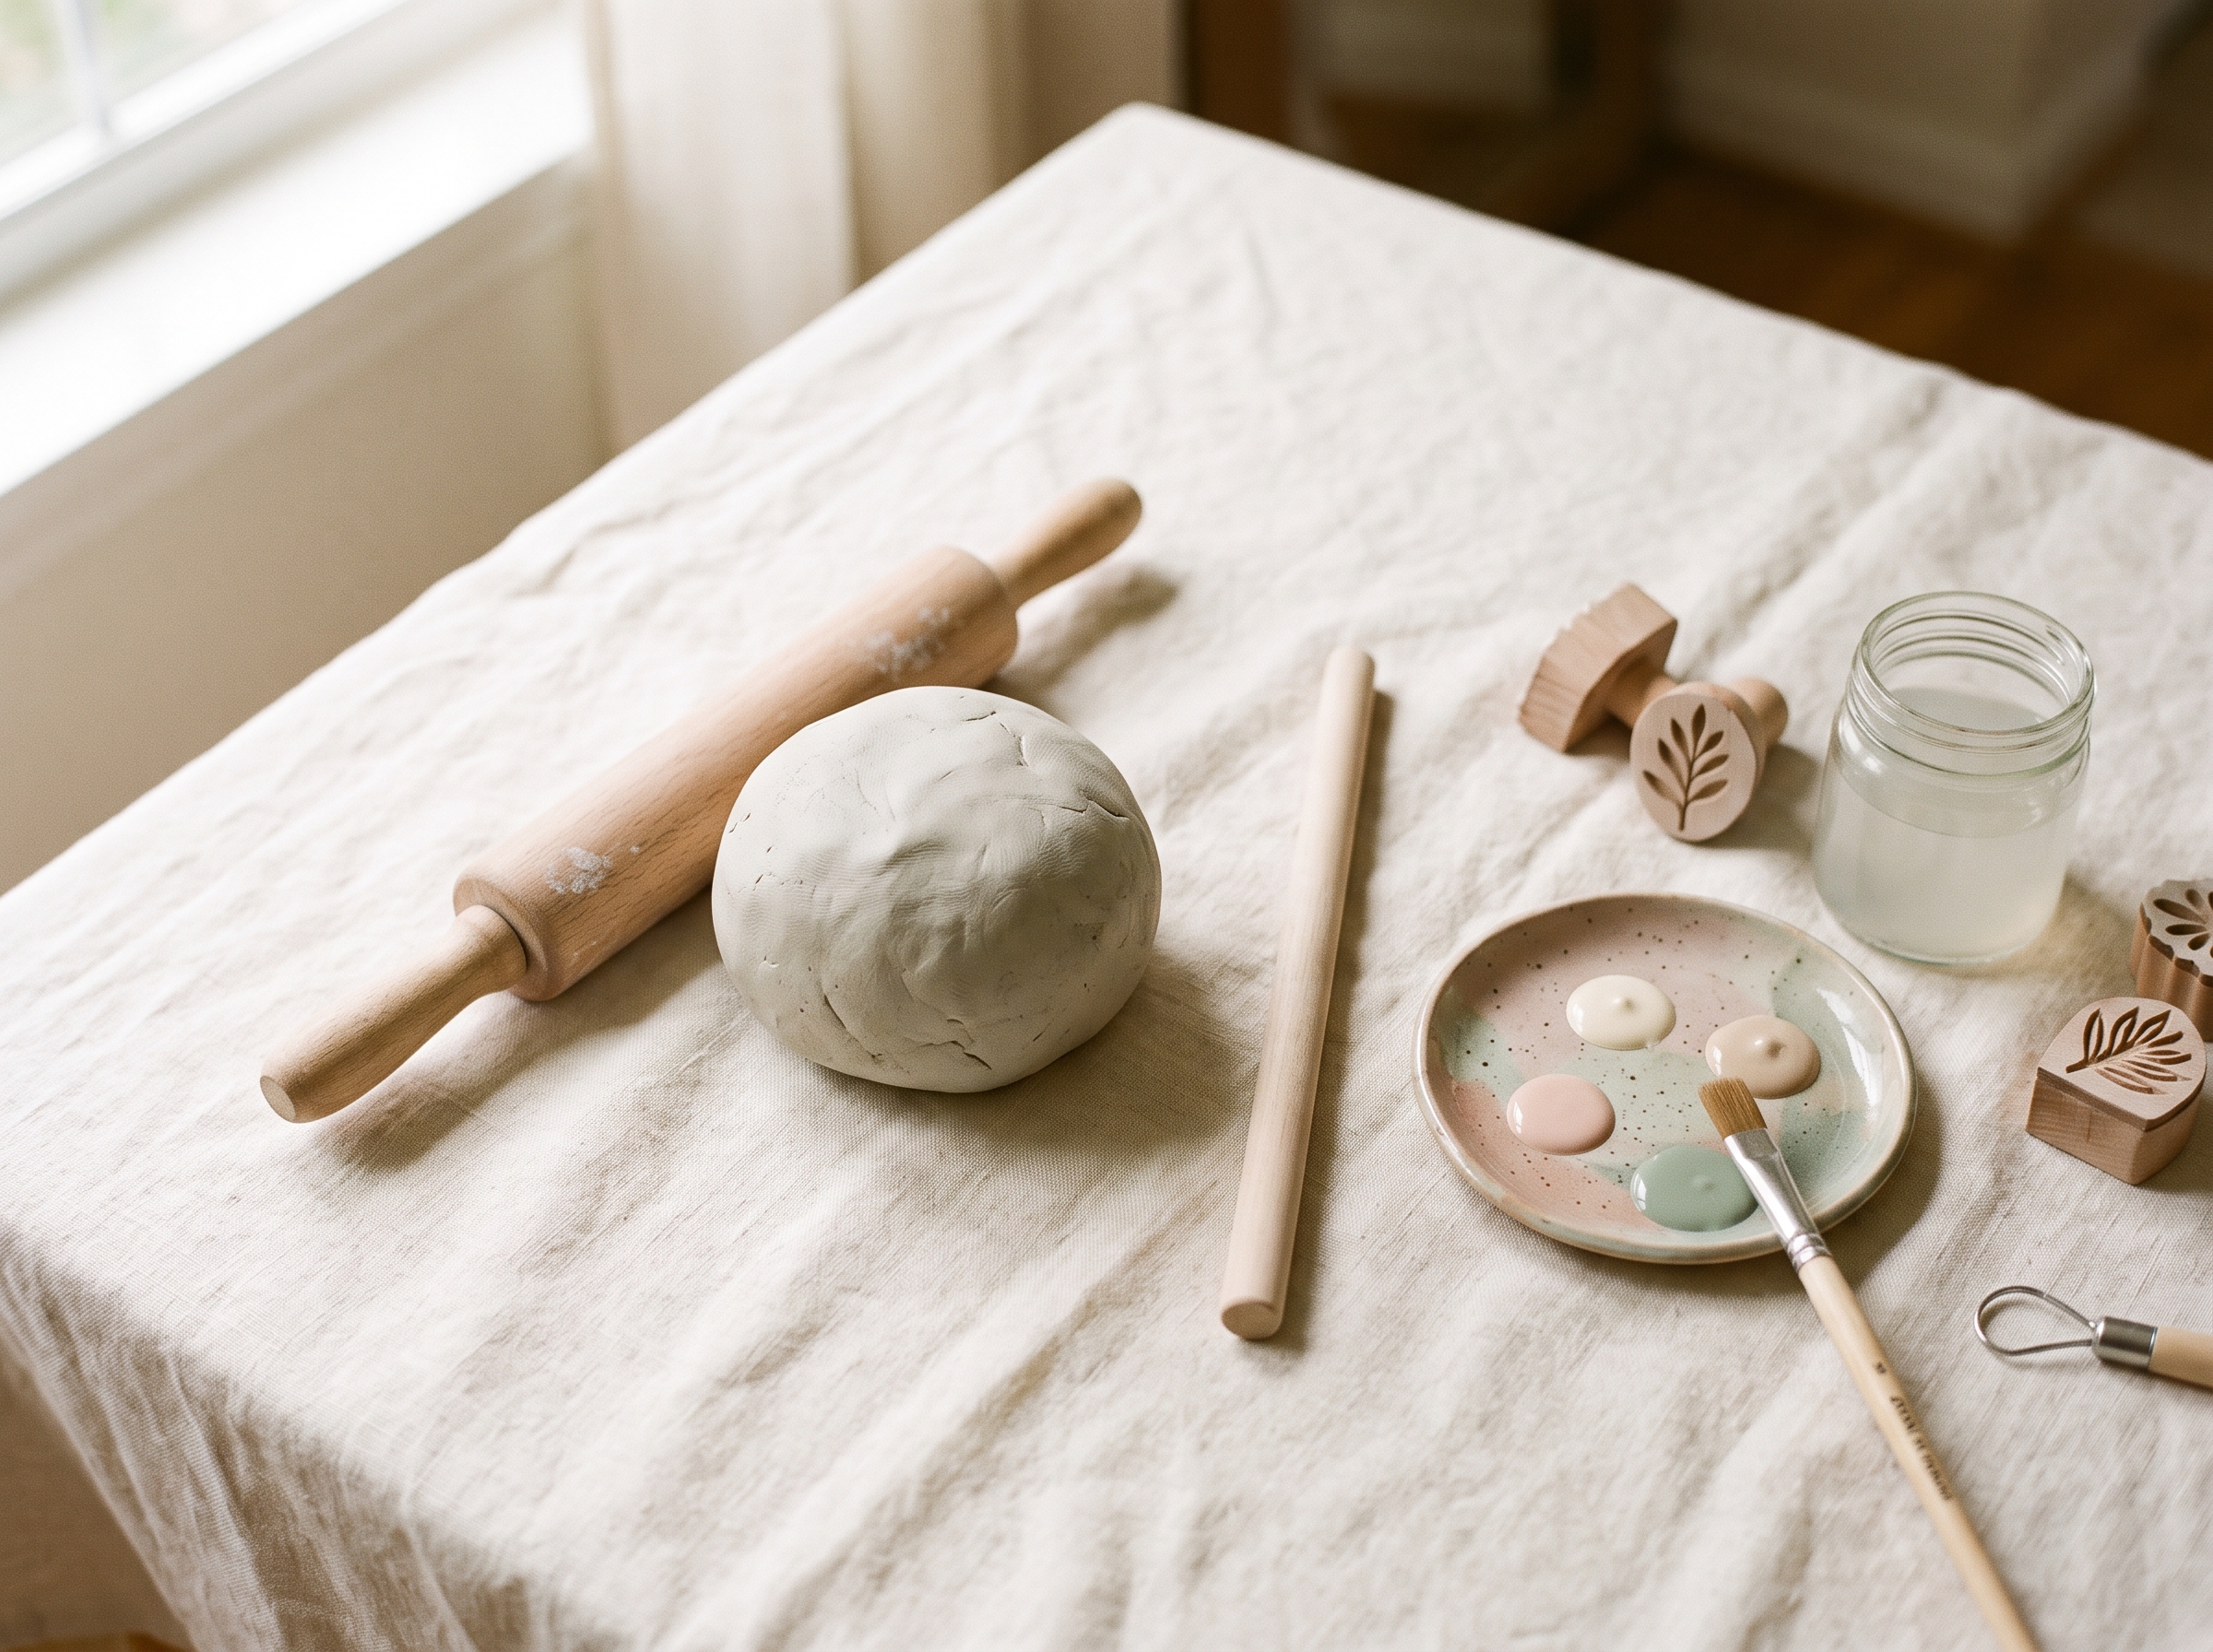
Here’s everything you need before you sit down with your little one. Most of this costs under $15 total, especially if you already have paint and a rolling pin on hand.
- Clay: air dry clay block, baking soda clay ingredients (baking soda, cornstarch, water), or a polymer clay block
- Rolling pin or smooth bottle: for rolling clay to even thickness
- Sharp knife or pizza cutter: for trimming shapes (adult use only)
- Drinking straw: for punching a hanging hole before drying
- Parchment paper or silicone mat: to work on a non-stick surface
- Fine-grit sandpaper (220 grit): for smoothing edges once fully dry
- Acrylic paint and foam brush: for decorating after drying
- Mod Podge or clear sealant spray: to protect the finished piece
- Ribbon, twine, or thin rope: for hanging
- Optional extras: letter stamps, cookie cutters for shaping, glitter
If you’d rather skip the prep entirely, a clay handprint kit (like the Sculpey keepsake kit) bundles the clay, a tool, and basic instructions in one box. Kits typically run $10-$18 at most craft stores and make a great gift option on their own, especially for grandparents who want to make one with a grandchild during a visit.
Steps
Work quickly once your clay is rolled out. Most clays begin forming a skin within 10-15 minutes of air exposure, which softens impression detail. Have your child nearby and ready before you start rolling.
- Condition the clay: knead it for 2-3 minutes until smooth and pliable. Warm clay from your hands makes for a cleaner, deeper impression.
- Roll out to ½-inch thickness on parchment paper, rotating the slab as you go to keep it even.
- Shape the slab: use a cookie cutter or trim freehand into a circle, square, or ornament shape before the handprint goes in.
- Punch the hanging hole now: press a straw about ½ inch from the top edge and twist slightly to remove the clay plug cleanly.
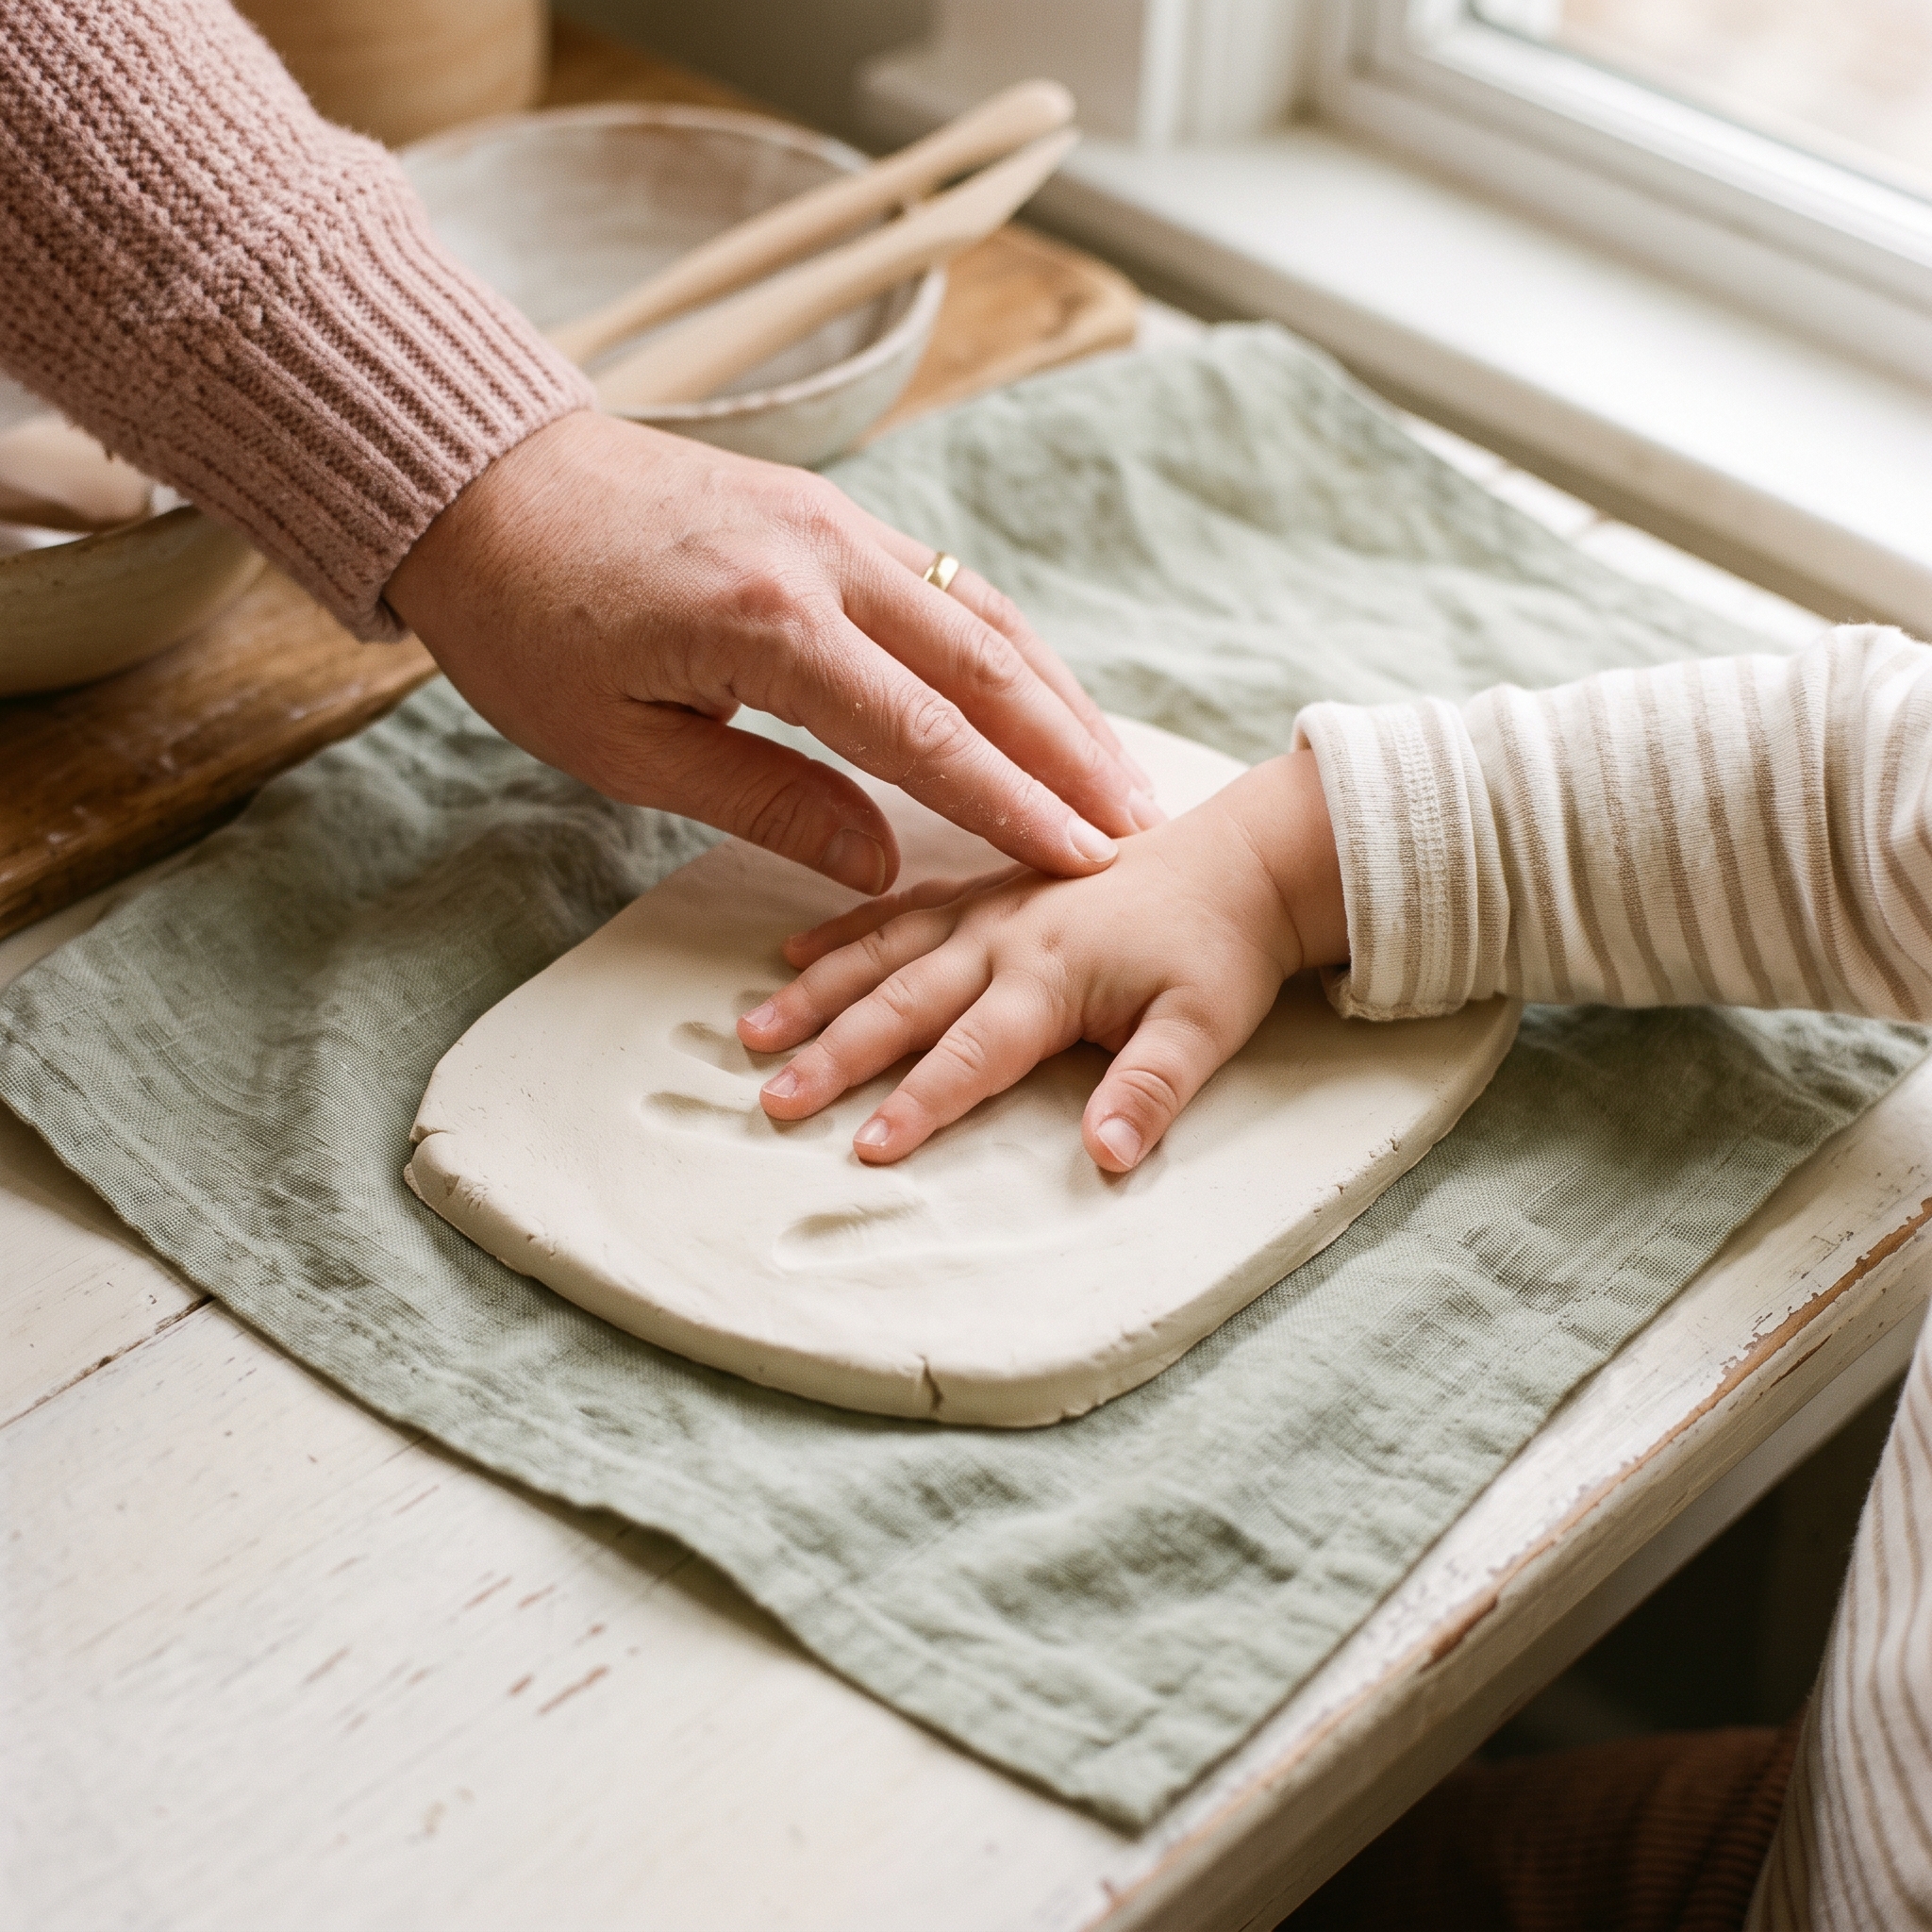
- Press your child’s hand firmly and evenly from the heel of the palm through each fingertip. Count to five out loud together to keep things still.
- Lift the hand straight up, not sideways, to keep the edges of the impression clean and sharp.
- Add the date, name, or age with a toothpick or letter stamps while the clay is still soft.
- Dry or bake according to your clay type (see the comparison table above).
- Sand the edges lightly with 220-grit paper once fully dry to smooth out any rough spots.
- Paint and decorate, then seal with two coats of Mod Podge or a clear sealant spray, letting each coat dry 20-30 minutes before applying the next.
- Thread ribbon through the hole and knot securely at the length you want.
Tips for Getting a Clean Impression (By Age)
Age changes everything about how this goes. What works perfectly for a preschooler will completely fall apart for a wiggly one-year-old. Here’s what actually helps at each stage.
- Newborns (0-6 months): Tiny hands stay fisted most of the time, so footprints are often a better bet at this age. Use the softest air dry clay you can find, and have a second adult hold the baby steady during the press.
- Toddlers (1-3 years): The wiggle is real. Warm the clay in your hands first so it’s extra soft and requires less pressure. Count out loud together, and a sticker reward afterward is completely valid strategy.
- Preschool (3-5 years): This is the sweet spot for both detail and compliance. Let them pick the ribbon color beforehand to build excitement and get some buy-in for the sitting-still part.
- School-age (6+): Kids this age can help with the whole process. Rolling the clay, choosing the shape, even painting the final piece, it becomes a craft you do together, not just one you do for them.
- Universal tip: Press evenly from the heel of the palm through each fingertip. Uneven pressure leaves shallow spots in the impression that are almost impossible to fix after the fact.
The CDC’s developmental milestones are helpful context if you’re curious about fine motor milestones by age and what level of participation to realistically expect from your child during a hands-on craft like this.
Variations
Once you’ve got the basic technique down, the options expand fast. Here are five directions worth trying.
1. Clay Handprint Ornament
Cut the slab into a classic circle, star, or heart shape and hang it on the Christmas tree each December. If you make one every year, you’ll end up with a collection that shows exactly how fast hands grow from one holiday season to the next. A clay handprint ornament is also one of the most personal homemade gifts you can give anyone on your list during the holidays. For another spin on the tradition, try this handprint snowman ornament.
2. Two-Generation Handprint Plaque
Press a parent’s hand and a child’s hand side by side on a larger slab. Grandparents tend to treasure this kind of keepsake. It captures the size relationship between generations in a way no photo quite manages.
3. Pet Paw + Kid Hand Combo
Press the family dog’s or cat’s paw print alongside your child’s hand on the same piece. With pets aging faster than children, this combination becomes even more precious over time. You’ll want an extra pair of hands for the pet portion, plan for some chaos and you won’t be disappointed.
4. Birth Stats Plaque
Stamp baby’s name, birth date, weight, and length around the hand or foot impression on a larger slab. This is one of the most thoughtful newborn gifts you can bring to a baby shower, or one to make for yourself in those first hazy weeks after coming home from the hospital.
5. Seasonal Painted Keepsake
Paint the dried handprint as a seasonal image: a turkey for Thanksgiving (spread fingers make perfect tail feathers), a Christmas tree with the palm as the trunk, or a sunflower for spring. If your family loves themed seasonal crafts, this collection of easy Thanksgiving crafts for kids has more ideas in that same spirit.
How to Display, Store, and Preserve Your Keepsake
This step gets skipped in most guides, and it’s the one that determines whether your piece survives five years or fifty.
Sealing matters. Two coats of Mod Podge (matte or gloss, your preference) add a protective layer that resists dust and minor moisture. Let each coat dry fully (about 20-30 minutes) before applying the next.
Display options worth considering:
- Shadow box frames: a 2-inch depth works for most handprint slabs and gives the piece a finished, gallery-style look on any wall
- Wall-mounted plate holders: work well for round or oval pieces and keep the handprint visible from every angle in the room
- A dedicated memory shelf: a row of annual handprints, each labeled by year, becomes a striking display as the collection grows
Long-term storage: Wrap the piece in acid-free tissue paper, not bubble wrap (which can trap moisture), and store it flat. Never stack heavy items on top.
What to avoid: Extended direct sunlight fades acrylic paint finishes over time. If your display spot gets strong afternoon light, choose a UV-protective sealant spray rather than standard Mod Podge. And photograph the finished piece right away and back it up somewhere cloud-based. Even heirlooms break, and a photo backup costs nothing.
Gifting Ideas: Who Loves a Clay Handprint Keepsake
These make some of the most meaningful gifts you can give, mostly because they can’t be bought. Here’s who will treasure one most.
- Grandparents: a child’s handprint is a gift grandparents tend to treasure. Stamp the child’s age and year into the clay and it becomes a true heirloom.
- Mother’s Day or Father’s Day: made by kids, treasured by parents. Pair it with a handwritten card for a gift that costs almost nothing and lands every time.
- Teacher gifts: an end-of-year classroom memory that stands apart from the usual candle or gift card. If you’re building out a teacher gift idea, this guide to teacher gift ideas they’ll actually use covers a thoughtful range at different price points.
- Memorial or sympathy keepsake: one of the most tender uses of this craft. Capturing a child’s handprint as a gift for a grieving family member is a gesture that words rarely match.
Frequently Asked Questions
How do you make a handprint keepsake at home?
Roll your chosen clay to ½-inch thickness, press your child’s hand firmly into the surface for about five seconds, then lift it straight up. Add a name and date while the clay is still soft. Dry or bake based on your clay type, sand the edges once fully dry, then paint and seal. The complete step-by-step is in the Steps section above.
What kind of clay is best for handprints?
Air dry clay is the easiest starting point since no oven is needed. Polymer clay holds the finest detail and won’t crack during curing. Baking soda clay is the most budget-friendly and dries to a bright white surface that takes paint exceptionally well.
How do you preserve a clay handprint keepsake long-term?
Apply two coats of Mod Podge or a UV-protective clear spray, letting each coat dry fully between applications. Display away from direct sunlight, and if storing, wrap in acid-free tissue paper laid flat in a protected box.
Can I buy a clay handprint kit instead of making clay from scratch?
Yes. Clay handprint kits from brands like Sculpey typically run $10-$18 and include pre-made clay, a shaping tool, and basic instructions. They’re a solid option if you want to skip prep entirely, and they double as a thoughtful gift on their own, especially for grandparents or new parents.
At what age should you make a clay handprint keepsake?
Any age works, but the six-month-to-five-year window captures the most striking size contrast. Footprints work best for newborns since tiny hands tend to stay fisted. Many families make one each year as a tradition, and watching the annual progression is its own kind of magic.


