
Monster Fruit Cups (Healthy Halloween Snack)
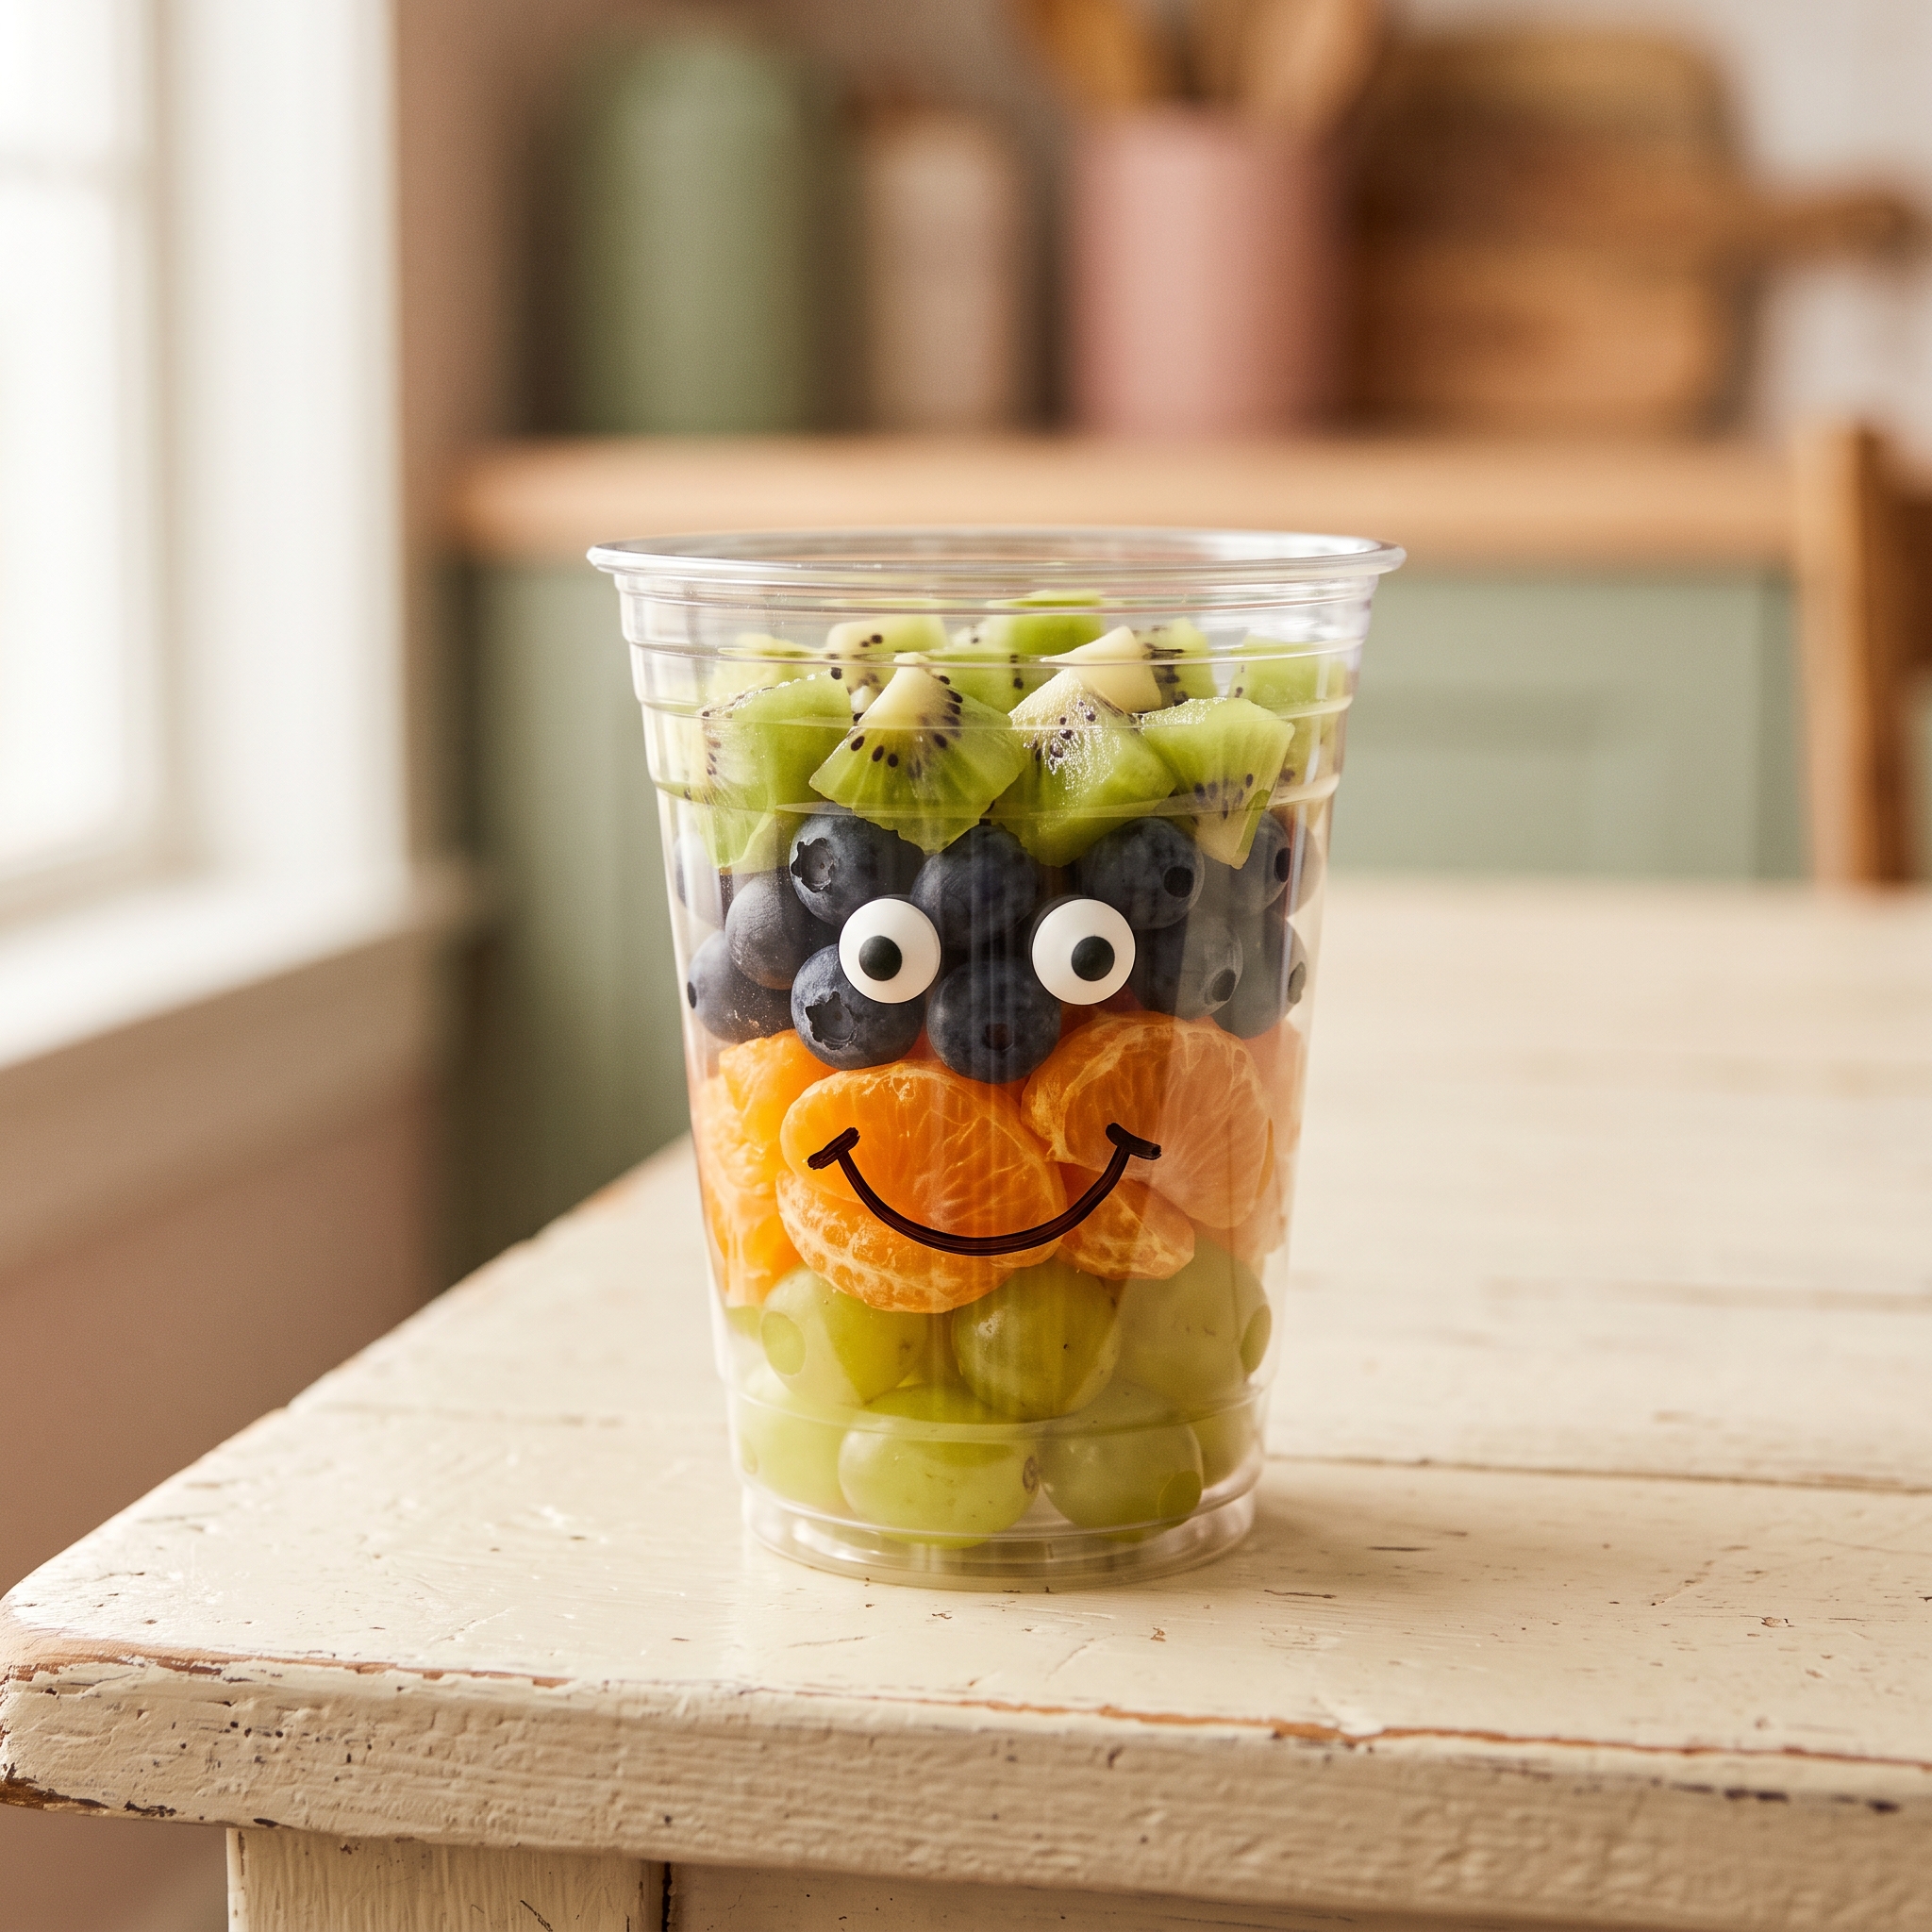
Monster fruit cups are individual clear plastic cups filled with fresh seasonal fruit and decorated with candy eyes and a drawn-on monster face, making a healthy no-cook Halloween snack ready in under 15 minutes.
Last updated: July 2026
Quick Answer: What Are Halloween Fruit Cups?
Halloween fruit cups are exactly what the party table has been missing: a no-bake, grab-and-go snack that looks spooky but is packed with fresh fruit. Draw a monster face on a clear plastic cup, press on a few candy eyes, layer in colorful fruit, and you’re done. They work as a classroom treat, a halloween fruit tray centerpiece, or a lunchbox surprise that’ll make your kid’s day.
The kitchen smells like nothing, which is honestly the best part. No oven, no mess, no elaborate frosting techniques. Just a marker, some candy eyes, and whatever fruit your kids will actually eat.
Below you’ll find five monster face designs, a full ingredient list with exact quantities, make-ahead tips, and smart swaps for different ages and dietary needs.
Why These Monster Fruit Cups Win Halloween
Most classroom party sign-up sheets already have three columns of cupcakes and two of candy corn. These Halloween fruit cups fill the one gap nobody else covers: something colorful, festive, and actually good for kids to eat.
According to the CDC, added sugars make up nearly 17% of total daily calories for children ages 2 to 19. Swapping one candy-heavy snack for a fruit cup won’t single-handedly change that number, but it’s an easy, low-effort win that you’ll feel good about.
Here’s what makes these worth adding to your rotation:
- Zero cooking: start to finish in about 12 minutes, even with kids helping.
- Picky-eater friendly: swap any fruit your child won’t touch for something they love.
- Age-range wide: toddlers through teens will eat these, with a few small tweaks for the youngest kids.
- Party-table ready: lined up on a tray, they look like you spent way more time than you did.
If you’re hunting for more no-fuss options to round out the snack table, our list of healthy snacks kids will actually eat has ideas that pair well with these cups at a Halloween spread.
Recipe Card
| Detail | Info |
|---|---|
| Prep Time | 12 minutes |
| Total Time | 12 minutes |
| Yield | 10 monster fruit cups |
| Skill Level | Beginner / Kid-Friendly |
| Best For | Classroom parties, Halloween gatherings, lunchboxes |
Ingredients
The fruit choices here aren’t random. Green, orange, red, and purple naturally hit the Halloween color palette without any food coloring. Swap freely based on what your family loves.
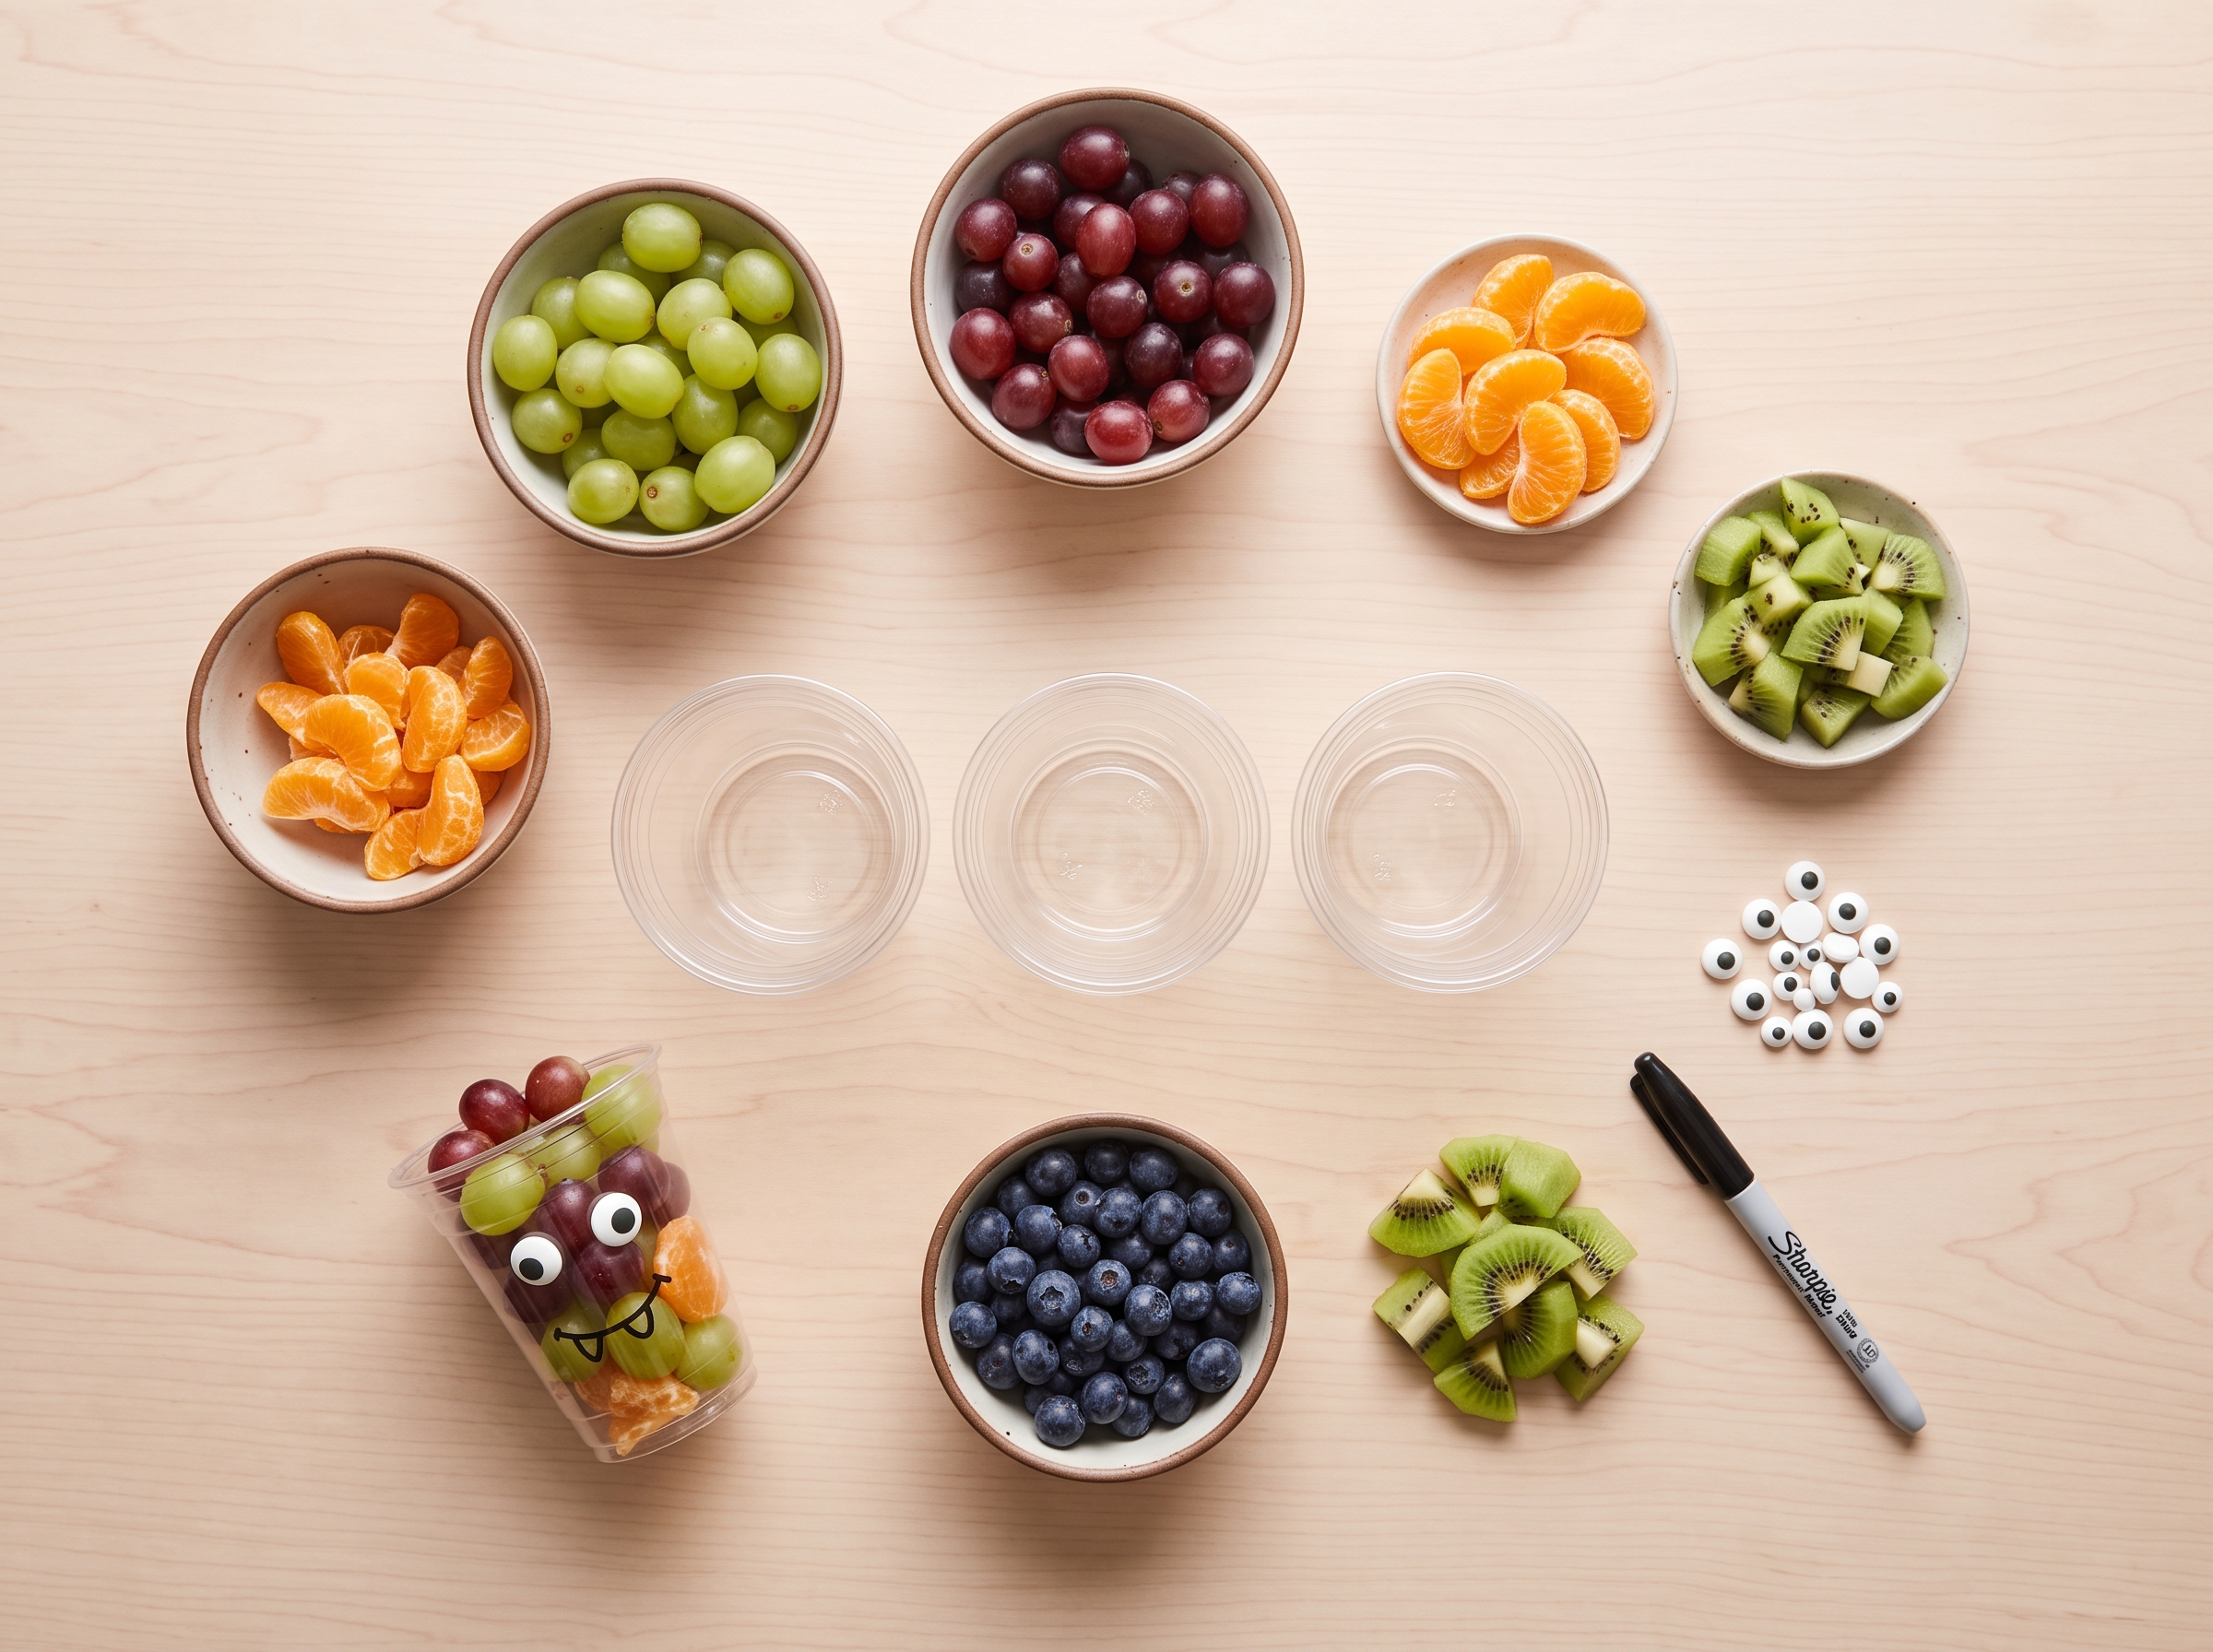
- For the Fruit Filling (per 10 cups):
- 1½ cups green seedless grapes, halved (quarter for toddlers under 4)
- 1½ cups red or strawberry seedless grapes, or 10 large strawberries, halved
- 1 cup mandarin orange segments (fresh or from a well-drained can)
- 1 cup blueberries
- 1 cup kiwi, peeled and cut into bite-sized chunks
- For the Monster Decorations:
- 10 clear 9-oz plastic cups
- 1 pack assorted candy eyes (2 sizes for variety)
- 1 black food-safe marker or black icing pen
- White icing or white gel pen for attaching eyes
- Optional: green ribbon or black washi tape for cup rim detail
This is where Halloween fruit ideas get fun. The USDA SNAP-Ed Connection suggests combining watermelon chunks, pineapple, grapes, strawberries, and kiwi served alongside light strawberry yogurt for dipping, which would make a great addition to a full Halloween fruit tray setup. You can also keep this super simple if you’re scaling up for a big class party: pre-washed berry medley bags from Driscoll’s or Fresh Express cut your prep to under five minutes.
Instructions
- Wash all fruit thoroughly and prep your cuts. Halve strawberries and grapes. For children under 4, quarter the grapes lengthwise to reduce choking risk. Cut kiwi into roughly ½-inch chunks.
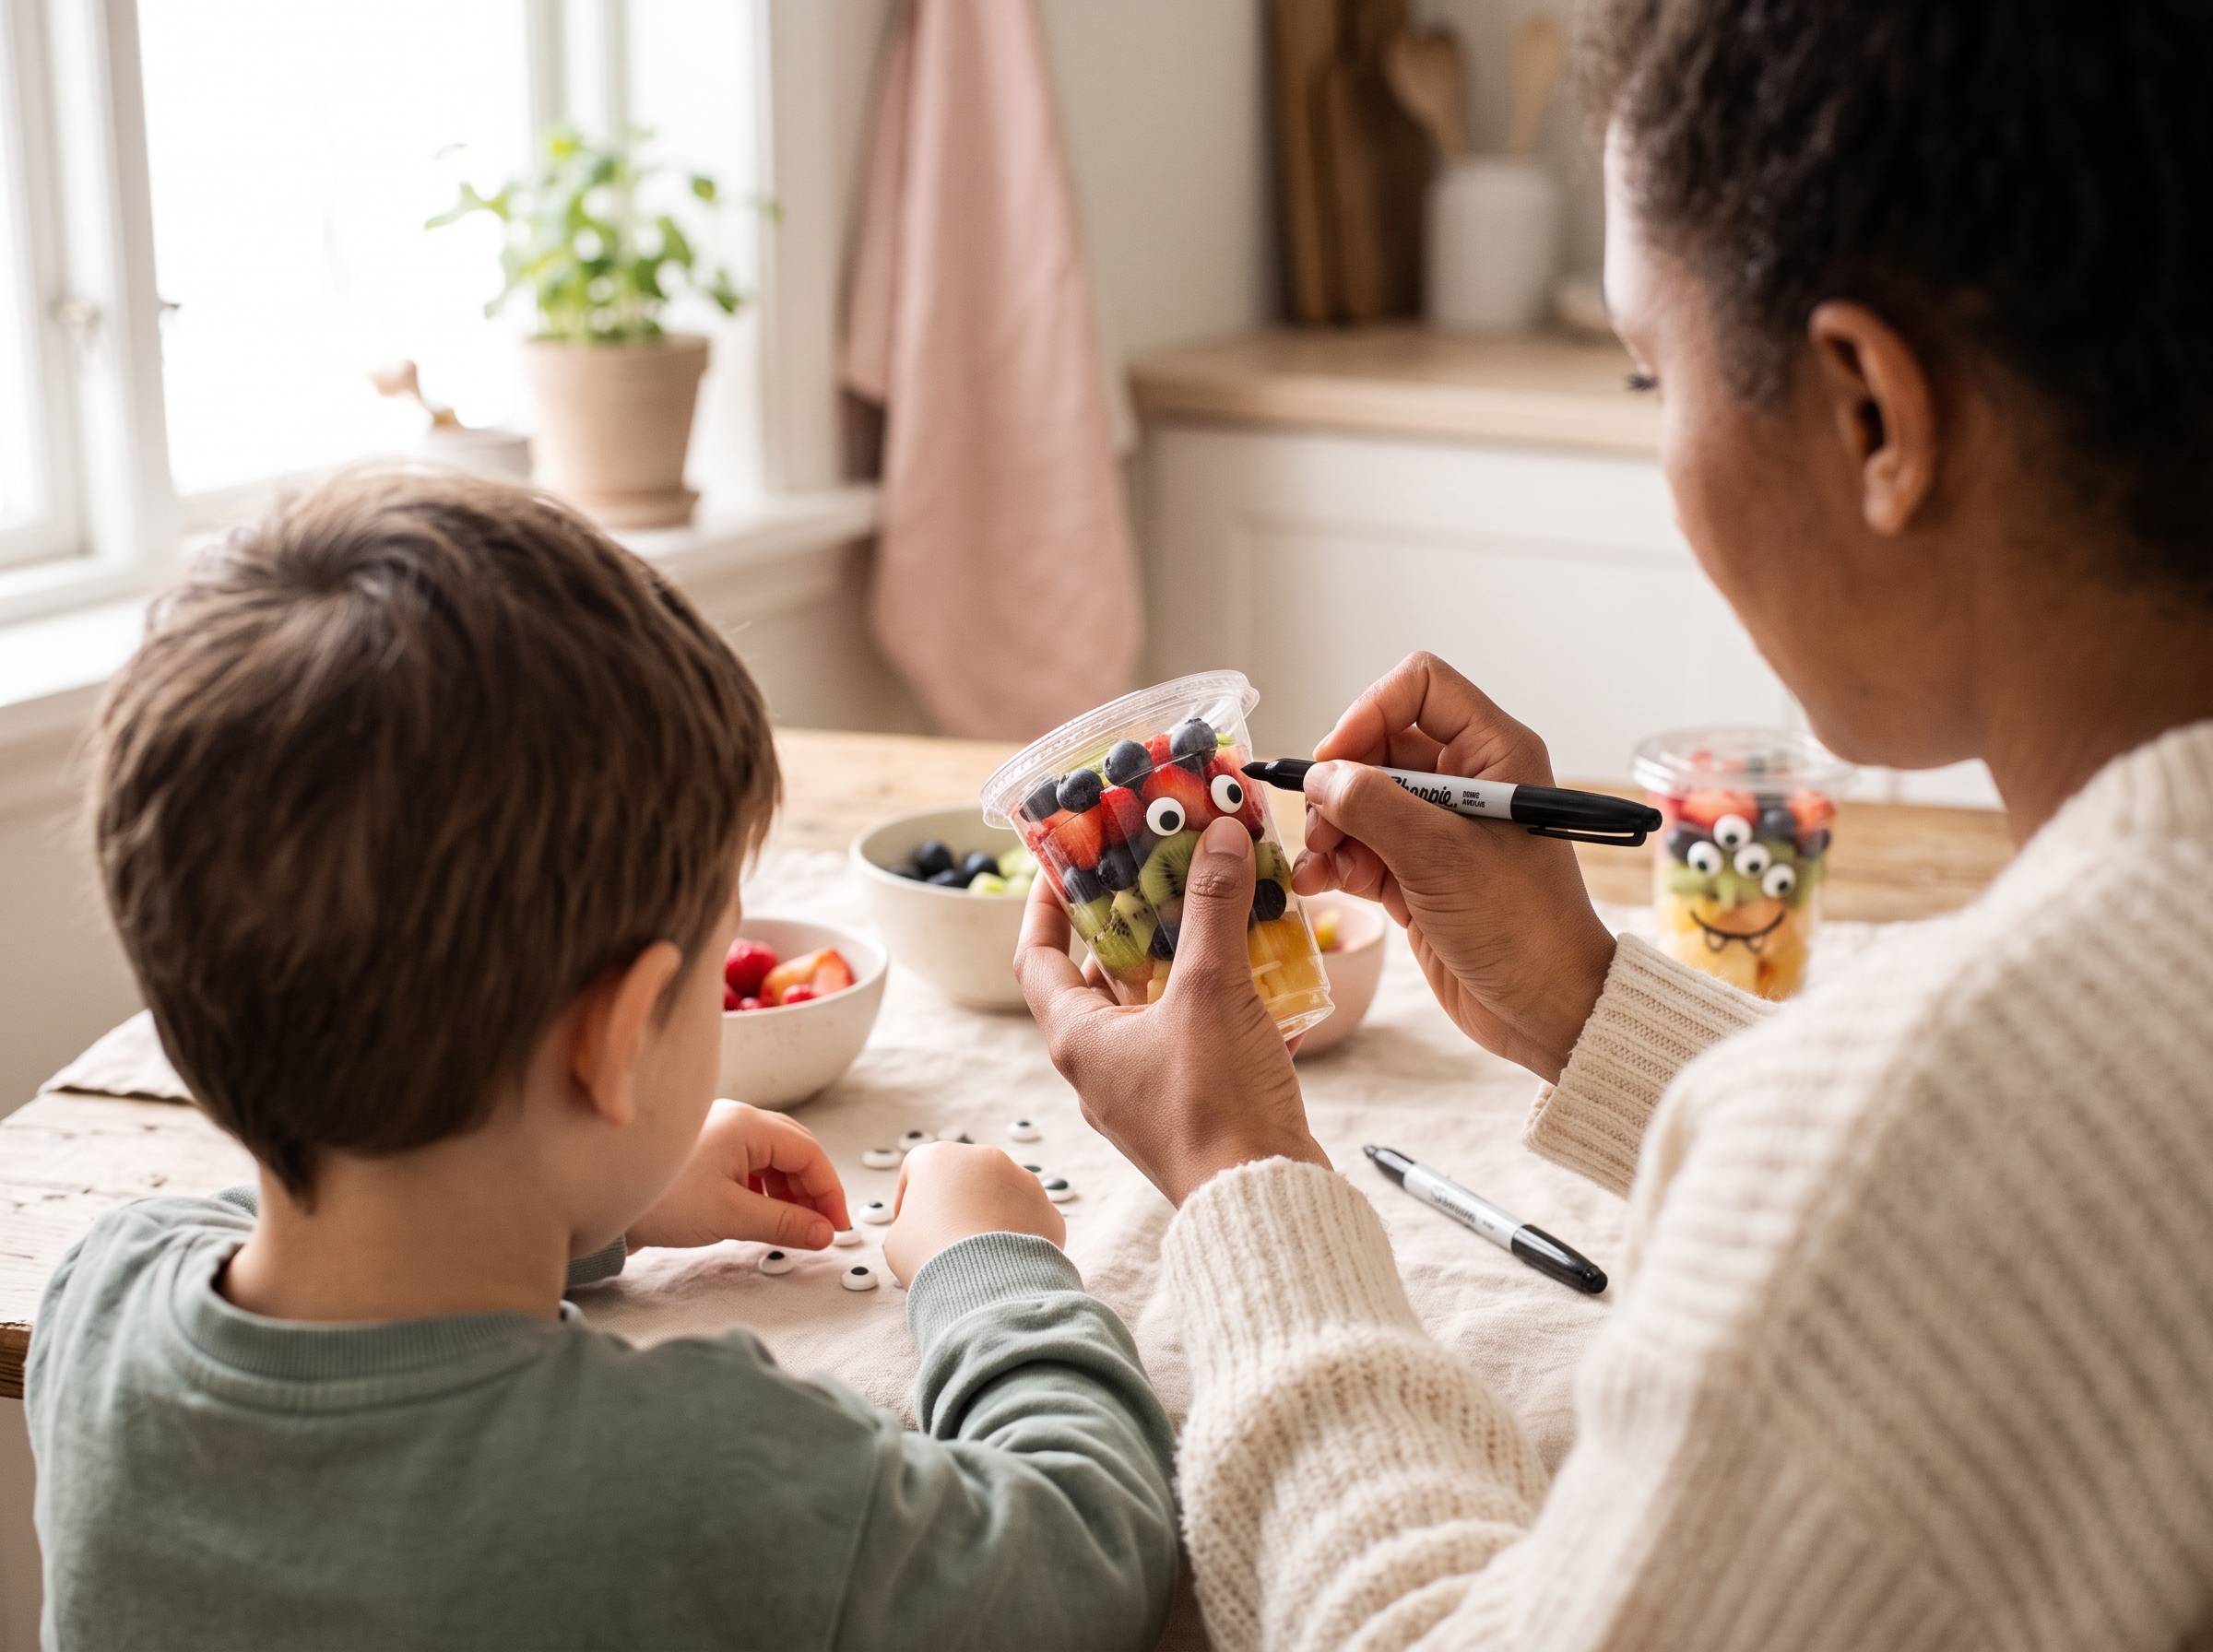
- Draw the monster face on each cup before filling. This step is much easier on an empty, flat-sided cup. Hold the base steady and draw your mouth design on the lower third of the cup. (See the Monster Face section below for five specific designs.)
- Attach candy eyes with a tiny dot of white icing or press firmly against the inner cup wall so they show through the clear plastic. Larger eyes go center, smaller eyes go wide for a goofier look.
- Layer fruit by color starting from the bottom. Add blueberries first, then green grapes in the middle layer, then strawberries or mandarin segments near the top. The color gradient shows beautifully through the clear cup.
- For classroom parties, add a toothpick flag with the child’s name, or use a small sticker label on the base of the cup. This saves so much table chaos during party time.
- If adding a rim detail, wrap a strip of green ribbon or black washi tape around the top edge of the cup now, before refrigerating.
- Refrigerate uncovered for up to 2 hours before serving. Any longer and the fruit starts releasing liquid. For best texture, fill cups no more than 4 hours ahead.
Note for younger helpers: Adult supervision is a good idea for the marker step if kids under 5 are decorating their own cups. The fine-tip markers can be tricky to control on a curved plastic surface, and small hands tend to press hard.
Monster Face Design Ideas (5 Looks, No Art Skills Required)
Every competitor on the first page of search results does a jack-o-lantern face. Here’s where these cups go somewhere more interesting. Print a simple reference sheet of these five designs and let the kids at your party choose their own monster. You’ve just turned a snack into an activity.
1. Classic Cyclops
One oversized candy eye pressed dead center on the cup. Draw a jagged zigzag mouth below it with sharp triangle points. Simple, striking, and the fastest one to make when you’re doing 25 cups at once.
2. Dracula
Two small eyes set wide apart near the top. Draw two short downward lines at the bottom of the cup for fangs. Add a tiny V shape between the fangs for the open-mouth effect. No cape required.
3. Frankenstein
Rectangular eyes drawn as flat-bottomed ovals. A stitched mouth made of one horizontal line with four short vertical tick marks crossing it. Wrap green ribbon around the cup rim to complete the look. This one is a crowd favorite with older kids who want to go the extra mile.
4. Mummy
Stretch two or three strips of white washi tape horizontally across the cup, leaving small gaps between them. Press two tiny candy eyes peeking through the “bandage” gaps. The white tape over the colorful fruit underneath looks amazing. No marker needed at all.
5. Silly Three-Eyed Monster
Three mismatched candy eyes (use two sizes and different positions) with a wide, wavy grin drawn below. This is the one kids at a party will always choose. There are no rules, every cup looks different, and it takes about 45 seconds per cup. It’s also the most forgiving if your drawing isn’t perfectly neat.
Tip: if you’re looking for more easy Halloween-themed creative projects for your crew, our roundup of holiday crafts ideas for kids has simple seasonal projects that follow the same low-supply, high-fun approach.
Make-Ahead Tips and Smart Swaps
The decorated cups (faces drawn, eyes attached) can be made up to 48 hours in advance. Stack them carefully in a large zip bag and store at room temperature. Fill with fruit no more than 4 hours before serving so nothing gets soggy or weepy.
Fruit swaps by age: For toddlers, skip whole grapes entirely and use quartered pieces or soft melon chunks instead. For an adult Halloween fruit spread at a grown-up gathering, add pomegranate arils, blackberries, or passion fruit for a more sophisticated look while keeping the same monster cup format.
Candy eye allergy note: Many candy eyes contain gelatin, which isn’t suitable for vegan or halal families. Mini chocolate chips pressed gently against the inside of the cup with a tiny dot of icing work just as well and look adorable.
Scaling up for a class of 25: Buy fruit in 1-lb bulk bags. You’ll need roughly ½ cup of fruit per cup. One 2-lb container of strawberries plus two 1-lb bags of grapes covers about 20 cups. Add a bag of blueberries and a few clementines for the remaining five.
Halloween fruit tray display tip: Arrange 8 to 10 finished cups on a black serving tray. Stretch fake cobweb material between the cups and tuck in a few plastic spiders. It takes two extra minutes and looks like a completely different level of party effort. Name tags on toothpick flags keep classroom distribution smooth.
Need quick snack ideas for the rest of the week after the party? Our guide to easy no-fuss snacks for kids has five-minute options that use the same kinds of fresh fruit you’ll have left over.
What to Hand Out Instead of Candy for Halloween
If you’re hosting trick-or-treaters at the door or running a classroom station, Halloween fruit cups are the strongest non-candy option because they’re festive enough that kids don’t feel like they’re getting a “health lecture” snack. Snap a plastic lid on each finished cup and they travel perfectly as a take-home treat.
Beyond the cups, here are four more ideas that go over well:
- Mini playdough tubs: the mini Party City or party favor sizes cost about the same as a fun-size candy bar per child.
- Sticker sheets: Halloween-themed sticker sheets from the dollar section at Target or Dollar Tree are a guaranteed hit with kids under 8.
- Pencils and erasers: novelty Halloween erasers feel like a prize, not a school supply.
- Individually wrapped popcorn bags: look for the small Halloween-printed bags in the snack aisle; they read as festive and most kids love popcorn. Skip these for trick-or-treaters under 4, since whole popcorn is a choking hazard for young kids.
Frequently Asked Questions
What fruit should I put in cups for a Halloween party?
The best picks for Halloween fruit cups are red strawberries, green or purple grapes, orange mandarin segments, blueberries, and green kiwi. Those colors naturally match the Halloween palette without any food dye. Avoid high-water fruits like watermelon if you’re making them ahead of time, since watermelon releases liquid quickly and can make the cup look watery within an hour or two.
What is the most famous fruit associated with Halloween?
Apples are the most historically associated Halloween fruit, tied to apple bobbing traditions that go back centuries in American and Celtic harvest celebrations. For fruit cups specifically, oranges and clementines have become the modern go-to because of their natural jack-o-lantern color. Many popular versions of Halloween fruit cups use hollowed-out whole oranges as the cup itself, carved with a pumpkin face.
Can I make these monster fruit cups the night before?
You can absolutely decorate the cups the night before. Draw the faces, attach the candy eyes, and stack them in a bag in the fridge or at room temperature. Add the fruit no more than 3 to 4 hours before serving for the best texture and appearance. Filled cups stored overnight tend to get a bit watery, especially if you’re using citrus or berries.
Are these safe for toddlers?
Yes, with a few simple adjustments. Quarter grapes and halve strawberries into smaller pieces for children under 4 to reduce choking risk, and skip the candy eyes on their cup since those small pieces aren’t appropriate for that age group. A drawn-on face with a black marker looks just as cute. The AAP recommends cutting round foods like grapes into small pieces for toddlers under 4. Always supervise young children with decorative items on any food.
How do I display these as a Halloween fruit tray at a party?
Arrange 8 to 10 finished cups in a cluster on a large black or orange tray. Tuck fake cobweb material between the cups, scatter a few plastic spiders across the tray, and add a small sign that says “Monster Fuel” or “Eat Me If You Dare.” For a classroom setting, add a toothpick name flag to each cup so distribution goes smoothly. The whole display comes together in under five minutes and photographs beautifully for the class memory book.


