
Cookie Exchange Ideas (Treats, Rules & Printables)
A cookie exchange is a holiday party where each guest bakes one large batch of a single cookie and leaves with an assortment of everyone else’s.
Last updated: June 2026
Quick Answer: Cookie Exchange Ideas
A cookie exchange, sometimes called a cookie swap, solves the most relatable December problem: you want a full tin of assorted holiday cookies without spending an entire weekend baking. Each guest bakes one variety in bulk, brings enough to share, and goes home with a beautiful mix. Add some simple rules, a crowd-pleasing recipe, and a printable set, and you’ve got a holiday tradition worth repeating every year.
The kitchen smells like butter and powdered sugar, Christmas music is on, and you’ve made four dozen of the same cookie. They’re perfect, but they’re also the only cookie you’ll have this season unless you start all over again. That’s where a cookie exchange saves December.
Below you’ll find everything you need to pull one off: clear rules with specific numbers, recipe inspiration, a featured soft frosted sugar cookie recipe that scales beautifully, packaging ideas, free printables, and a quick guide by group size. Let’s get into it.
What Is a Cookie Exchange (And Why You Need One This December)
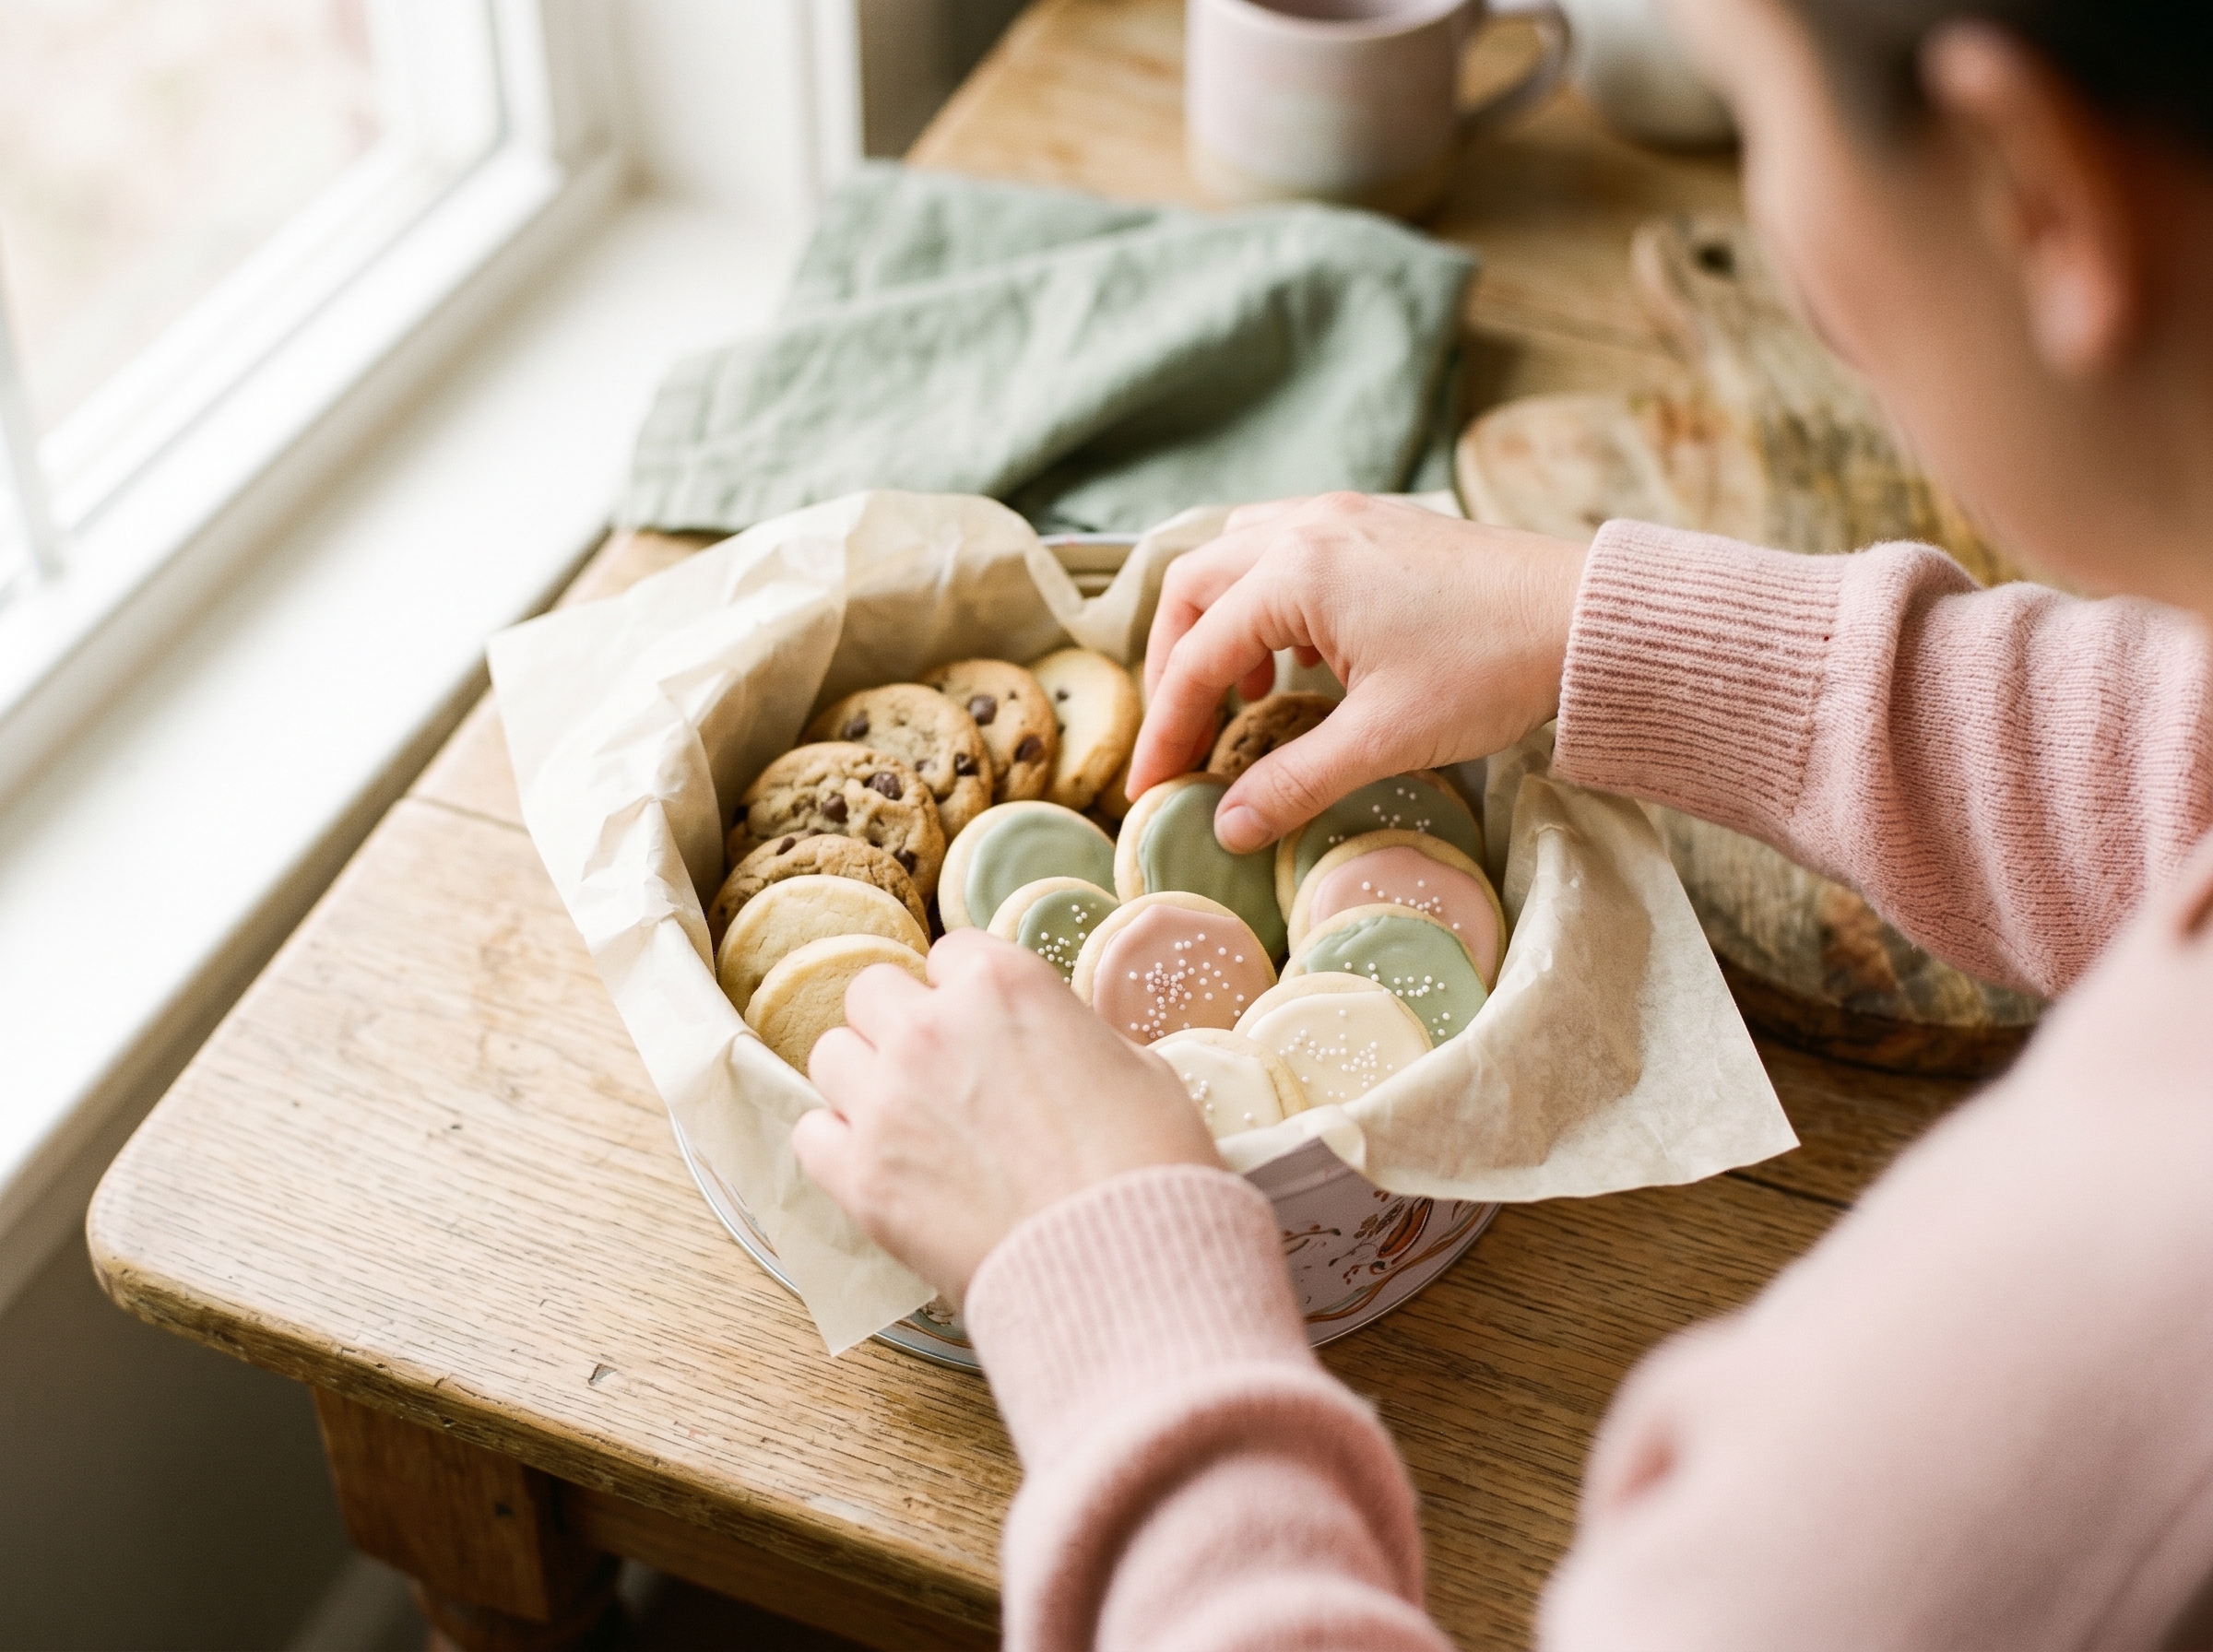
The concept is simple and the payoff is enormous. Everyone bakes one type of cookie in a large batch, shows up with their contribution, and leaves with a sampler tin’s worth of variety. No one person has to bake six kinds of cookies. The work gets shared, and the reward gets multiplied.
There are three reasons I think every mom should host one at least once. First, you get variety without the burnout. Second, it doubles as a built-in girls’ night that actually has a purpose (everyone loves a reason to get together in December). Third, your holiday gifting practically solves itself. A cellophane bag of six assorted homemade cookies is one of the most thoughtful things you can hand someone.
A Christmas cookie exchange works best with somewhere between 6 and 14 guests. That range gives you enough variety without the event becoming unmanageable. You can run it as a simple swap over coffee, or go all-in with a full lunch, a cookie decorating station, and a judged competition. The format is totally up to you. If you’re planning a bigger holiday party alongside it, a hot chocolate bar pairs perfectly with a cookie spread and gives guests something warm to sip while they mingle.
Cookie Exchange Rules (The Ones That Actually Work)
This is where most swaps go sideways. Vague invitations lead to someone showing up with a sleeve of store-bought cookies, three people bringing the same snickerdoodle, and no one knowing how many to bring. Specific rules fix all of that.
The Standard Numbers to Give Every Guest
The classic formula is one dozen cookies per guest attending. If 10 people are coming, everyone brings 10 dozen and leaves with roughly 10 dozen. For smaller gatherings of 6 to 8 people, a half-dozen per guest works just fine and keeps quantities from getting out of hand.
Here’s what I always tell guests in the invitation: bake one to two extra dozen beyond the required count. That buffer covers breakage, the display plate, and any guests who sneak a few during the mingling portion (and they will).
What to Tell Guests in the Invitation
- Homemade only: no store-bought cookies
- Bring a printed recipe card: guests love going home with the recipe (the printables section below covers this)
- Allergen disclosure: ask guests to flag nut-free, gluten-free, or dairy-free status on every package
- Packaging requirement: individually bagged or boxed, not just a pile on a plate
- Arrival vs. swap time: let guests know the swap officially starts 30 minutes after arrival so there’s time to settle in and socialize first
Diabetes-friendly cookies are a thoughtful, inclusive option for holiday cookie swaps. If you know someone in your group manages blood sugar, it’s worth giving guests a heads-up that low-sugar options are welcome and appreciated alongside the classic frosted varieties.
How Long Should a Cookie Exchange Last?
Plan for 2 to 2.5 hours. The structure that works best: 30 minutes of arrival and mingling, 20 minutes for the actual swap and cookie reveal, and the remaining time for coffee, eating, and chatting. Events that push past 3 hours tend to lose momentum fast. Keep the swap portion timed and intentional, and the rest of the night flows naturally.
Best Cookies for a Cookie Exchange
Not every cookie is a great swap cookie. The recipe you love baking for your own family might not survive an hour in a cellophane bag, or it might be nearly impossible to scale to four dozen. Choosing strategically makes the whole experience better for everyone.
The 4 Qualities of a Great Exchange Cookie
- Travels well: sturdy enough to survive bagging, stacking, and a car ride home without crumbling
- Scales easily: doubles or triples without a second thought, so making four to five dozen isn’t a production
- Looks impressive packaged: visual appeal matters when cookies are going home as gifts
- Stores for 3 to 5 days at room temperature: guests won’t eat everything the day of the event
8 Crowd-Pleasing Cookie Exchange Recipes to Consider
If you’re looking for cookie exchange recipes that check every box above, this list is a great starting point. For a chocolate option that photographs beautifully, the peanut butter cup cookie baked in a mini muffin tin is always a crowd favorite and packages up perfectly.
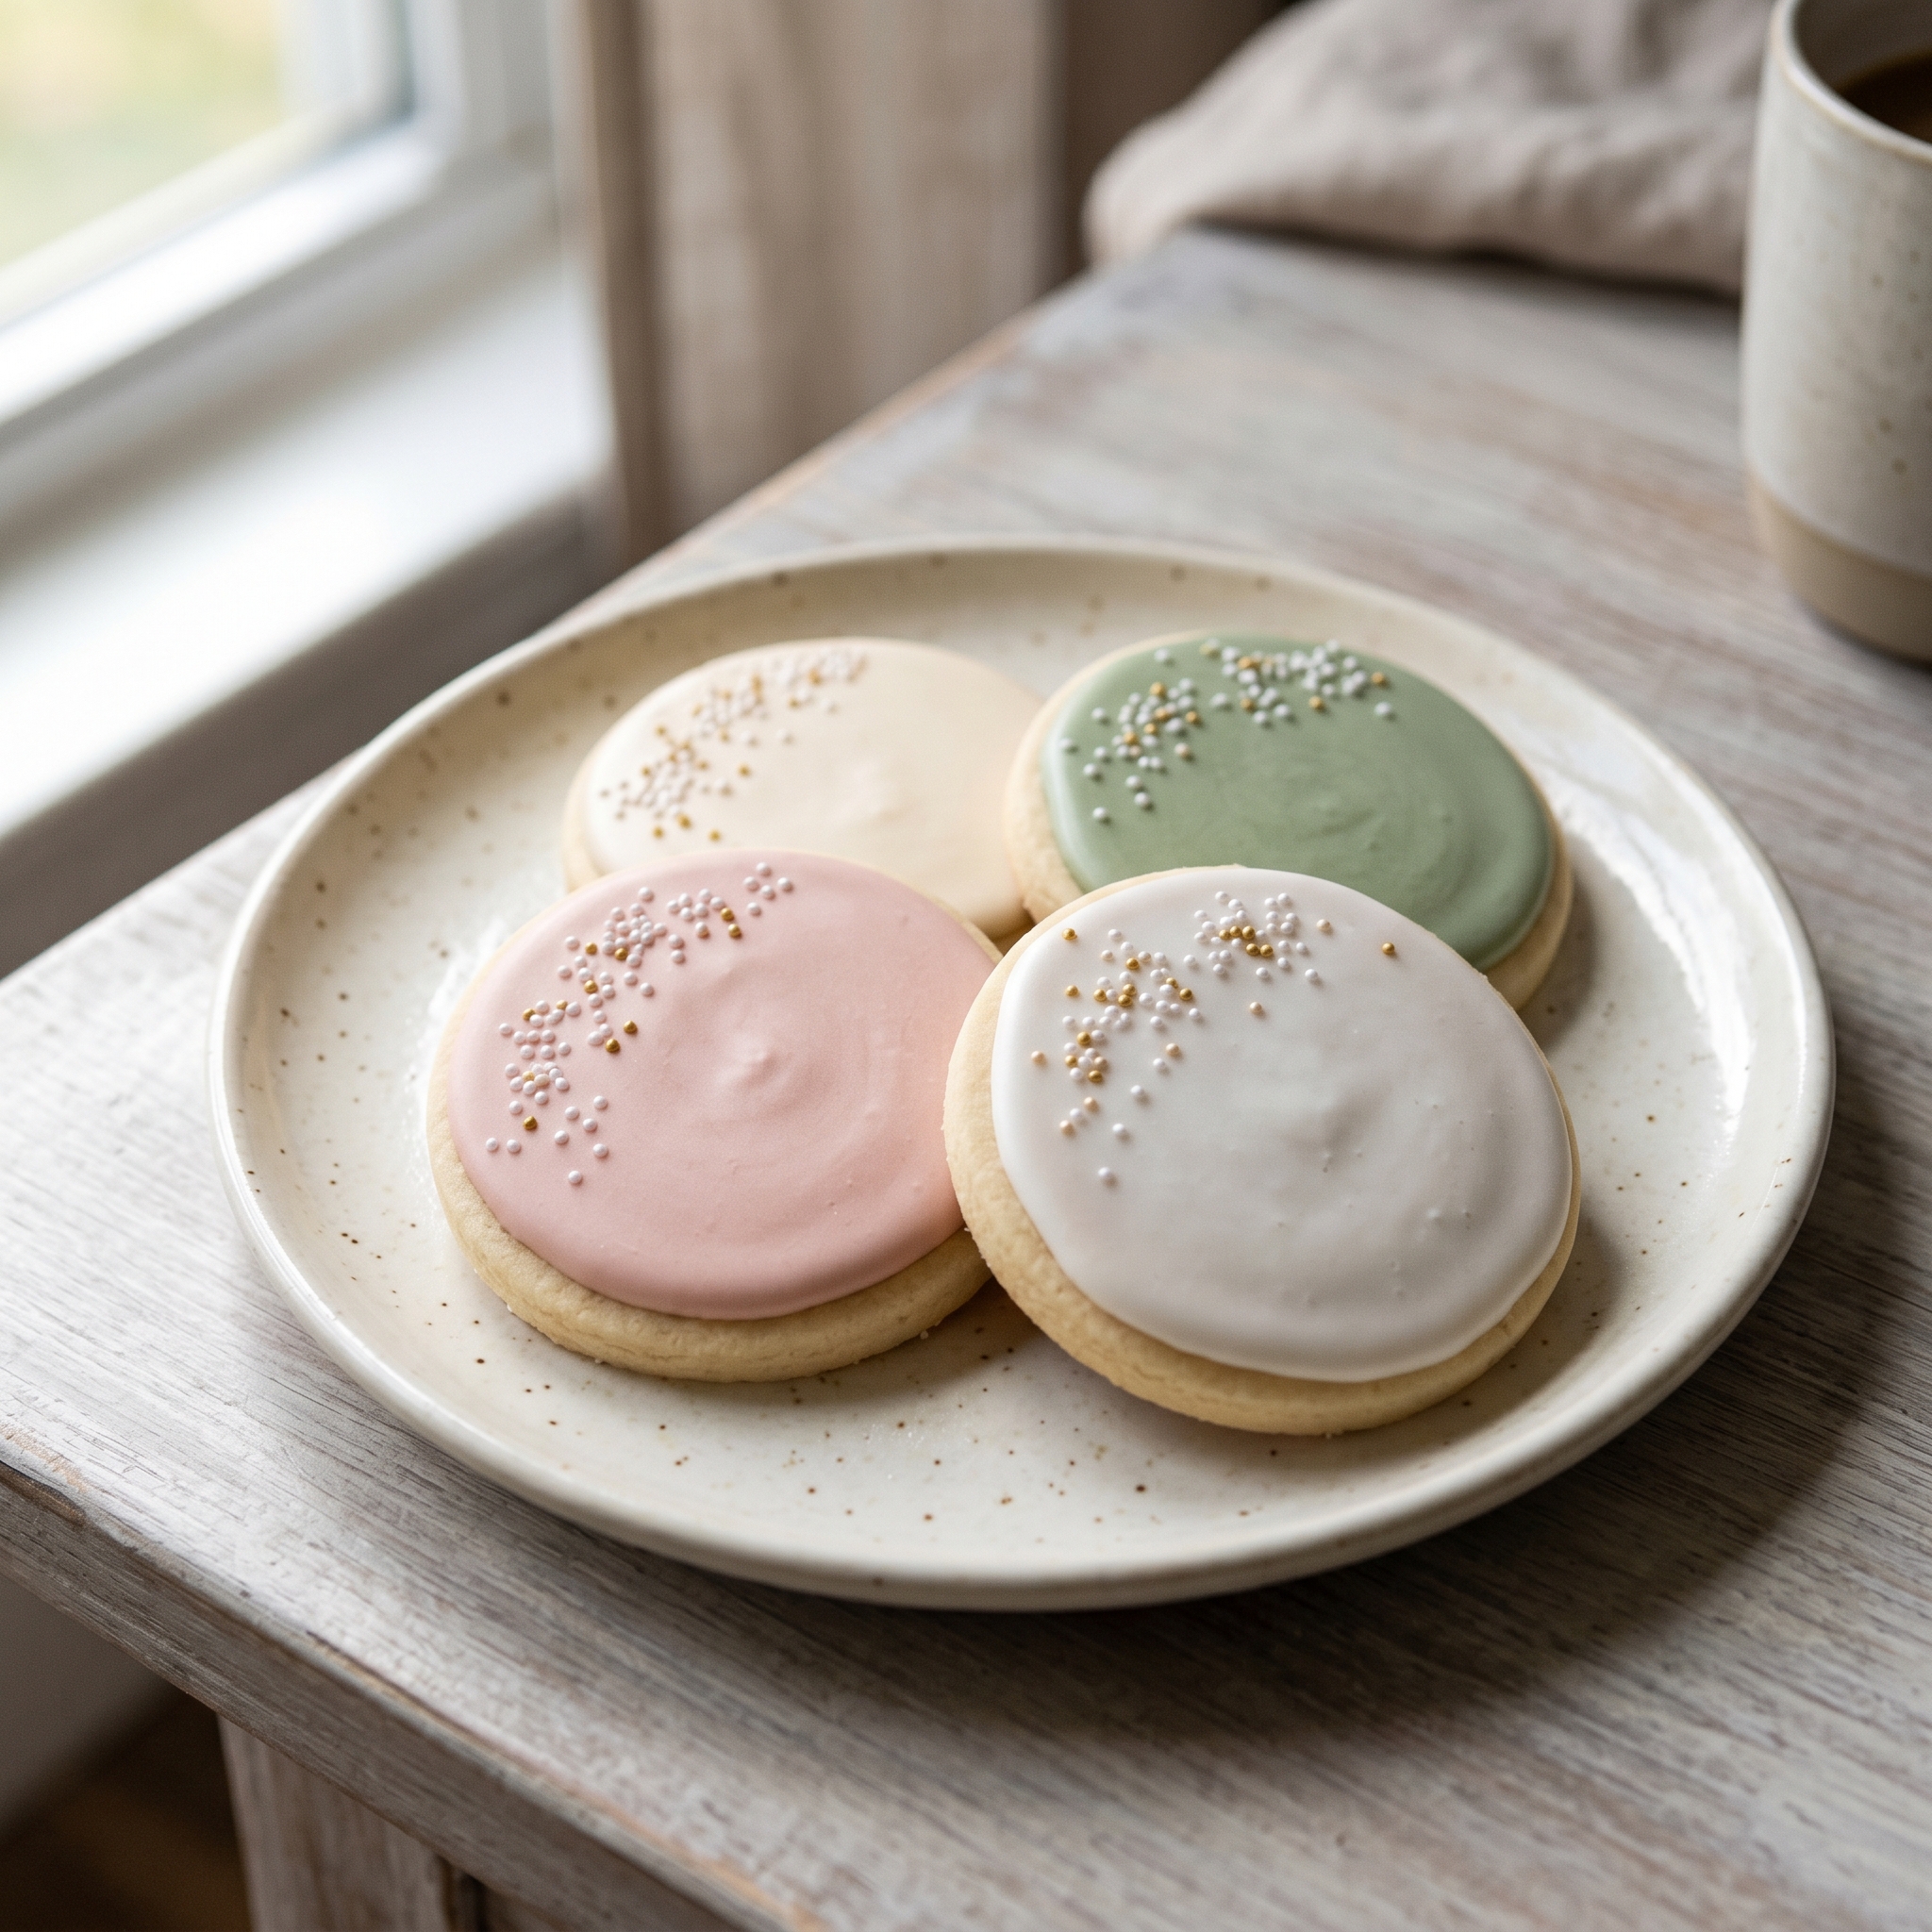
- Classic Soft Frosted Sugar Cookies: the featured recipe below, universally loved and endlessly customizable
- Peppermint Chocolate Crinkles: bold flavor, striking black-and-white look
- Brown Butter Snickerdoodles: lifted twist on a classic, nutty and warm
- Salted Caramel Thumbprints: elegant, impressive, and not too fussy
- White Chocolate Cranberry Oatmeal Cookies: festive color, chewy texture, travels well
- Almond Spritz Cookies: buttery, delicate, and absolutely gorgeous pressed into shapes
- Lemon Glazed Shortbread: bright contrast to all the warm spices on the table
- Chai Spice Molasses Cookies: bold holiday flavor with a chewy center
Recipe Card
The featured recipe for this cookie exchange is Classic Soft Frosted Sugar Cookies. They photograph beautifully, scale to four or more dozen without any fuss, and have near-universal appeal. No nuts, not heavily spiced, and completely kid-friendly.
| Prep Time | 20 minutes |
| Cook Time | 10–12 minutes |
| Total Time | ~35 minutes (plus 20 minutes cooling before frosting) |
| Yield | ~4 dozen cookies (easily doubled for a 10-person exchange) |
Ingredients
- 3 cups all-purpose flour
- 1 tsp baking powder
- ½ tsp baking soda
- ½ tsp salt
- 1 cup (2 sticks) unsalted butter, softened
- 1½ cups granulated sugar
- 2 large eggs
- 2 tsp pure vanilla extract
- ½ cup sour cream
- For the frosting: 3 cups powdered sugar, 3–4 tbsp milk, 1 tsp vanilla extract, gel food coloring (optional)
- Holiday sprinkles for topping
Instructions
- Preheat oven to 350°F. Line two baking sheets with parchment paper.
- Whisk together flour, baking powder, baking soda, and salt in a medium bowl. Set aside.
- In a large bowl, beat softened butter and sugar on medium-high for 2 to 3 minutes until light and fluffy.
- Add eggs one at a time, beating after each addition. Mix in vanilla extract and sour cream.
- Reduce mixer speed to low. Add the flour mixture gradually, mixing just until a soft dough forms. Do not overmix.
- Scoop dough using a 1.5-tbsp cookie scoop. Place portions 2 inches apart on prepared baking sheets.
- Bake 10 to 12 minutes, until edges are just set and centers look barely done. Do not overbake, they’ll firm up as they cool.
- Cool on the pan for 5 minutes, then transfer to a wire rack. Cool completely (at least 20 minutes) before frosting.
- Whisk frosting ingredients until smooth and spreadable. Spread onto cooled cookies, top with sprinkles, and let set 15 to 20 minutes before stacking or packaging.
Food safety note: Do not taste or eat raw dough. It contains raw flour and raw eggs, both of which can carry harmful bacteria like Salmonella and E. coli. The FDA recommends baking all dough and batter fully before consuming. This applies to children helping in the kitchen too.
Make-Ahead Tips and Cookie Exchange Packaging Ideas
One of the best things about this recipe is the flexibility. You don’t have to bake the night before and stress yourself out. Here’s a timeline that keeps things calm.
Make-Ahead Timeline
- Up to 3 months ahead: freeze unbaked dough balls on a sheet pan, then transfer to zip-top bags once solid. Do not eat frozen raw dough; bake fully before serving (see the food safety note above)
- Up to 5 days ahead: bake and store unfrosted cookies in an airtight container at room temperature
- 1 day ahead: frost and let set overnight, in my experience, the flavor is even better the next day once everything has settled
This recipe doubles cleanly to 8 dozen, which makes it one of the most practical cookie exchange recipes for groups of 8 or more. Just double every ingredient and work in batches.
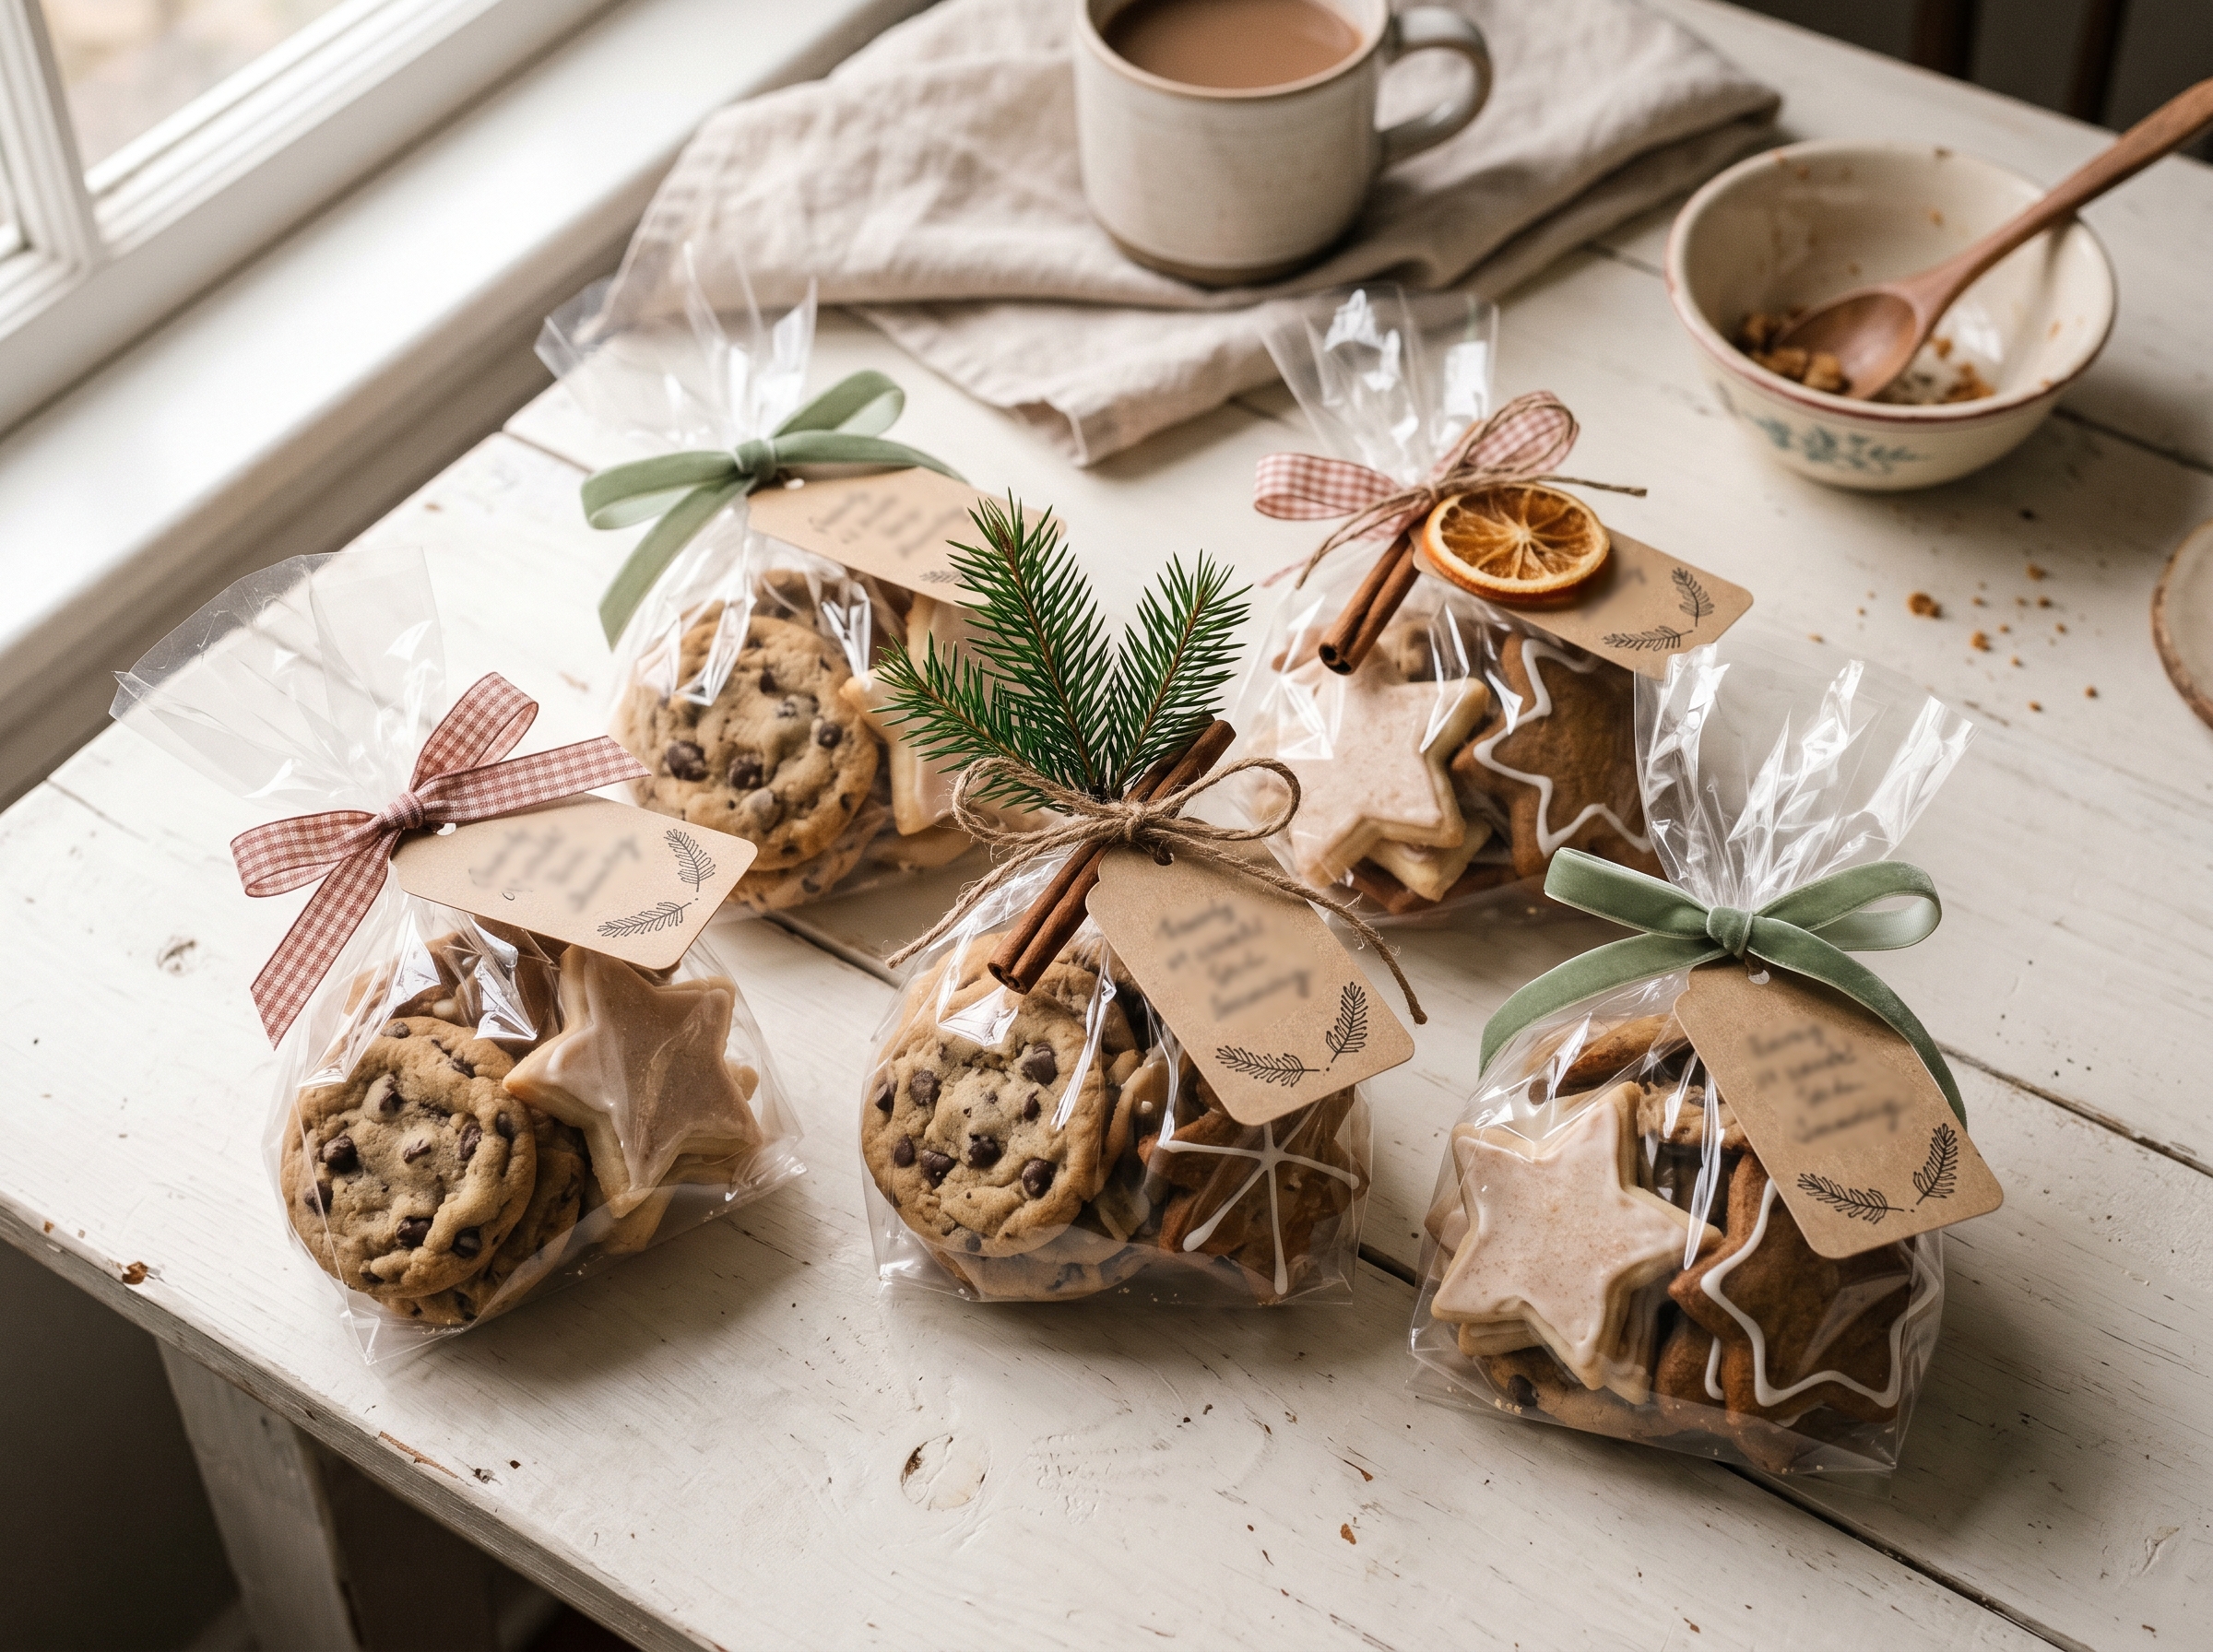
How to Package Cookies for a Cookie Exchange
- Individual cellophane bags (4×9 inch): fits 3 to 4 stacked frosted cookies perfectly, sealed with a twist tie or ribbon
- Kraft bakery boxes (4×4 or 6×6): holds 6-cookie servings and feels more like a gift than a bag
- Paper treat bags with a custom label: easy to source, adorable with a printed tag (see printables below)
Whatever packaging you choose, always include a printed recipe card and label each package clearly with the cookie name, your name as the baker, and any allergen flags: nut-free, gluten-free, dairy-free. Guests deserve to know what they’re eating, and it saves a lot of awkward guessing.
Free Cookie Exchange Printables (Invitations, Recipe Cards and Labels)
This is the part most cookie exchange guides skip entirely. Printables turn a casual swap into something that feels polished and intentional, and they take about five minutes to print at home. Here’s what a solid printable set should include.
What to Include in a Cookie Exchange Printable Set
- Invitation template: fill-in fields for date, time, address, how many dozens to bring, and an RSVP deadline
- Recipe card (4×6 size): fits standard photo sleeves, with space for cookie name, ingredients, instructions, and the baker’s name, send one home with every guest’s package
- Cookie label or hang tag (2×3 tent card): displays cookie name, baker name, and allergen flags (nut-free, gluten-free, dairy-free)
- Scorecard or voting card: optional for competitive exchanges, with rating fields for taste, appearance, and creativity
Print everything on cardstock for the best feel. Standard copy paper works for labels if you’re printing on Avery sheets. Set your printer to color, best quality, 8.5×11, and you’re set. The recipe card is the piece guests use most after the event, so don’t skip it.
Cookie Exchange Ideas for Different Group Sizes
The rules shift a little depending on how many people you’re hosting. Here’s a quick breakdown so no one goes home with a wildly disproportionate haul.
Small Swap (6 to 8 Guests)
Each person brings one dozen per guest (so 6 to 8 dozen total). This size works beautifully as a casual coffee morning or afternoon gathering. You can skip a formal rules sheet and keep the whole thing conversational. The variety won’t be as wide, but the intimacy more than makes up for it.
Medium Party (9 to 14 Guests): The Sweet Spot
This is the range where a Christmas cookie exchange really hits its stride. Each person still brings one dozen per guest. The key addition here: assign cookie categories in your invitation to prevent five people showing up with sugar cookies. A simple Google Form or sign-up sheet in a group chat works perfectly for tracking varieties ahead of time.
Large Group Exchange (15 or More Guests)
Switch to half a dozen per guest, or cap the swap at 10 varieties and let guests choose their favorites from the spread. Organize the table by cookie category (chocolate, frosted, spiced, no-bake) so it’s easy to navigate. A judged competition using the printable scorecard adds a lot of energy to a bigger group and gives everyone something to do during the mingling phase.
Including at least one lower-sugar option in a large-group exchange is a thoughtful way to make sure every guest can participate fully. Worth flagging in your invite that inclusive options are always welcome.
FAQ
How do you run a fun cookie exchange?
Send invitations 3 to 4 weeks out and assign cookie categories to prevent duplicates. Ask everyone to bring printed recipe cards and set a specific swap start time in the invitation. Build in 30 minutes of mingling before the swap begins so guests aren’t immediately thrust into logistics the moment they walk in.
What cookies are best for a cookie exchange?
Choose cookies that travel well, store for 3 to 5 days at room temperature, and scale easily to 4 to 5 dozen. Top picks include soft frosted sugar cookies, crinkle cookies, thumbprints, shortbread, and snickerdoodles. Avoid anything with fragile decoration that won’t survive bagging and transport.
How long should a cookie exchange last?
Plan for 2 to 2.5 hours. Structure it as: 30 minutes of socializing on arrival, 20 minutes for the swap and cookie reveal, and the remainder for coffee and conversation. Events that stretch past 3 hours tend to lose energy. Keeping it tight actually makes it feel more special.
How do I package cookies for a cookie exchange?
Cellophane bags, kraft bakery boxes, or paper treat bags all work well. The 4×9-inch cellophane bag fits 3 to 4 stacked cookies perfectly. Always attach a label with the cookie name, your name, and any allergen information. Include a printed recipe card inside each package.
How many cookies should each person bring to a cookie exchange?
The standard rule is one dozen per guest attending. For a 10-person swap, each guest brings 10 dozen and leaves with roughly 10 dozen. For groups of 10 or more, switching to a half-dozen per guest keeps the quantities manageable. Always bake one to two extra dozen as a buffer for breakage and the display table.


