
Keepsake Handprint Snowman Ornament
A handprint snowman ornament is a keepsake Christmas craft where a child’s impressed or painted handprint forms the body of a snowman on a flat ornament surface, most commonly made using air-dry clay or salt dough, then decorated with paint details and hung on the tree each year as a dated keepsake.
Last updated: July 2026
Quick Answer: What Is a Handprint Snowman Ornament?
A handprint snowman ornament turns your child’s actual hand shape into a little row of snowmen, one per finger, preserved in clay or salt dough and painted up with tiny faces, scarves, and hats. You press, bake or dry, paint, seal, and hang. It takes about 30 minutes of active time plus drying, works for ages 2 through 8, and becomes the ornament everyone looks for when you open the holiday boxes each December.
Every parent hits a moment where they wish they could just freeze time. The tiny fingers wrapped around yours, the palm that barely fills your hand. The holidays rush past so fast, and before you know it those small hands are big hands helping you hang lights instead of marveling at them. That’s exactly why this handprint christmas ornament has become a tradition in so many families. It’s not just cute, it’s a record. Date it, name it, seal it, and you’ve got something you’ll pull out of the ornament box for the next two decades.
This also makes one of the most meaningful gifts you can give to grandparents or a favorite teacher. Any adult in a child’s life will treasure it far more than any store-bought ornament.
- Age range: 2 to 8 years (toddlers need adult hand-pressing help; older kids can self-press)
- Active time: about 30 minutes
- Drying/baking time: 1.5 to 2 hours at 200°F for salt dough, or at least 24 hours (up to 48–72 hours for a fully cured piece) air-drying for clay
⚠️ Safety note: This craft involves small materials including clay or dough pieces, a drinking straw, and small decorative items that are choking hazards for children under 3. Adult supervision is required at all times. Keep loose clay scraps, the straw, and small paint tools out of reach of young children when not in active use.
What Makes This a True Keepsake (Not Just a Craft)
A lot of holiday crafts are sweet in the moment and in the recycling bin by February. A keepsake is different: it’s dated, it’s signed, and it’s preserved well enough to survive being unwrapped and rewrapped for 20 years. The difference between a cute craft and something you’ll cry over at your kid’s graduation is just a few extra steps: the date written in Sharpie, two coats of sealer, and proper storage.
Both the salt dough handprint ornament and the air-dry clay version qualify here. Salt dough is baked hard in the oven and, when sealed well, is remarkably durable. Air-dry clay is the no-oven option and slightly more fragile over time, but still holds up beautifully with good sealing. Either one is among the most giftable handprint ornament ideas you can make with kids any time of year, not just Christmas.
Materials
Salt Dough Version
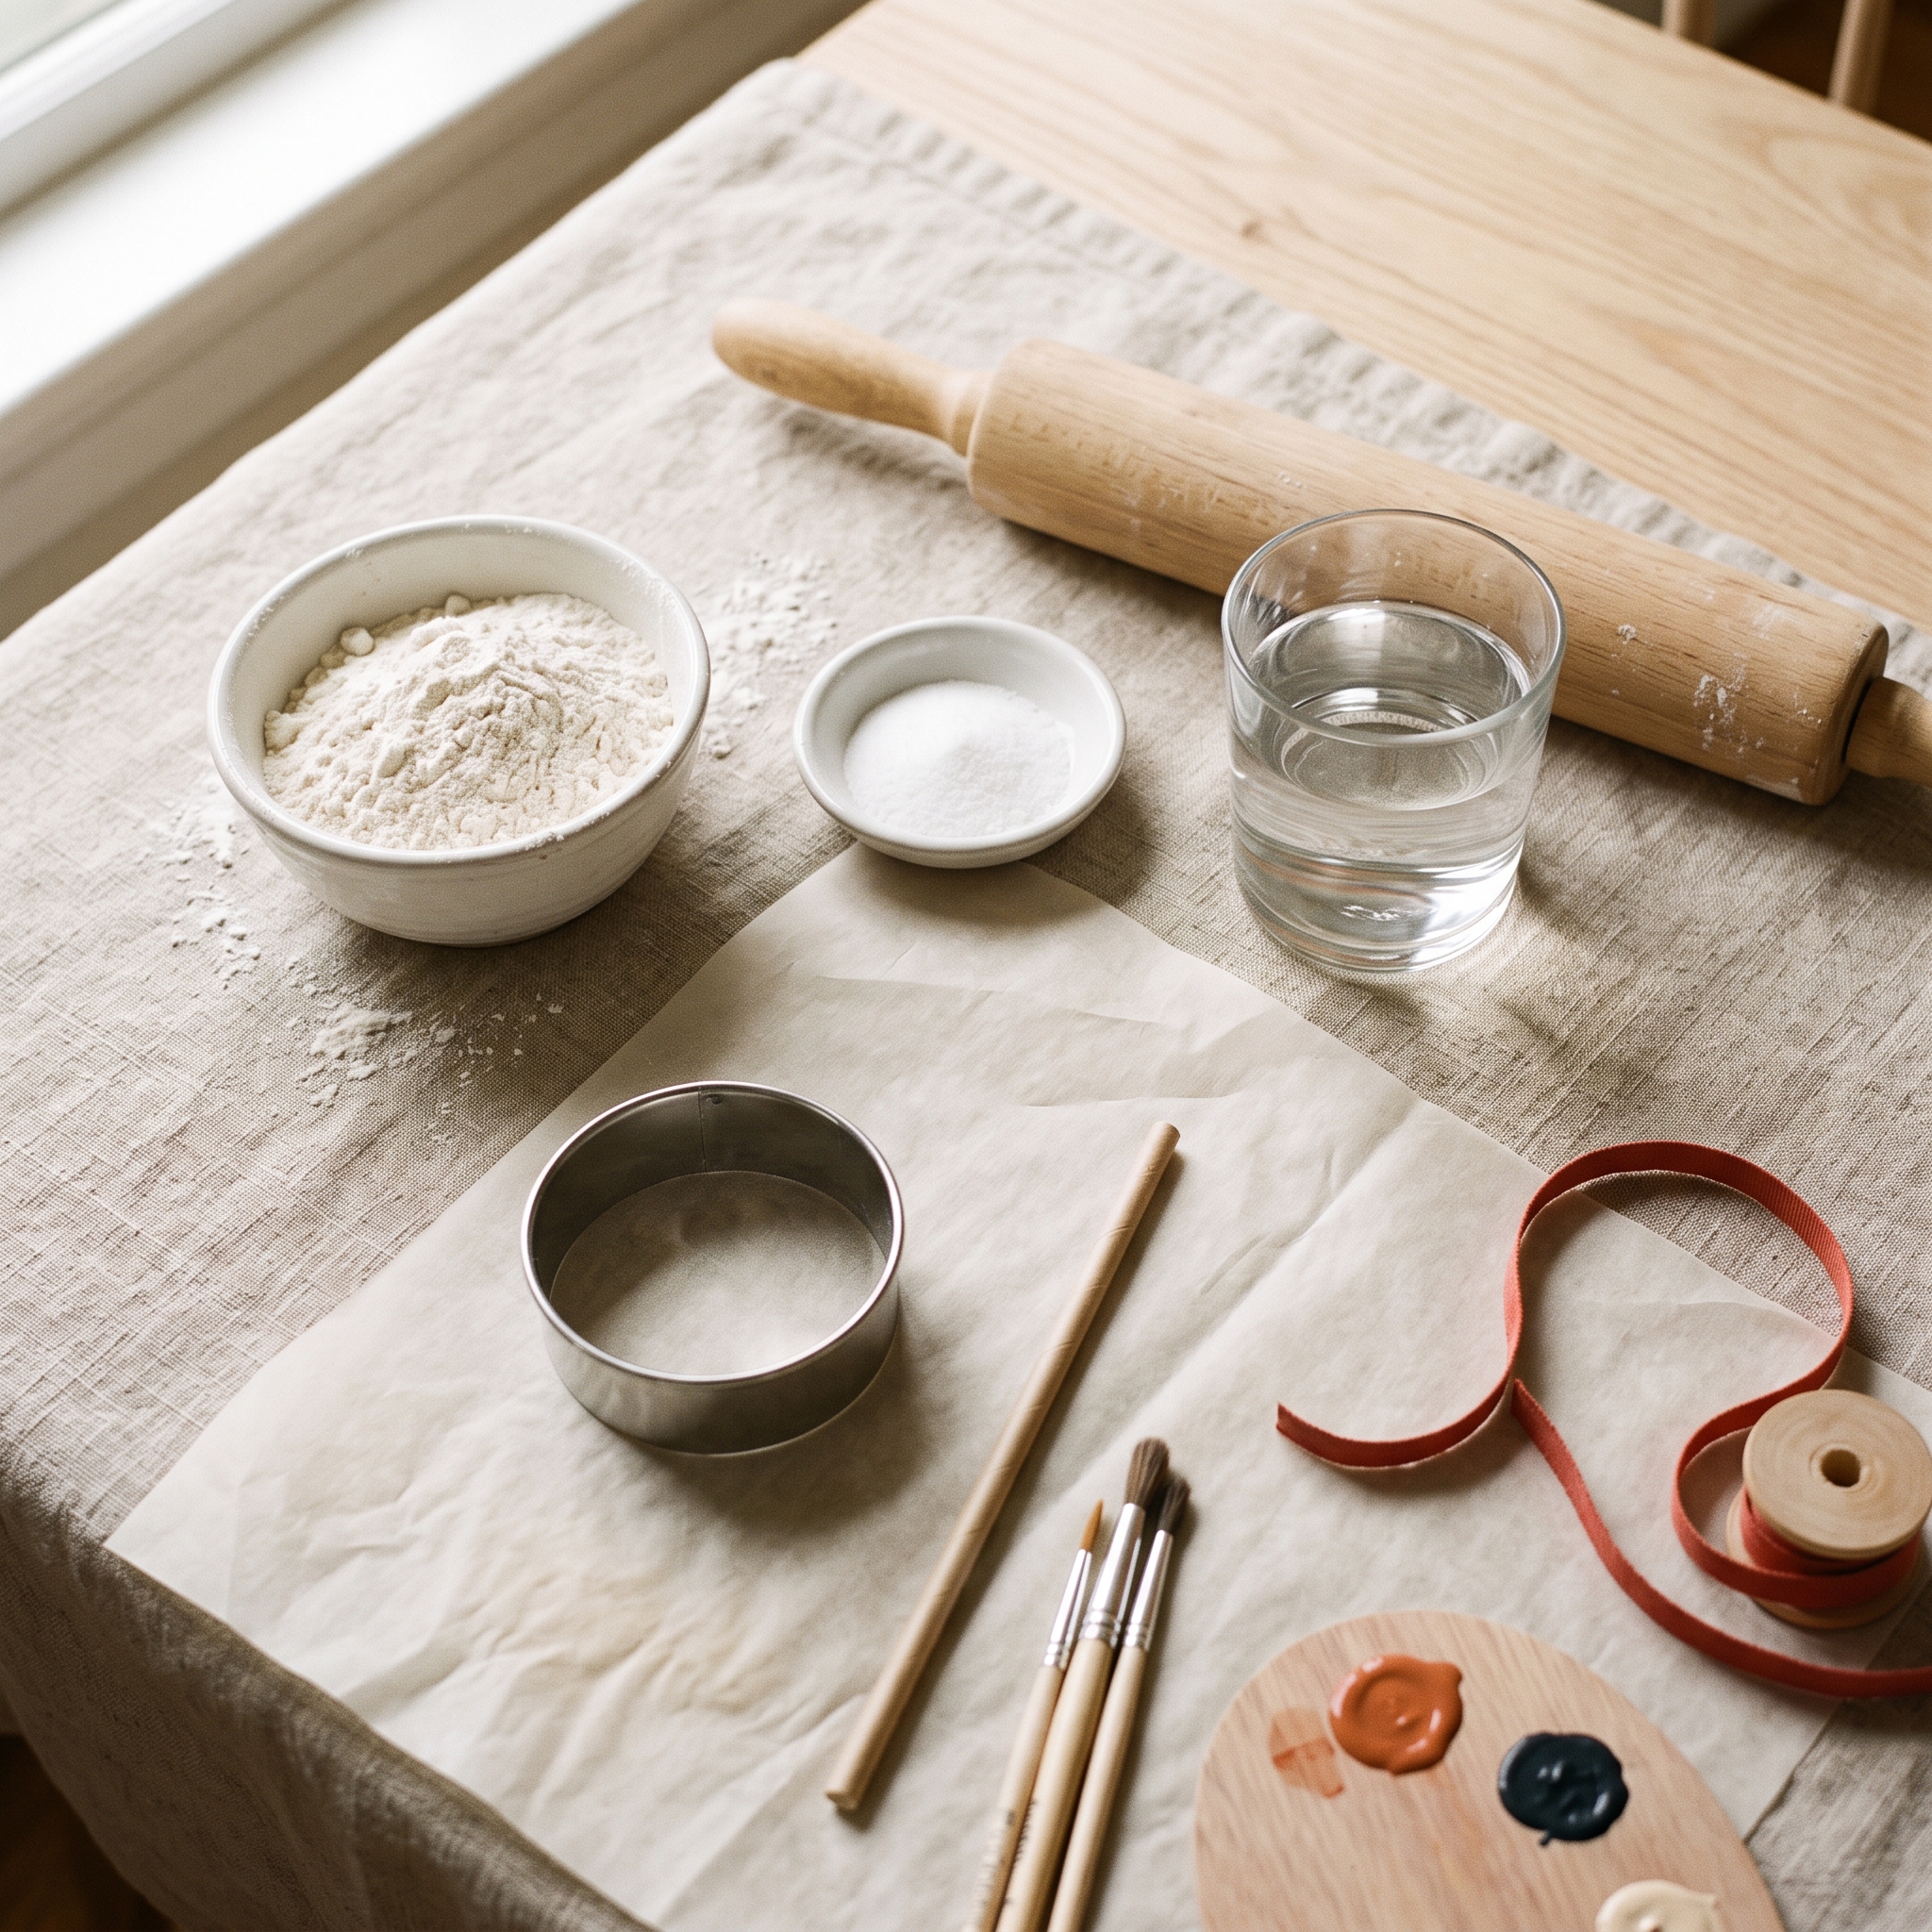
- 1 cup all-purpose flour
- ½ cup table salt (fine grain, not coarse)
- ½ cup warm water, added gradually
- Rolling pin
- Cookie cutter or round glass, 3 to 4 inches in diameter, for shaping
- Drinking straw for punching the hanging hole
- Parchment paper (non-negotiable, see Step 2 below)
- Baking sheet
Air-Dry Clay Version
- About 1 lb of white air-dry clay (Crayola Air Dry Clay comes in 2.5 lb resealable buckets and works well for this project; you’ll only use a portion of the bucket per ornament)
- Rolling pin or a smooth cup
- Drinking straw for the hanging hole
- Parchment paper to work on
For Decorating (Both Versions)
- White acrylic paint for the base coat if using salt dough
- Black, orange, and colored acrylic paints for snowman details
- Small detail paintbrush, size 0 or 1
- Fine-point black Sharpie marker for the child’s name and year (more precise than paint for small text)
- Mod Podge or clear acrylic sealer spray, 2 coats recommended
- 12 to 18 inches of ribbon or twine for hanging
Steps
- Mix your salt dough (or prep your clay). Combine 1 cup flour and ½ cup salt, then slowly add warm water until a smooth, non-sticky dough forms. Knead for about 2 minutes. If you’re using air-dry clay, unwrap it and knead for 30 seconds to soften it up before rolling.
- Roll out to ¼-inch thickness on parchment paper. Thinner than ¼ inch and the ornament may crack during baking. Thicker and the center won’t bake through evenly. Rolling directly on parchment paper means you can slide the whole thing onto a baking sheet without distorting the shape.
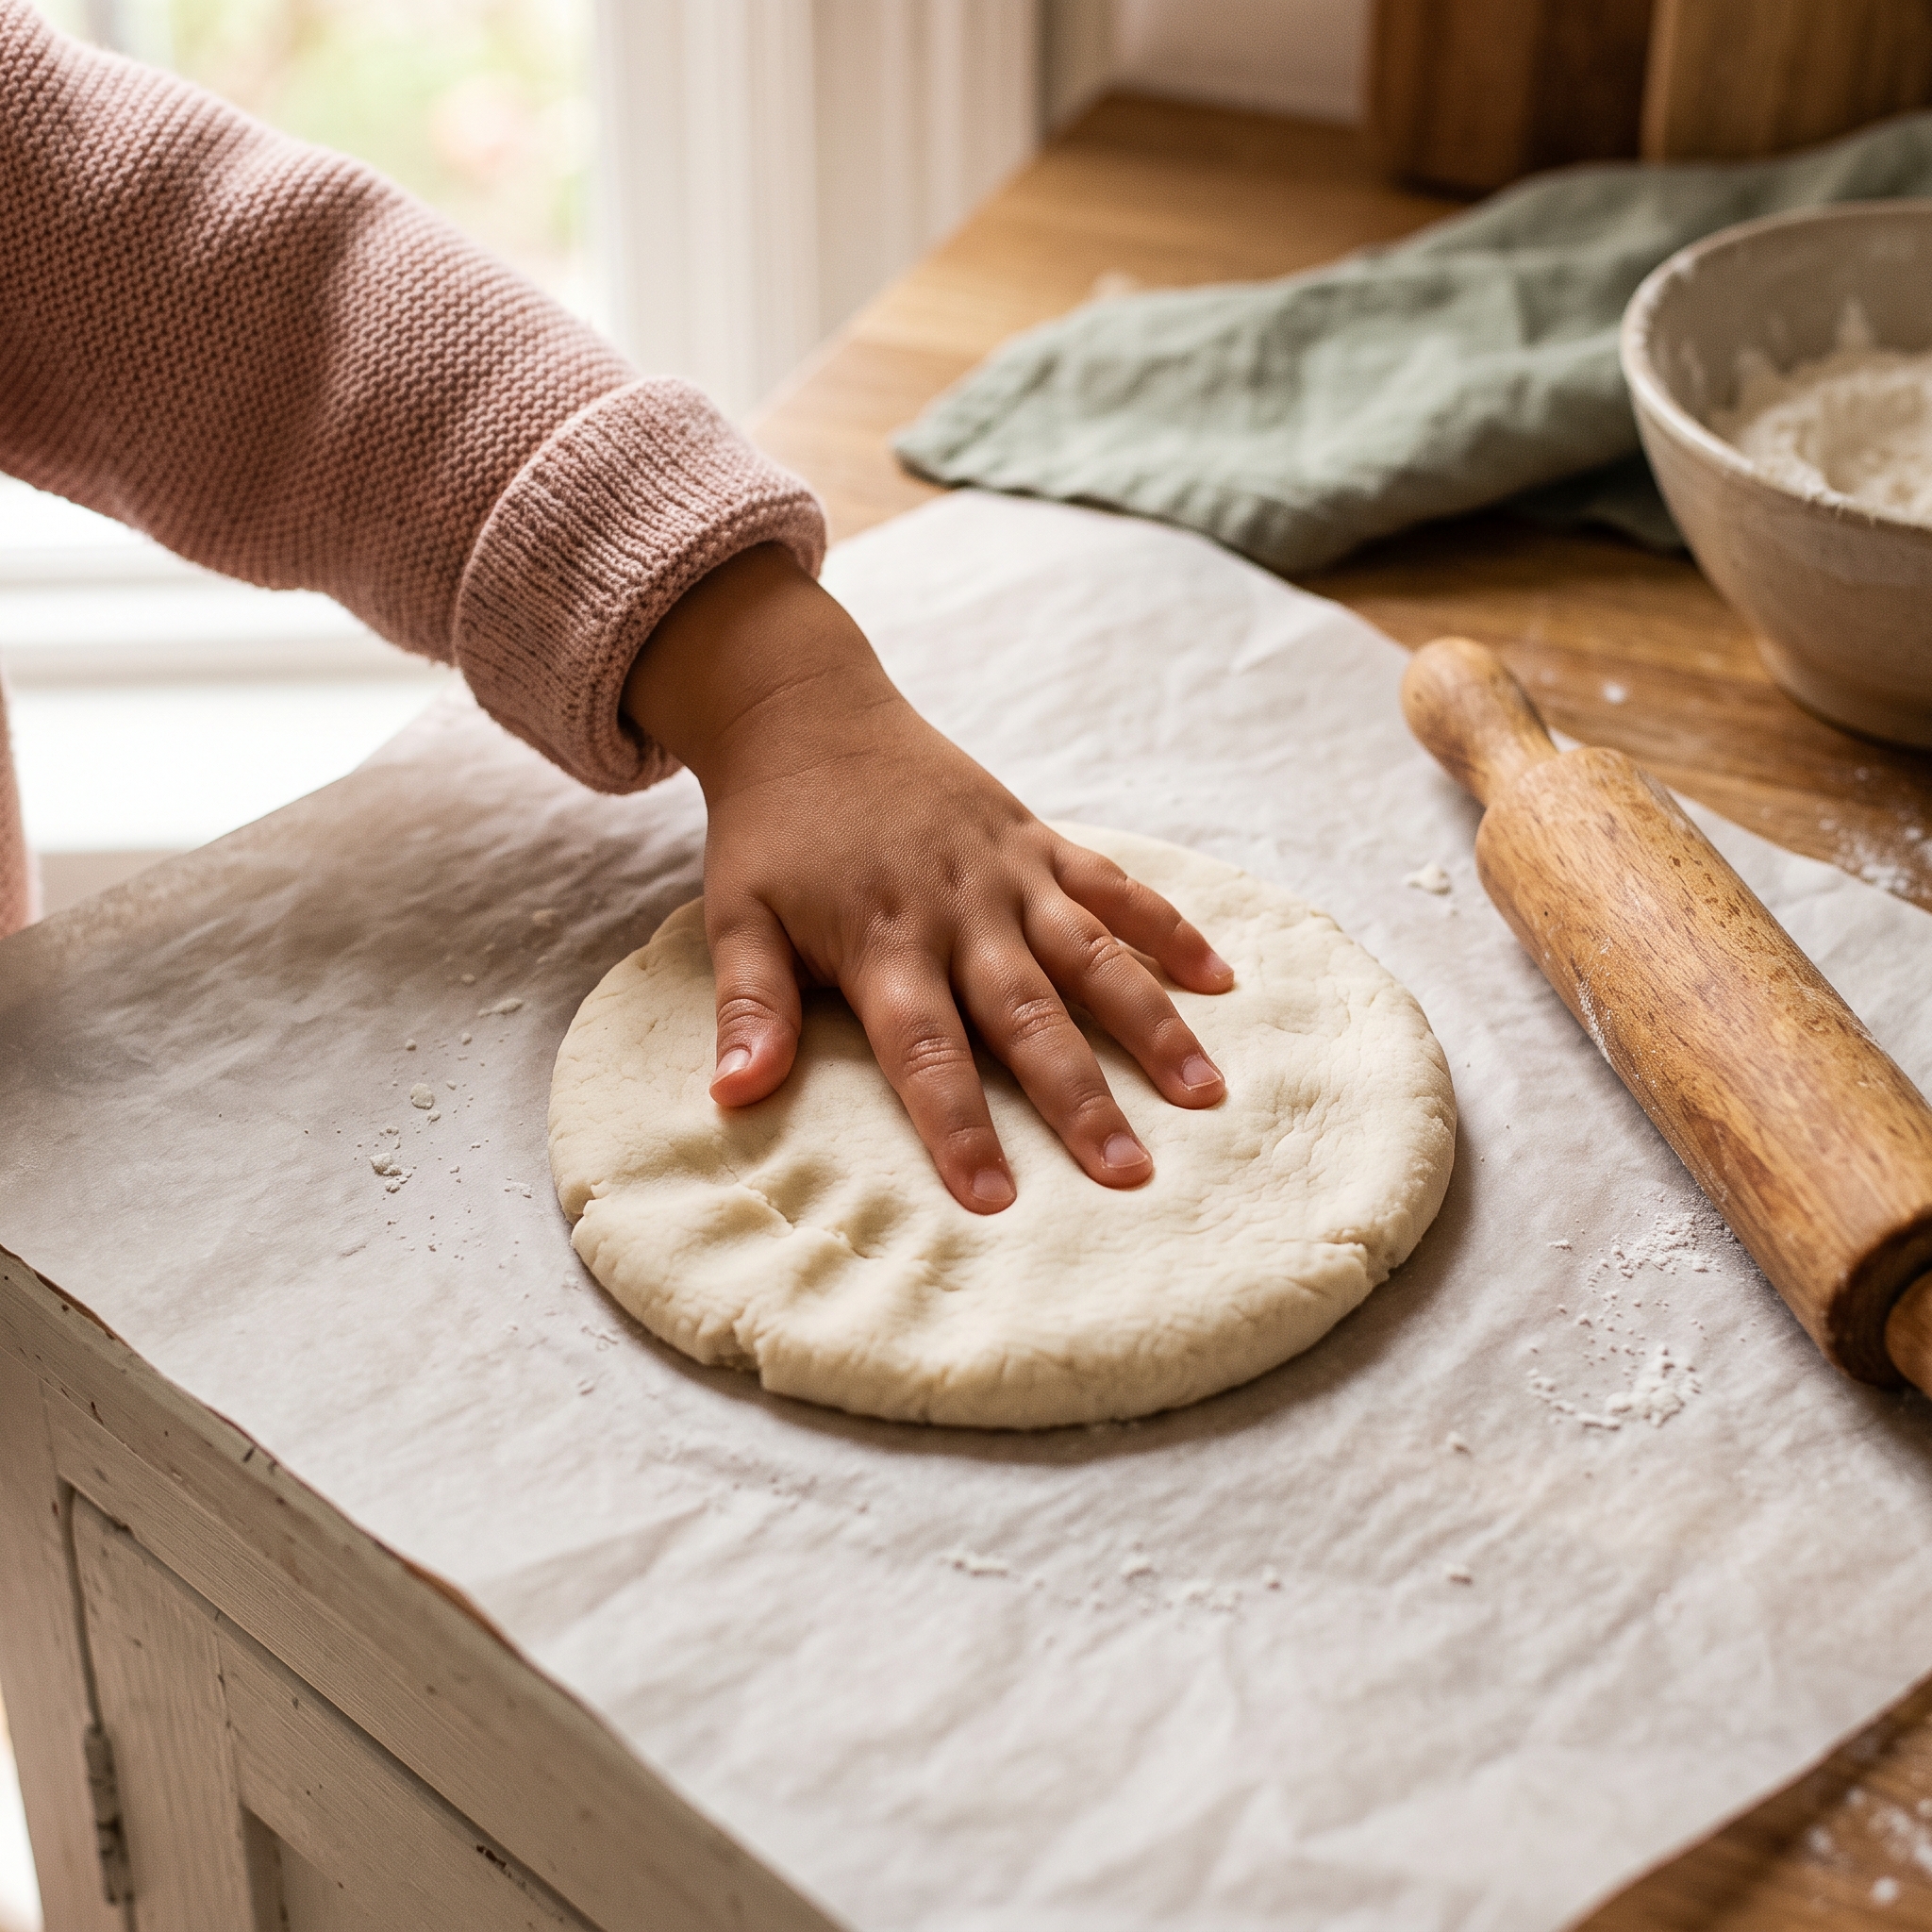
- Press the child’s hand firmly and evenly. Press all fingers straight down at the same time for the cleanest print. For toddlers under 3, place your hand over theirs and apply steady, even pressure across the whole palm. Lift straight up without dragging. Keep any trimmed dough or clay scraps away from young children immediately, as small pieces are a choking hazard.
- Cut around the handprint, leaving a ¼-inch border. Follow the shape of the hand with a small knife or scissors, or use a round cutter to create a more traditional circular ornament shape with the handprint centered inside.
- Punch the hanging hole before baking. Use a drinking straw about ½ inch from the top edge. Twist the straw slightly as you push through for a cleaner hole with less cracking risk. Set the straw aside out of reach of young children when done.
- Bake salt dough at 200°F (93°C) for 1.5 to 2 hours, flipping once at the halfway point. If you’re using air-dry clay, skip baking entirely and dry flat for at least 24 hours, flipping partway through so both sides dry evenly, and allow up to 48 to 72 hours for the piece to fully cure before handling it roughly. Keep an eye out for bubbling or cracking and lower the oven temperature slightly if you see either.
- Let cool completely before painting. At least 30 minutes on the counter. Painting a warm ornament causes the paint to bubble and peel. Patience here protects all your work.
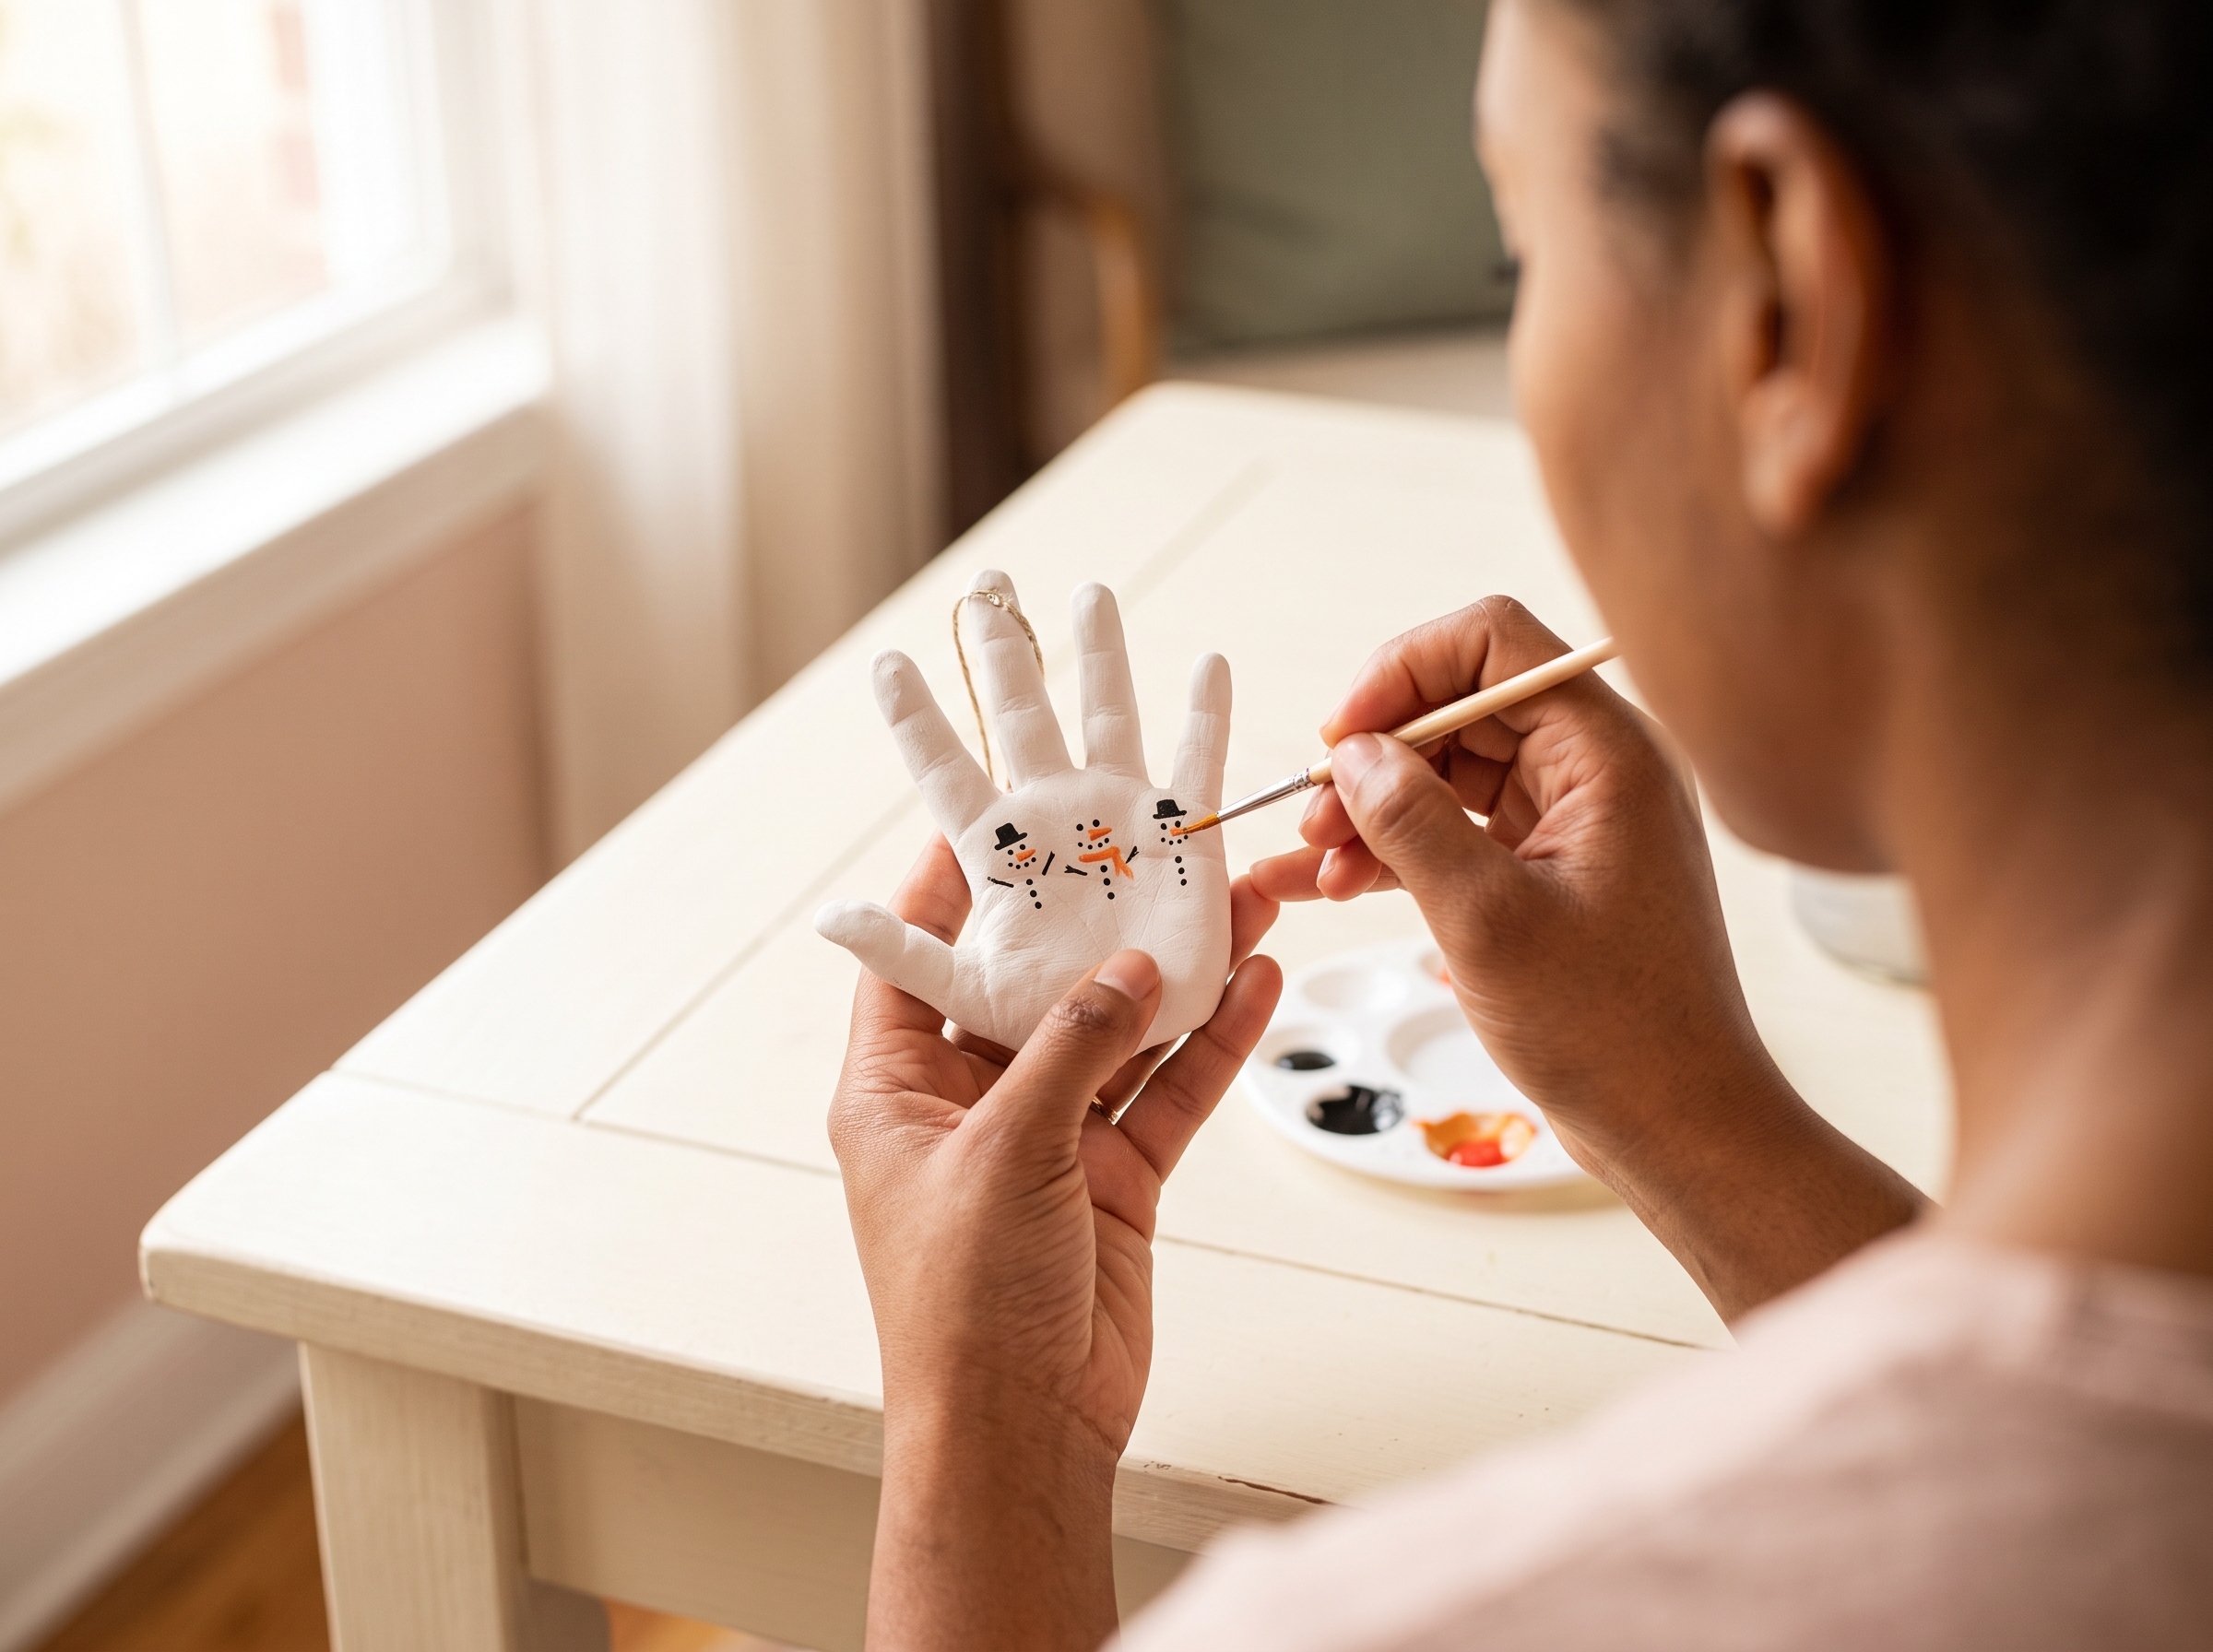
- Paint the snowman details onto the finger impressions. The palm becomes the snowman’s body (white) and each finger becomes a head (white). Add tiny black dot eyes, an orange triangle nose, and colorful scarf or button details with your detail brush. Let the paint dry for 20 minutes between colors if you’re layering.
- Write the child’s name and year in fine-point Sharpie. Paint lettering smears. A Sharpie on a fully dried, sealed surface is the most reliable method for keepsake text that stays readable for years.
- Seal with 2 coats of Mod Podge or clear acrylic sealer. Let each coat dry fully, about 20 to 30 minutes. This step is what separates an ornament that survives 20 holiday seasons from one that flakes apart by year three.
- Thread ribbon through the hole and tie a knot or bow. 12 inches of ribbon gives you a simple hanging loop; 18 inches gives you a loop with trailing bow ends for a more decorative finish.
Variations
5 Ways to Switch Up This Handprint Ornament
- Mason Jar Lid Version. Paint the inside of a standard mason jar lid white, press a painted hand directly on the surface, then decorate the same way you would the clay version. If you enjoy upcycling glass for holiday decor, painted mason jars use the same technique in a slightly larger format. This version costs under $1 per ornament and is ideal for making a batch of classroom gifts without breaking the budget.
- Snowman Handprint Snow Globe. Use a clear plastic ornament ball instead of clay. Cut out a paper handprint, decorate it as a row of snowmen, curl it to fit inside the ornament, add a pinch of white glitter “snow,” and close the cap. The glitter settles around the handprint cutout every time the ornament is picked up.
- Footprint Snowman. Use a footprint instead of a handprint. The heel becomes the round snowman body and the toe ball becomes the head. This is the easiest version for babies and young toddlers whose small hands are harder to press cleanly. Also covered by the salt dough snowman footprint searches if you want to make a plaque for the mantle.
- Two-Handprint Keepsake Plaque. Roll the dough large enough for two handprints side by side, a parent and child, or two siblings. Skip the ornament hole and bake as a flat plaque instead. The size contrast between the two hands is striking and it makes a stunning piece for the mantle or a gift for grandparents.
- Add a Handprint Snowman Poem. Print or hand-write a simple 4-line poem on a small card and tie it to the ribbon with a knot. A good starter: “These little hands won’t always be small / So here’s a snowman to remember them all / The year is written, the name is here too / A gift from these tiny hands, just for you.” Simple, quick, and the card doubles as a gift tag for wrapping.
How to Store These So They Actually Last 20 Years
Most ornament storage advice stops at “wrap them up.” For salt dough and clay keepsakes, the details matter more. Wrap each ornament individually in acid-free tissue paper. Regular newspaper transfers ink and holds moisture. Store everything in a rigid lidded box, not a soft ornament bag, so nothing shifts and cracks against itself during the move from attic to living room.
Salt dough is hygroscopic, meaning it will slowly absorb humidity from the air over the years if the sealer breaks down. Re-seal with a light coat of Mod Podge every 3 to 4 years, especially if the ornament gets handled a lot when it comes out each December. Label the outside of the storage box with the child’s name and the year so future you doesn’t have to open 15 boxes to find the right one.
Turning One Ornament Into a Yearly Tradition
Most tutorials treat this as a one-time craft. I think the real value shows up at year five. Make one every December, date and label each one, and after a few years you have a progression of hand sizes that is jaw-dropping to look at side by side. The jump from age 2 to age 6 on an ornament is the kind of thing that stops you mid-decoration.
Some families dedicate one branch of the tree (or a small separate tabletop tree) entirely to these ornaments, nothing else. After a decade, it tells the whole story of your kid growing up. It also becomes one of the most meaningful gifts you could ever give at a graduation or when they leave for college: the whole collection, boxed together, labeled in order. Every year’s handprint in one box.
Gifting These: Who to Make Them For and How to Package Them
Grandparents are the most emotionally invested recipients. Package the ornament in a small gift box with tissue, and tuck in a card noting the child’s age and the year. That context is what makes it a keepsake for them too, not just a cute ornament.
For teachers, the mason jar lid version is the most budget-friendly option for making multiples. If you’re also thinking about what else to give alongside it, a look at practical teacher gift ideas can help you round out a small gift set. For neighbors or friends, the ornament itself is the gift. A kraft tag tied to the ribbon with the child’s name written in marker is all the packaging it needs.
Frequently Asked Questions
How do you make a handprint snowman ornament?
Press a child’s hand firmly into rolled-out salt dough or air-dry clay to leave a clear impression, then bake at 200°F for 1.5 to 2 hours (salt dough) or air-dry for at least 24 hours, up to 48–72 hours for a fully cured piece (clay). Once fully cooled and dry, paint each finger impression as a snowman, write the child’s name and year in Sharpie, seal with 2 coats of Mod Podge, and hang with ribbon. Full step-by-step instructions are in the Steps section above.
How long does it take to make a snowman handprint ornament?
Active crafting time runs about 20 to 30 minutes. Baking adds 1.5 to 2 hours at 200°F for the salt dough version, or at least 24 hours of air-drying for the clay version (up to 48–72 hours for a fully cured piece). Painting and sealing with drying time between coats adds another 30 to 45 minutes after the ornament has cooled or dried completely.
What are the benefits of making snowman handprint ornaments with kids?
Beyond the obvious keepsake value, the process builds fine motor skills through pressing, painting, and handling small tools. The salt dough version introduces basic measuring and following recipe steps, which is great practice for kids ages 4 and up. There’s also real creative expression in choosing scarf colors and button details, and the finished ornament gives kids a tangible sense of pride every time they spot it on the tree.
Can toddlers do this craft?
Yes, ages 2 and up work well with some adult support. Place your hand over your toddler’s and apply even pressure to get a clean impression. The decorating step is easy to simplify for younger kids: finger-dotted eyes and a painted nose are plenty. The most important thing is to press quickly and lift straight up, since toddlers tend to wiggle mid-press. Adult supervision is required throughout, as clay scraps, the straw, and small tools are all choking hazards for this age group.
How long will a salt dough or air-dry clay handprint ornament last?
A properly sealed salt dough ornament (2 or more coats of Mod Podge or acrylic sealer) stored away from humidity can last 15 to 20 or more years. Air-dry clay is slightly more fragile but holds up for many holiday seasons with careful handling and proper sealing. Re-sealing every few years extends the life of either version significantly. Acrylic-based sealers like Mod Podge and clear enamel spray are generally considered safe to handle once they’ve fully cured per the product label instructions, so there’s little cause for concern with ornaments that kids will handle regularly.


