
Shamrock Marshmallow Painting
Marshmallow painting is a kids’ art technique where large marshmallows are used as stamps instead of brushes, pressed into paint and onto paper to create colorful shapes, patterns, or seasonal designs like shamrocks.
Last updated: July 2026
Quick Answer: What Is Marshmallow Painting?
Marshmallow painting is one of the easiest stamp crafts you can pull off with toddlers and preschoolers because the “brush” is already in your pantry. For St. Patrick’s Day, large marshmallows are pressed into green paint and stamped in a three-petal triangle cluster to build shamrock shapes. No special supplies, no complicated prep. If your kids are between 2 and 7, this one’s a good fit, and it takes about 25 to 35 minutes start to finish, including dry time.
It’s the week before St. Patrick’s Day, the kids are full of energy, and green glitter glue just doesn’t feel like enough. You want something that looks impressive but won’t require a second trip to the craft store. Grab that bag of marshmallows from the back of the cabinet and a few drops of green paint. That’s it. You’re basically already done with prep.
- 🕒 Total Time: 25–35 minutes (including dry time)
- 👧 Ages: 2–7 (toddlers with supervision)
- 💰 Cost: Under $5, most materials already on hand
- 🧹 Mess Level: Medium (tips below!)
If you’re looking for more no-fuss seasonal ideas, these spring crafts for kids cover everything from sensory smashing to paper garden scenes using the same simple supplies.
Quick safety note before you dive in: marshmallows, especially the mini ones, are a known choking hazard for kids under 4, so I keep a close eye during setup and remind everyone up front that our painting marshmallows are for stamping, not snacking.
Rounding out the party spread? These green snacks for St. Patrick’s Day make an easy pairing for the craft table.
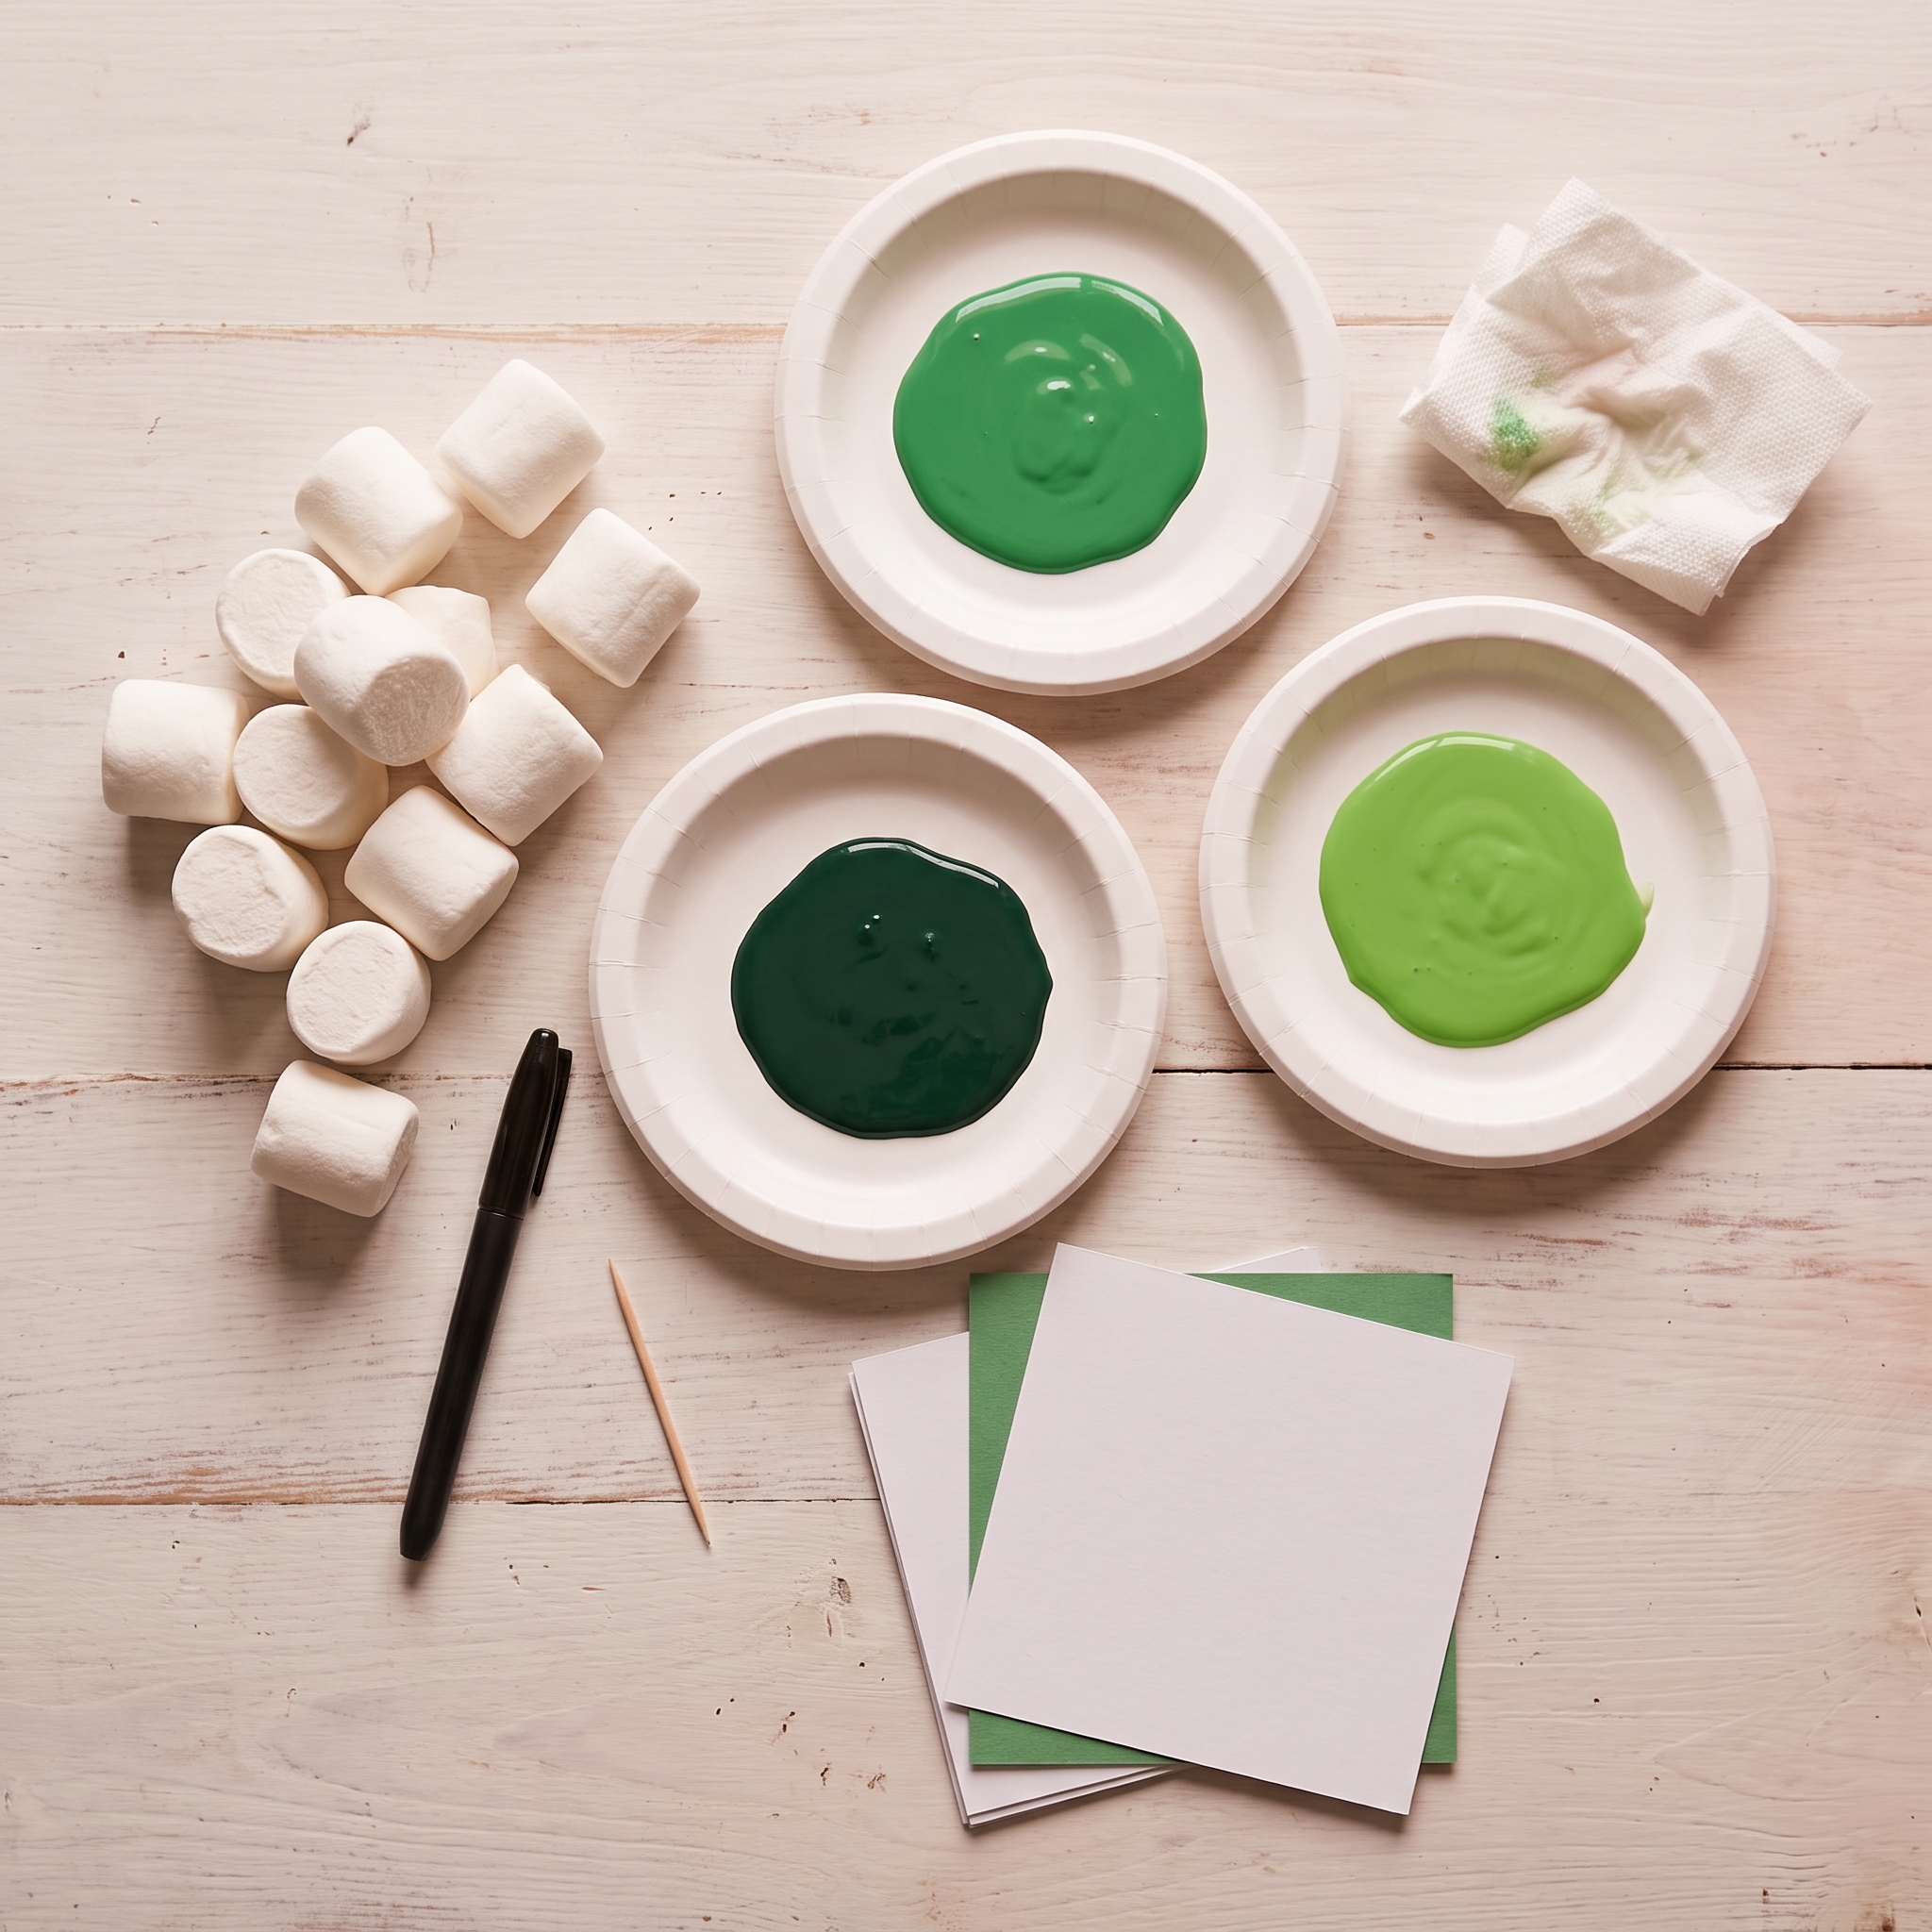
What You’ll Need for Marshmallow Painting
Most of this is already in your house. Here’s what to gather before you sit down with the kids:
- Large marshmallows: standard grocery-store size, approximately 1.5 inches across. These give you the best petal-sized stamp.
- Mini marshmallows: optional, great for adding smaller dot details or a decorative border around your shamrocks.
- Green washable tempera paint: 2 to 3 shades if you can manage it (kelly green, dark green, and lime are a nice combo). Washable tempera is non-negotiable here.
- White cardstock or heavy white paper: 65 lb or heavier. Regular copy paper absorbs paint too fast and can tear under a sticky marshmallow.
- Green construction paper: optional, but layering white cardstock on top of green paper makes the finished shamrocks pop.
- Small paper plates or paint trays: one per color.
- Black or dark green marker: for drawing the stem after the paint dries.
- Toothpick or lollipop stick: optional, lets kids hold the marshmallow without coating their fingers in paint from the first stamp.
- Smock or old shirt
- Wet wipes or damp paper towels: marshmallow plus paint is stickier than you’d expect. Keep these close.
One important note: avoid acrylic paint for this project. It dries too fast on the marshmallow surface, produces uneven stamps, and is much harder to clean off small hands. Washable tempera is the right call every time.
How to Make Shamrock Marshmallow Paintings (Step-by-Step)
- Set up your paint station. Pour a small pool of each green shade onto separate paper plates. A quarter-sized amount per color is plenty to start.
- Prep the marshmallows. Keep them whole for round petal stamps. For kids 5 and up, gently pinching one end creates a slightly more defined petal shape.
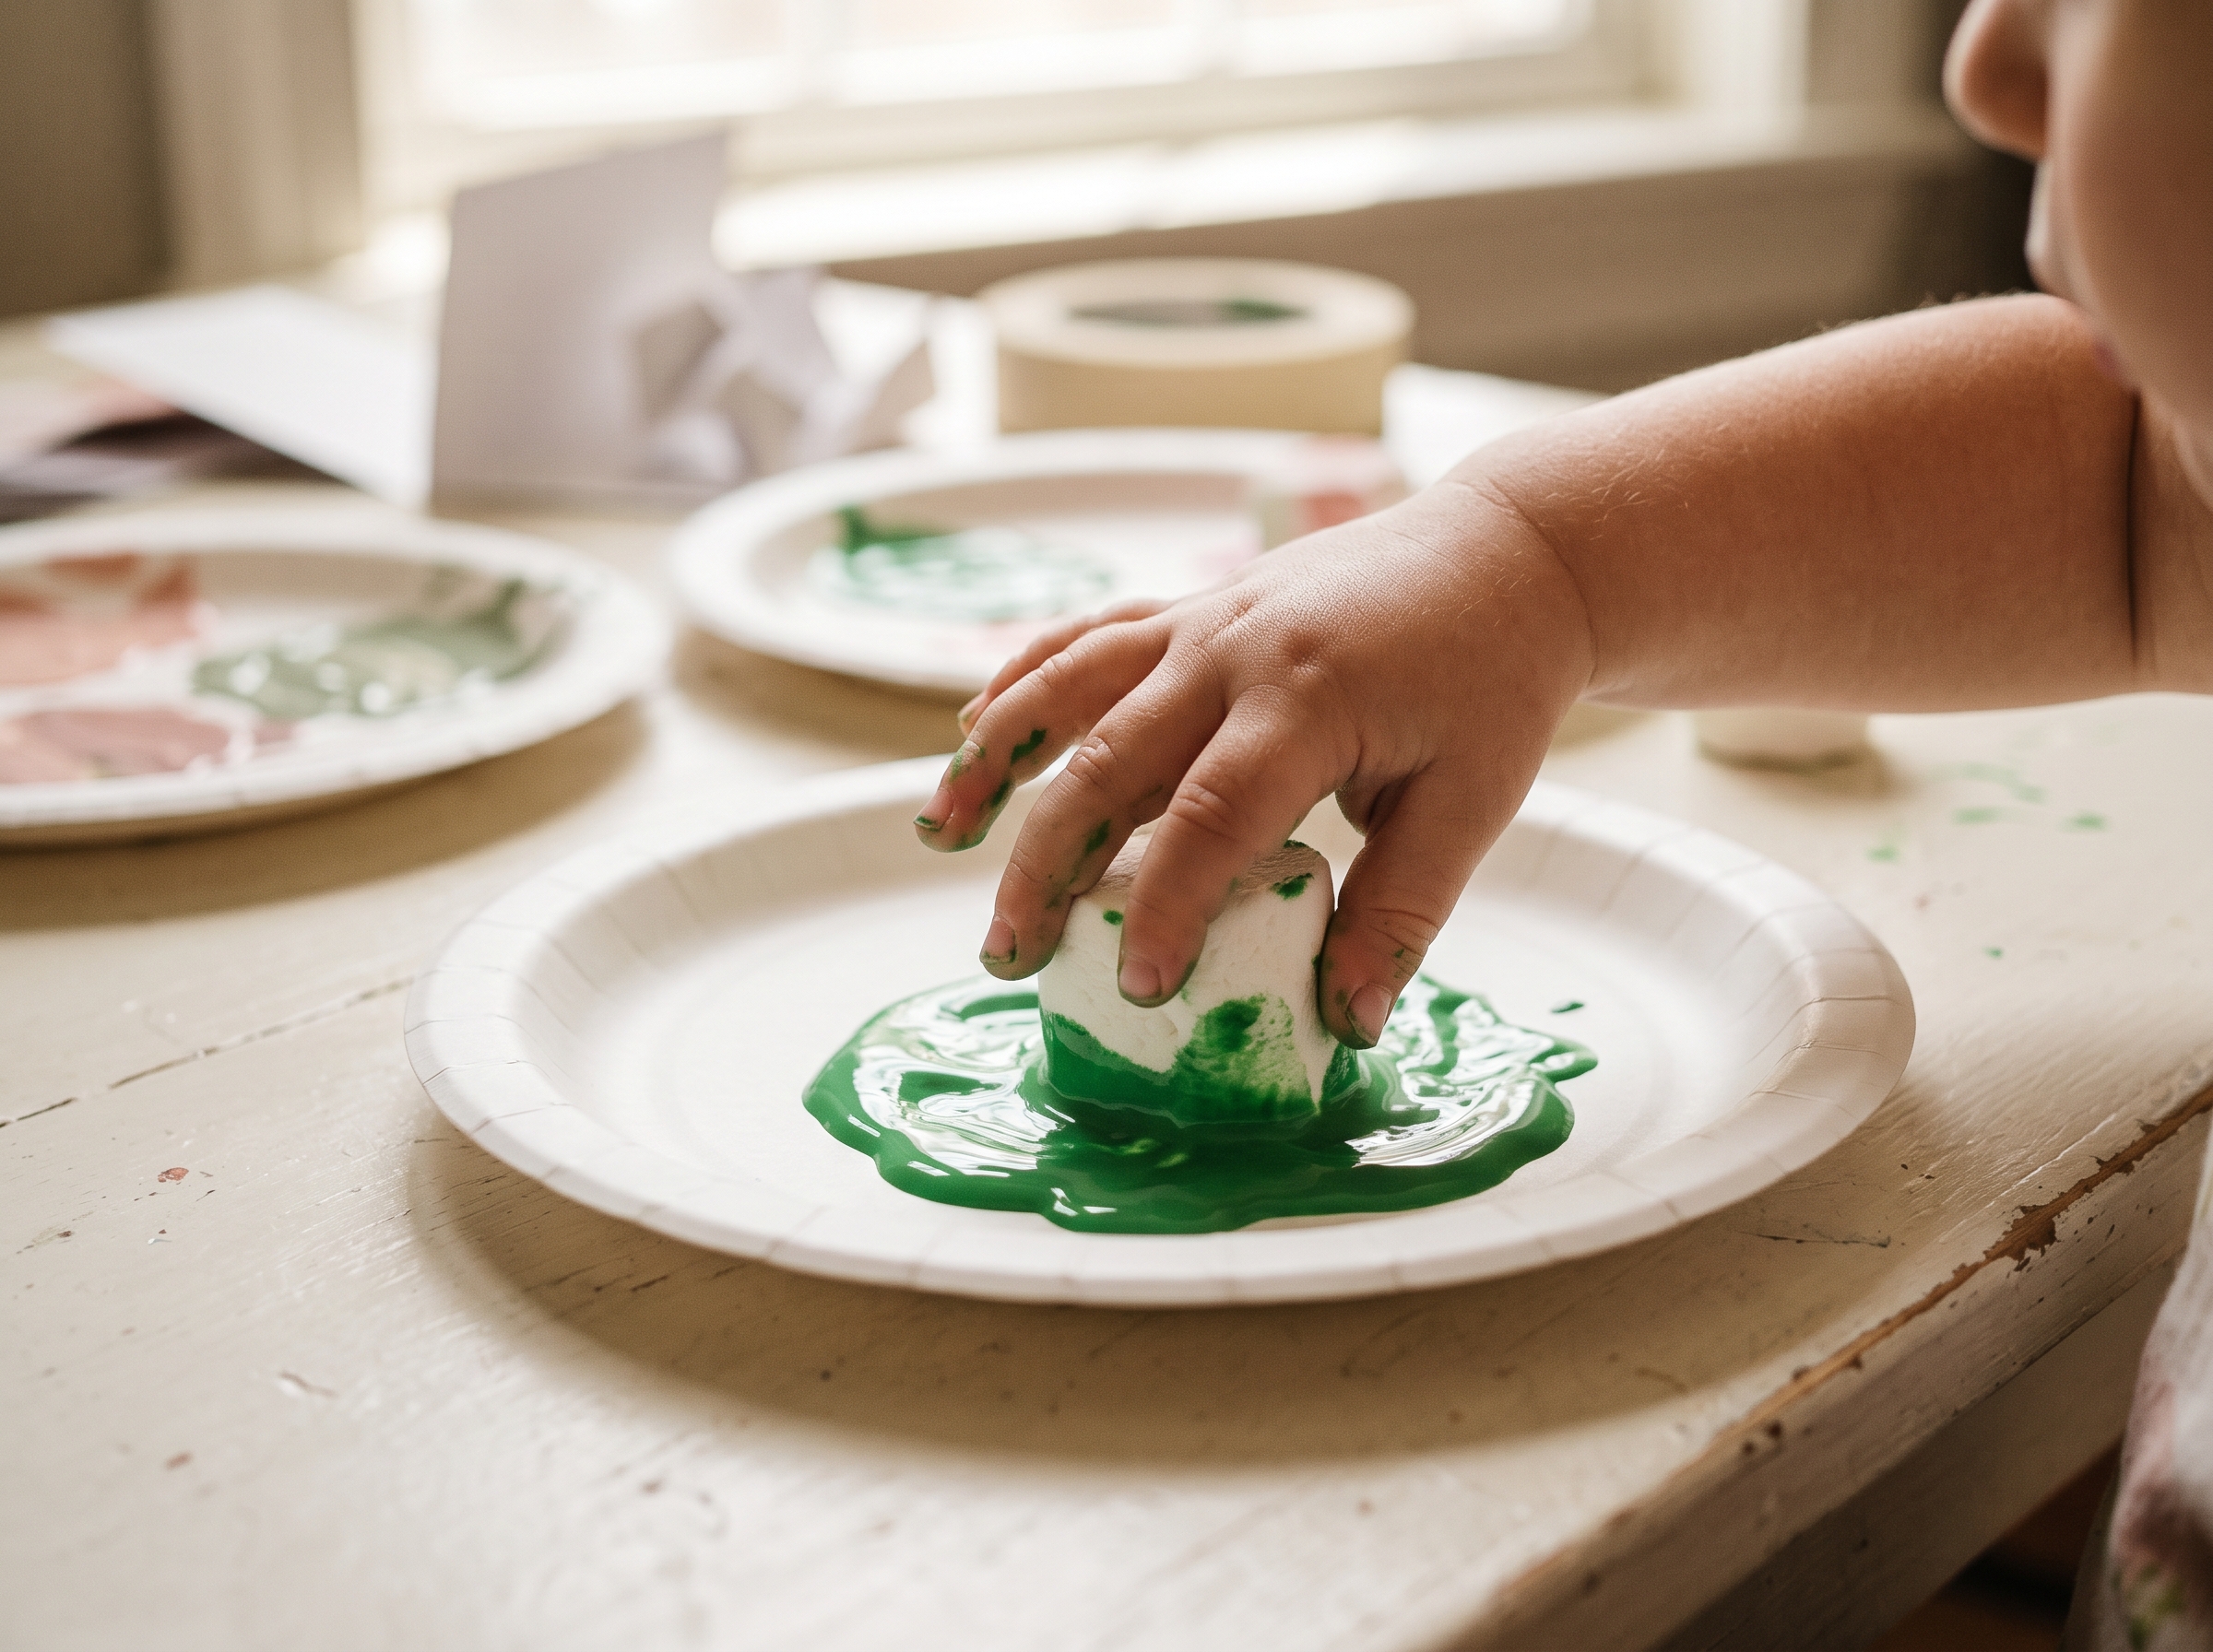
- Press a marshmallow flat-side-down into the paint. A light, even press works better than pushing down hard. You want a thin, even coat of paint on the bottom.
- Stamp three petal shapes in a tight triangle cluster. Each petal should share a center point with the other two. A spread of about 3 to 4 inches across looks right. This triangle placement is what makes it read as a shamrock instead of random blobs.
- Repeat for a second or third shamrock on the same page. Encourage kids to switch between the green shades, using a different color for each petal or each shamrock.
- Let dry for 20 to 30 minutes. Wet tempera smears easily, so don’t rush this part.
- Add a simple stem beneath the center point. A quick curved line with a marker is all it takes. Younger kids can dab a dot; older kids can draw a little looping stem.
Tips for the Best Results (Mess, Technique, and Setup)
This is where marshmallow painting gets a little trickier than it looks online. Here’s what actually helps at home.
Managing the Sticky Factor
Marshmallows get stickier after a few stamps as the sugar and paint mix together on the surface. One fix: let kids roll the marshmallow slightly between stamps to pick up a fresh edge. Another option is swapping to a new marshmallow every 3 to 4 stamps. A standard bag has plenty to spare.
Cover the table with a plastic tablecloth or an opened garbage bag before you start. The marshmallow-and-paint combo is stickier than regular stamping, and a trash bag under the paper means cleanup takes about 30 seconds. For more toddler-friendly painting setups that keep the mess contained, this no-mess painting guide has some clever surface tricks worth bookmarking.
Choosing Your Paper
White cardstock at 65 lb or heavier gives the crispest stamp impression. Copy paper tends to absorb the paint too quickly and can tear when a sticky marshmallow pulls back up. A white background makes all three shades of green visible; a green construction paper background makes the lighter lime shades pop more dramatically.
Getting the Best Shamrock Shape
Stamps don’t need to be perfect circles. A slight oval actually looks more like a real clover leaf, so don’t stress if the impressions aren’t round. For 3-year-olds, draw a faint pencil triangle on the paper before you start. They place one stamp at each corner and the shamrock practically builds itself.
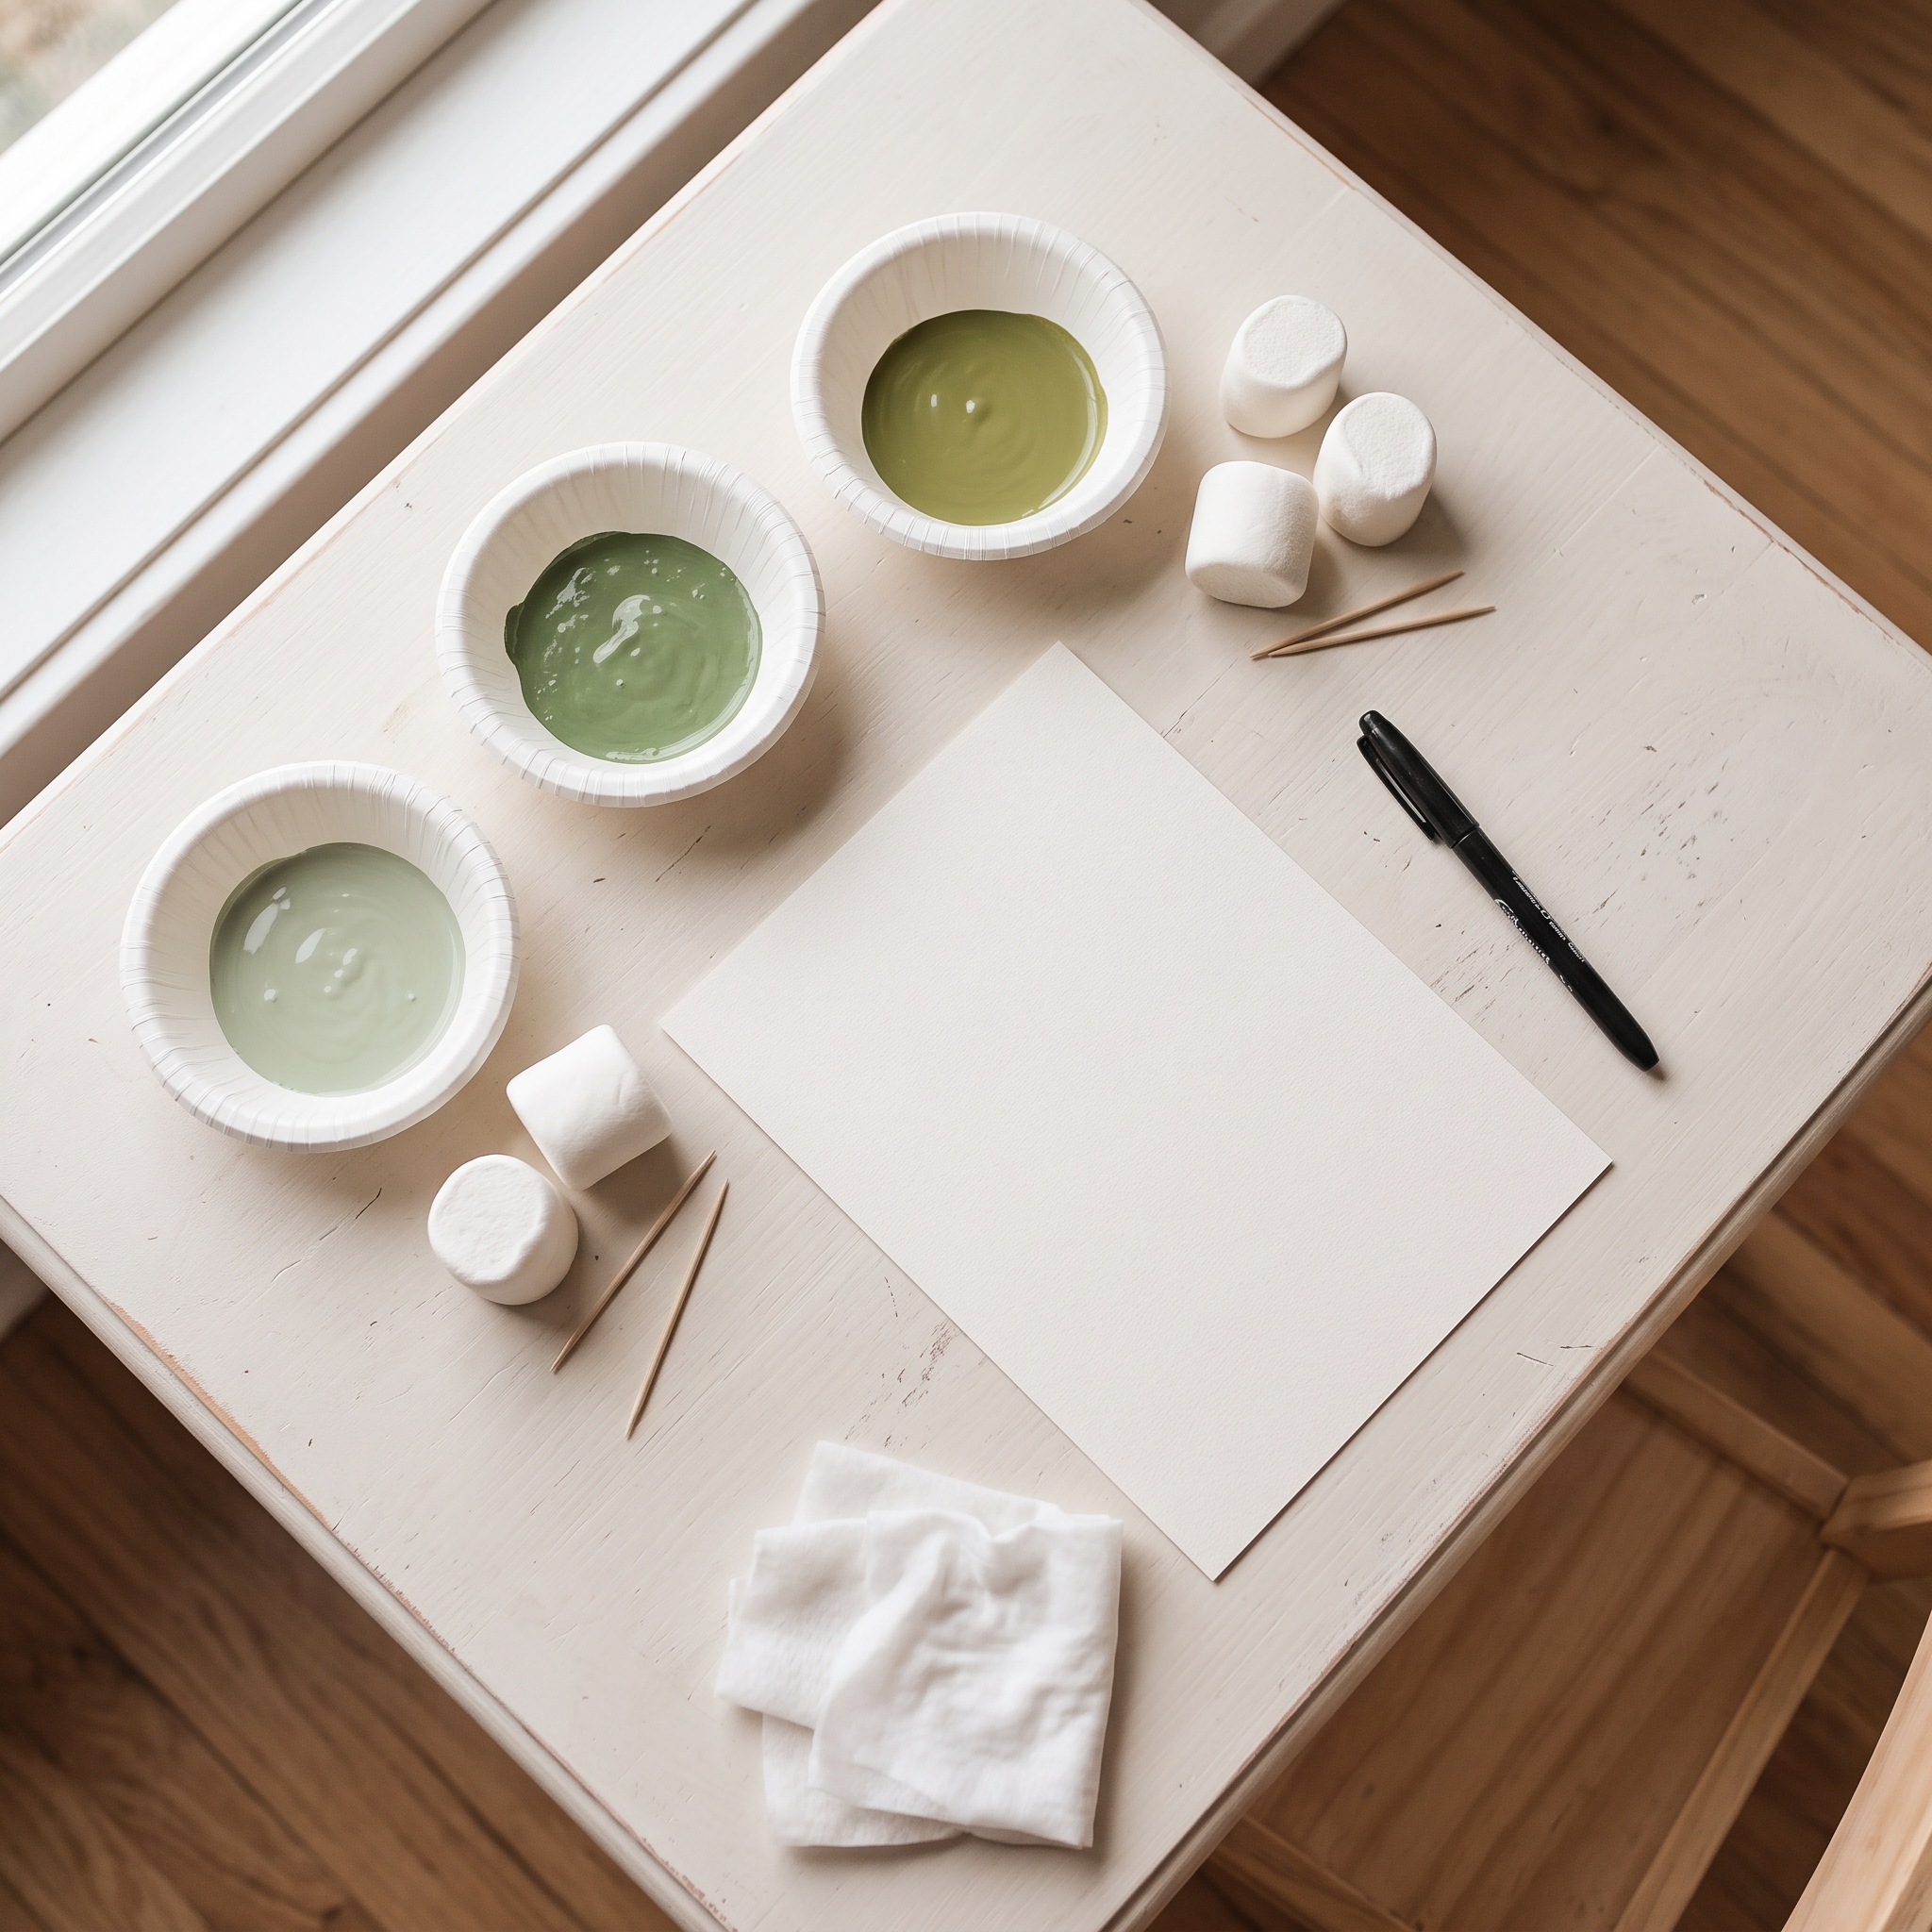
Shamrock Marshmallow Painting Variations
Once you’ve nailed the basic technique, it’s easy to take this in new directions. Here are five ways to mix it up:
- Rainbow Shamrock Field: Use all the colors of the rainbow across multiple shamrocks on one page. It ties perfectly into the St. Patrick’s Day rainbow theme and is a good stretch for kids 4 and up who are ready to manage more colors.
- Mini Marshmallow Dot Borders: After the shamrocks are done, give kids mini marshmallows dipped in any color to dot a frame around the page or fill the background with cheerful polka dots. It extends the activity by another 10 minutes without extra setup.
- Spring Flower Swap: Use the exact same three-petal stamping technique with pink, yellow, and purple paint to make flowers instead of shamrocks. It turns this into a year-round activity that has nothing to do with St. Patrick’s Day at all. You can find more easy stamp and paint ideas in this collection of spring crafts for kids.
- Edible Marshmallow Paint Version: For toddlers who are still mouthing materials, a food-safe alternative exists using melted marshmallows, light corn syrup, and food coloring as the paint base. This is a separate project with its own recipe, but it’s worth knowing the option is out there if your 2-year-old can’t keep paint off their lips.
- Shake Painting Combo: After the shamrocks are stamped and still wet, sprinkle fine glitter over the paint or add a “shake painting” background layer by placing the paper inside a gallon zip bag with a few drops of paint and shaking. The texture contrast between the glittery background and flat stamp is a fun one for older kids.
Prefer a marbled look over stamped shapes? Shaving cream art uses a similar press-and-lift technique with a completely different texture.
Why Marshmallow Painting Is Actually Good for Development
I know “educational benefits” sounds like a stretch for a craft that mostly involves snacks and green paint, but there’s something real here. Open-ended creative art activities are widely recognized by pediatric and early-childhood experts as supporting development across motor, cognitive, and social-emotional domains. Marshmallow painting hits a few of those targets in a way that traditional brush painting doesn’t.
- Fine motor control: Gripping a large marshmallow requires a different pinch than holding a paintbrush. For toddlers ages 2 to 4, that pressing and releasing motion builds hand strength in a low-frustration way.
- Color theory (sneaky): Offering two or three shades of green introduces the idea that one “color” has many versions. That’s a real building block for later art skills, and kids pick it up without any formal instruction.
- Spatial reasoning: Placing three stamps in a triangle to form a recognizable shape is a concrete geometry concept for kids 3 to 5. They’re thinking about arrangement and position, not just slapping paint around.
- Sensory exploration: The soft, slightly sticky texture of a marshmallow is a food-grade sensory input that many tactile-sensitive kids find less overwhelming than finger paint. For more ways to work sensory play into your daily routine, these toddler sensory activity setups are a great starting point.
Displaying Your Child’s Shamrock Art (Making It a Keepsake)
Finished paintings deserve more than a week on the refrigerator before they disappear. Here are four easy ways to put them to good use:
- Refrigerator gallery with a memory note: Before you hang it, flip the paper over and write your child’s name, age, and the date in permanent marker. You’ll be glad you did.
- St. Patrick’s Day window garland: Punch a hole in one corner of each painting, thread green yarn through, and hang them in a row across a window like a string of bunting. It takes five minutes and makes the whole house feel festive.
- Scan and save digitally: Lay the painting flat on a white surface in natural light and take a photo or scan it. A digital copy means you can print it at any size, use it as a card background, or add it to a photo book without keeping the physical paper forever.
- Handmade greeting card: Trim the painting to 5×7 inches and fold it in half. Instant St. Patrick’s Day card for grandparents or a teacher, and kids are so proud when a grown-up actually receives and uses something they made.
Frequently Asked Questions About Marshmallow Painting
What kind of paint do you use for marshmallow painting?
Washable tempera paint is the best choice for marshmallow painting with kids. It coats the marshmallow evenly, gives vibrant color on paper, and washes off hands and clothing with warm water. Avoid acrylic paint since it dries too fast on the marshmallow surface and is harder to clean up from skin and fabric.
Can toddlers do marshmallow painting?
Yes, marshmallow painting is one of the most toddler-friendly stamp crafts out there. Children as young as 2 can participate with light supervision. The large marshmallow is easy for small hands to grip, and there are no sharp tools involved. If your toddler is still mouthing things, look into an edible paint version made with food coloring instead of tempera.
Do you eat the marshmallows after painting?
No. Once marshmallows have been dipped in tempera paint, they’re no longer food-safe and should go straight into the trash after the craft is done. If you want a version where the stamps are edible, use a food-coloring-based recipe instead of store-bought craft paint. The FDA notes that food coloring approved for consumption is safe for kids when used as directed, making it a reasonable swap for very young toddlers.
Can you use mini marshmallows instead of large ones?
Mini marshmallows work well for adding smaller dot accents or a decorative frame around the page, but for the main shamrock petal shape, large marshmallows give you the best results. Mini marshmallows tend to bend and compress unevenly under finger pressure, so the stamp impression comes out irregular rather than round.
What else can you paint with marshmallows besides shamrocks?
Marshmallows make great stamps for all kinds of shapes. Arrange five petal stamps in a circle for a flower, press six in a star pattern for a snowflake, or just let kids stamp freely for abstract dot art. The technique adapts to any holiday or season, which makes it one of the most flexible low-prep stamp options in kids’ crafts. You can also use marshmallows alongside other household stamping tools like sponges, toilet rolls, and apple halves for a fun mixed-media page.


