
Mummy Candy Cans (Halloween Treat Craft)
A mummy craft for kids transforms an empty tin can into a gauze-wrapped mummy treat holder using googly eyes, craft glue, and Halloween candy.
Last updated: July 2026
Quick Answer: Mummy Craft for Kids (Candy Can Version)
Mummy candy cans are one of those rare Halloween projects that give you a craft and a finished gift at the same time. You wrap a clean tin can in white gauze, stick on a pair of googly eyes, add a little mouth detail, and fill the whole thing with wrapped candy. It takes about 20 to 30 minutes per can, works for ages 4 and up with adult help on the glue steps, and costs roughly $8 to $12 to make a set of six at the dollar store.
Halloween can feel like a race to find something the kids will actually finish. Most crafts end up half-done on the kitchen table. These mummy candy cans are different because there’s a built-in reward at the end: candy goes in, which means every kid stays motivated through the last strip of gauze. They work as classroom treats, party favors, neighbor gifts, or just a fun afternoon activity that happens to produce something useful.
What You’ll Need (Materials)
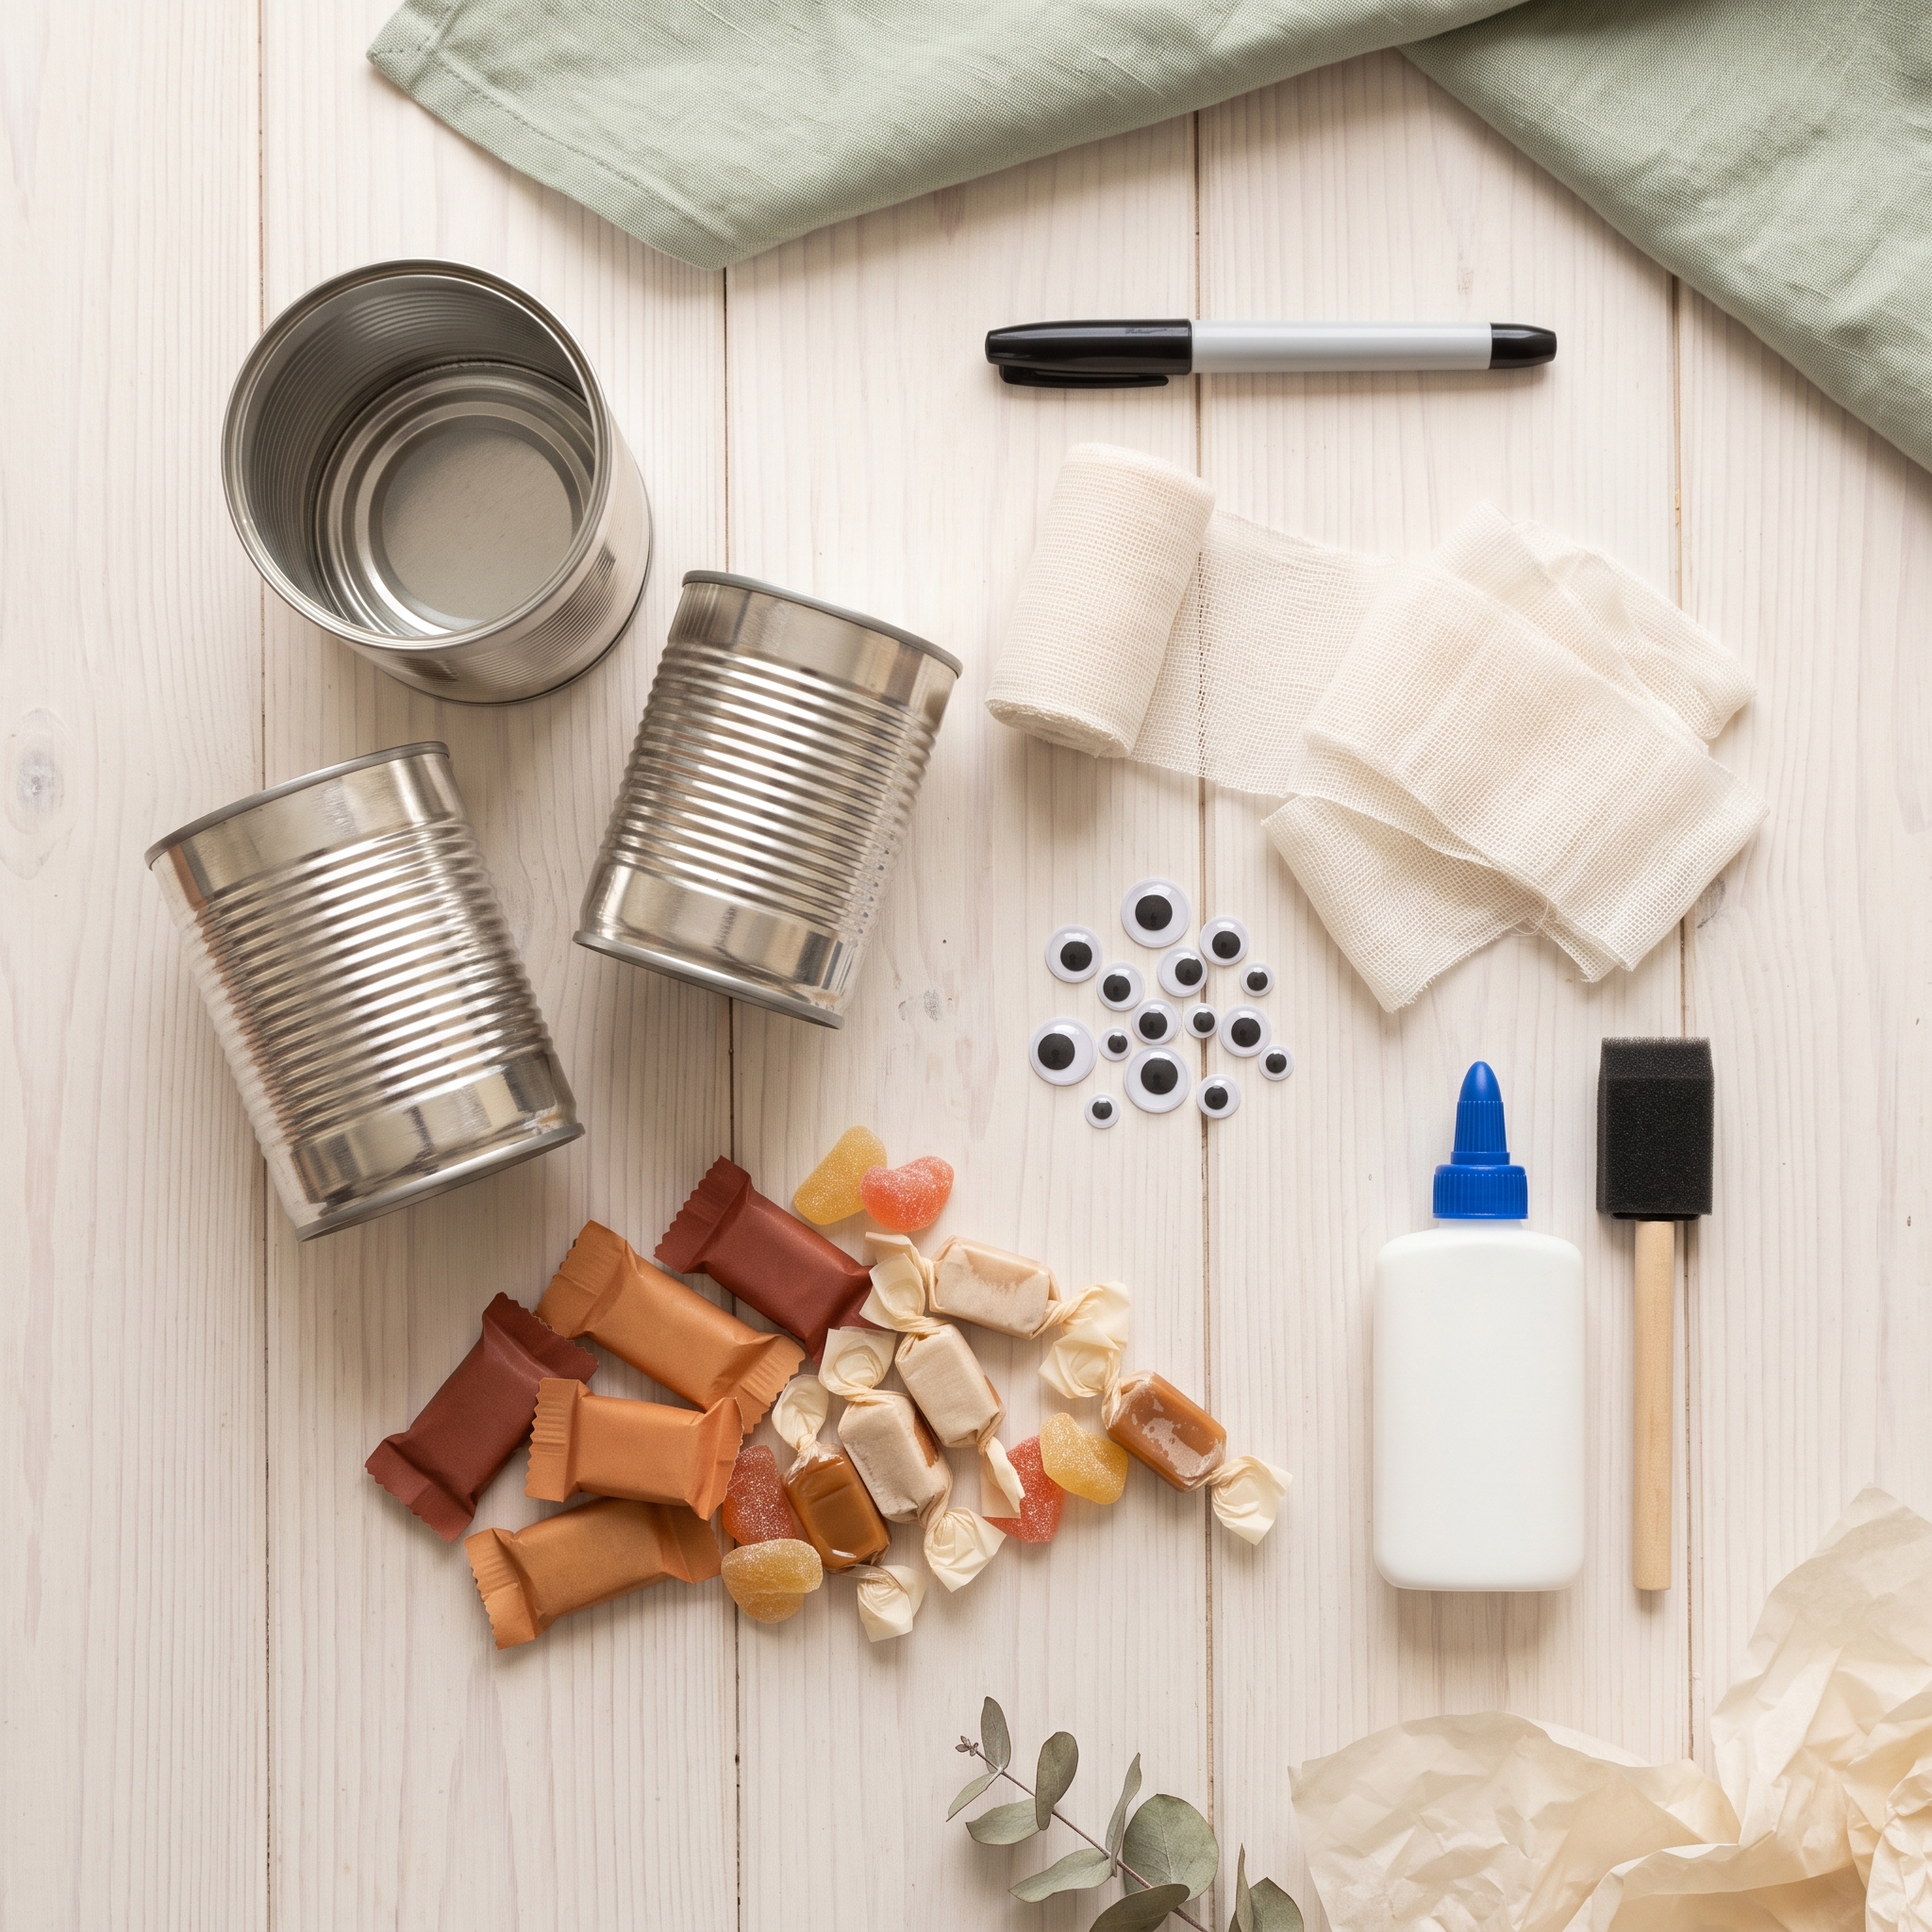
Grab these supplies before you sit down with the kids. Most are dollar-store finds, and the full list for six cans runs about $8 to $12 at Dollar Tree or Michaels.
- Empty tin cans: standard 15 oz. soup or vegetable cans work best, rinsed, dried, and checked for sharp rim edges
- White gauze ribbon or cheesecloth strips: cut to approximately 1-inch wide by 18 to 24 inches long, about 3 to 4 strips per can
- White craft paint and a foam brush: optional base coat that makes the gauze pop on shiny silver cans
- Craft glue or a low-temp hot glue gun: adult-supervised; a glue stick works fine for toddlers and cuts mess significantly
- Googly eyes: two per can, 18 to 25mm size gives the best mummy expression
- Black marker or small black craft foam scraps: for the mouth detail below the eyes
- Halloween candy to fill: mini chocolate bars, wrapped gummies, anything that fits through the open top
- Ribbon or twine: optional bow topper if you’re gifting the cans
A quick note on the mummy craft template: this post includes a free printable label you can glue to the can front before wrapping, so it peeks through the gauze for a spooky effect. More on that in the template section below.
How to Make Mummy Candy Cans (Step-by-Step)
Each step is short enough for little hands to stay involved. Steps 4 through 8 are the ones kids can lead. Steps involving the hot glue gun are for adults.
- Prep your cans: rinse, dry thoroughly, and run your finger along the rim to confirm there are no sharp edges before any little hands touch them.
- Paint a white base coat over the outside of the can and let it dry completely, about 15 to 20 minutes.
- Apply a thin line of craft glue at the top rim of the can.
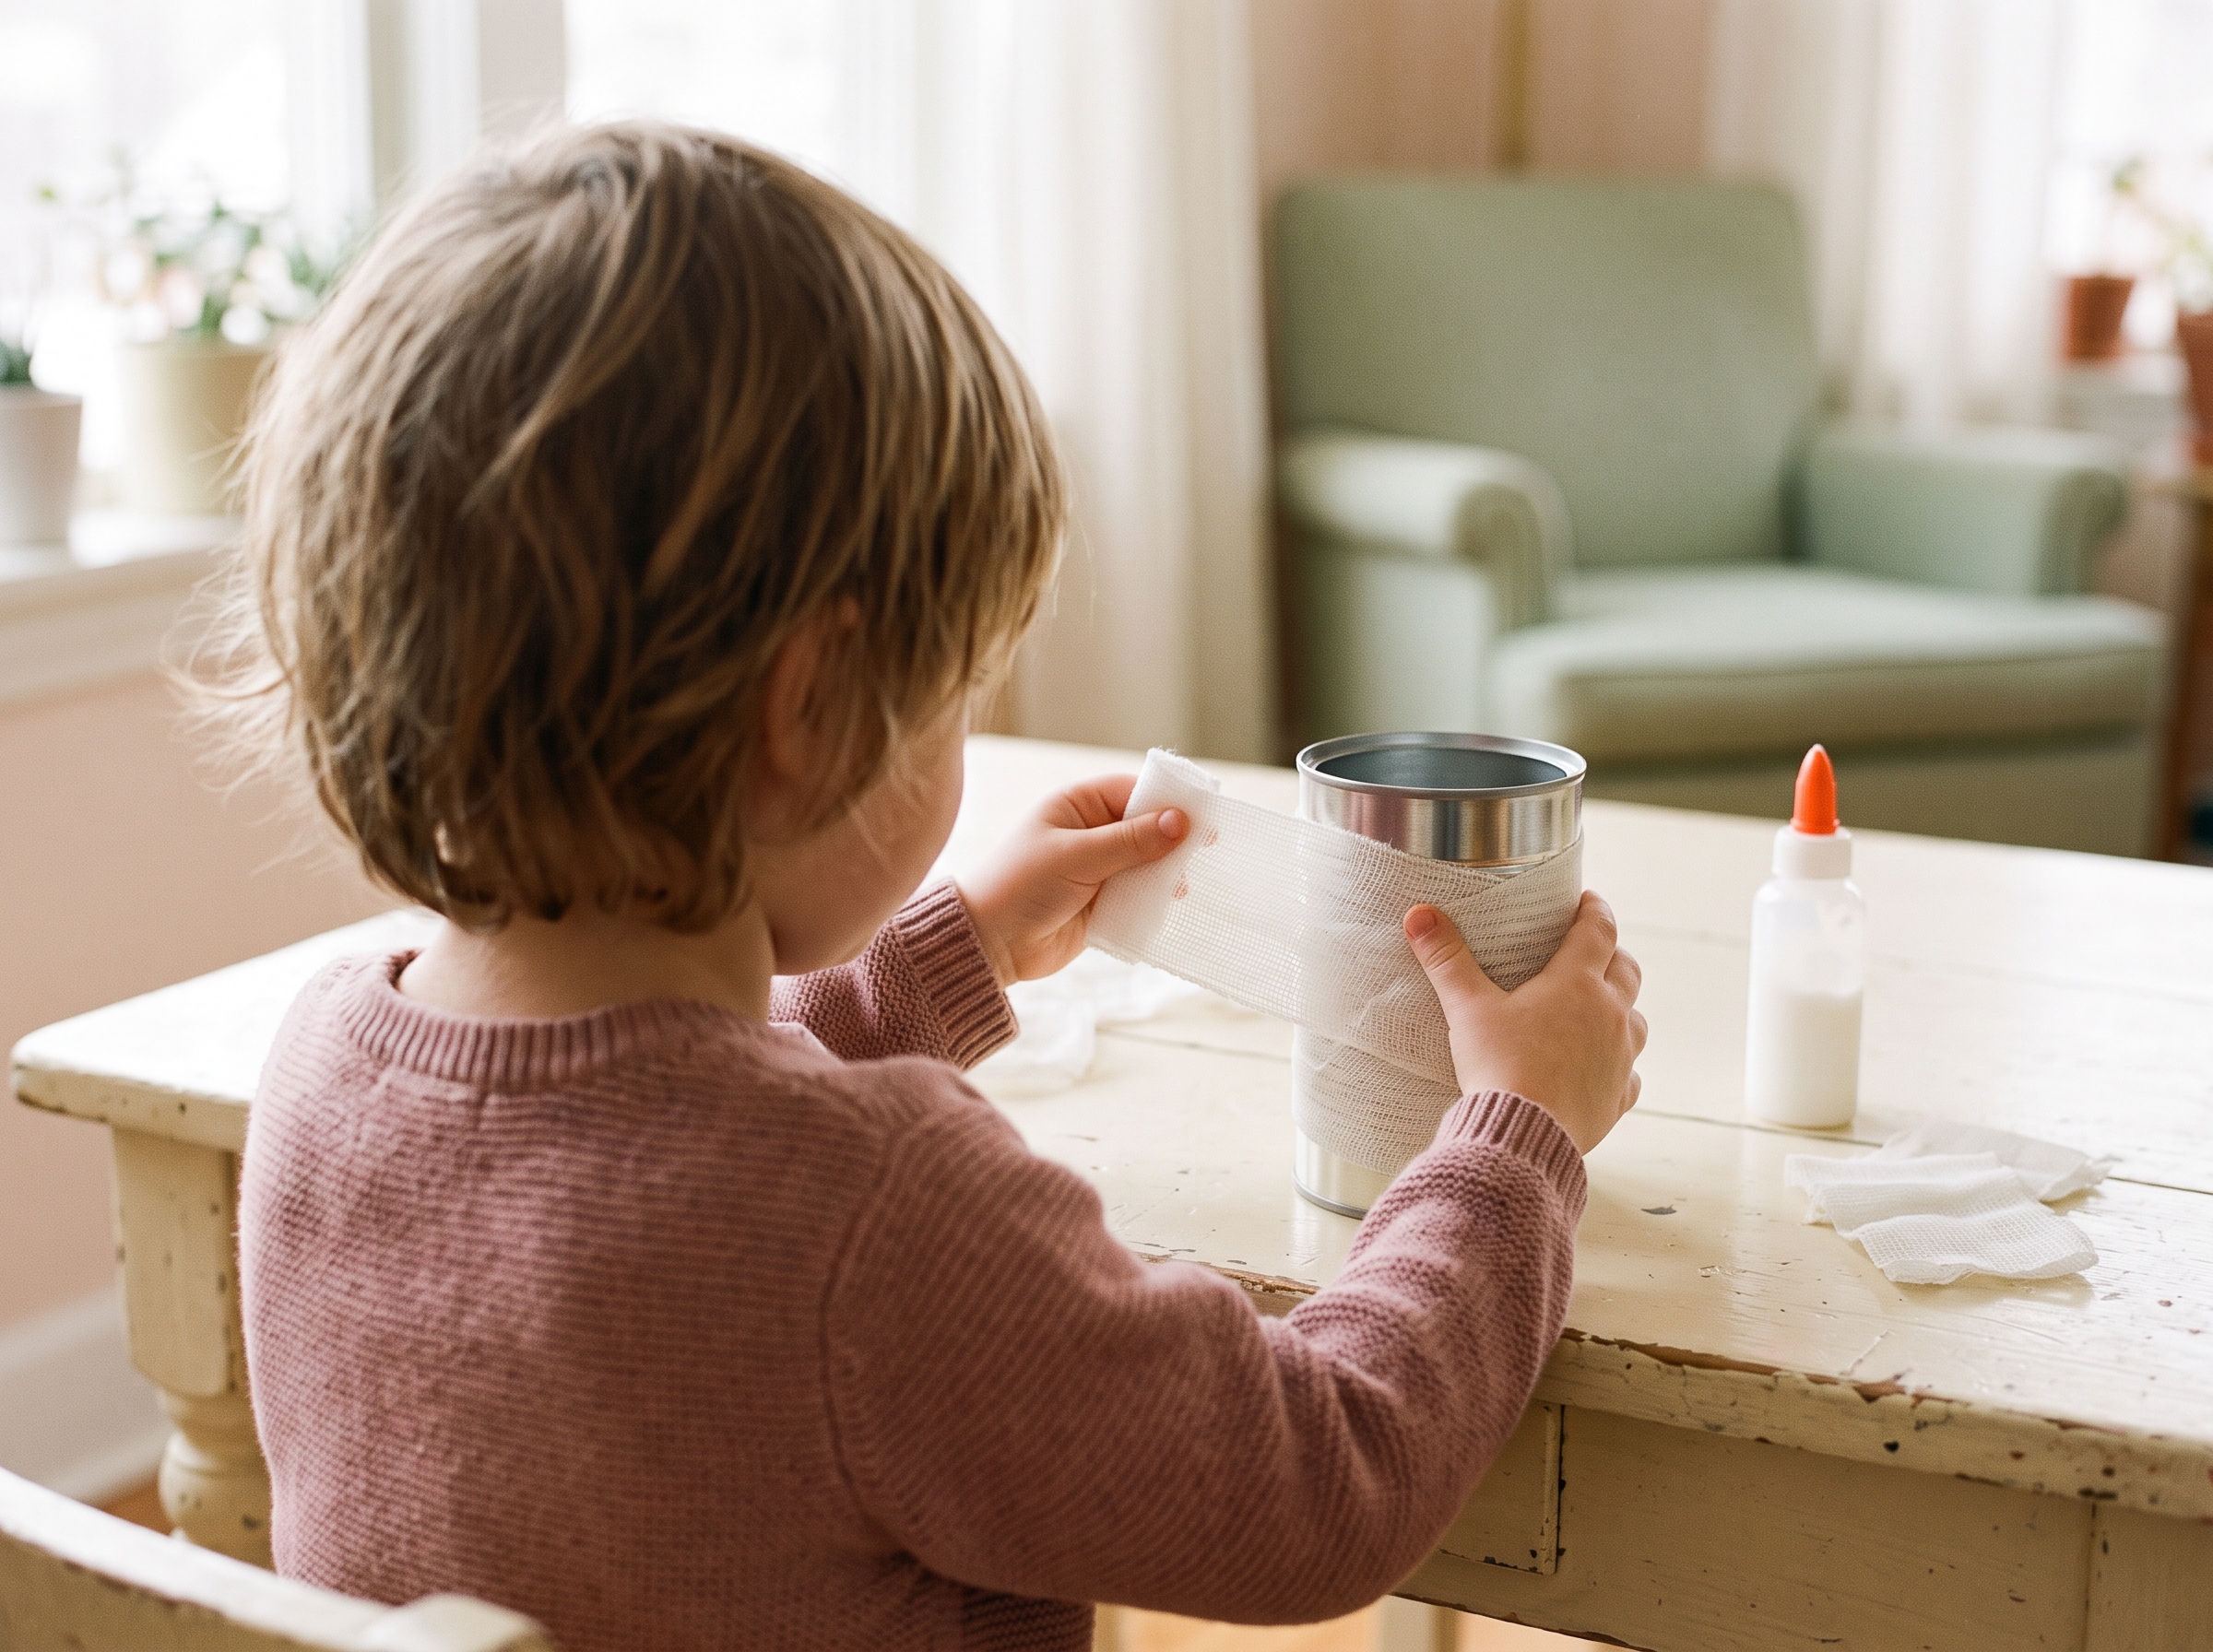
- Press the end of your first gauze strip into the glue and hold for 10 seconds.
- Wrap the gauze diagonally down the can, overlapping each pass by about a quarter inch for a layered bandage look.
- Glue the end of the first strip down and overlap the start of the next strip.
- Repeat until the entire outside of the can is covered, leaving small intentional gaps for authenticity.
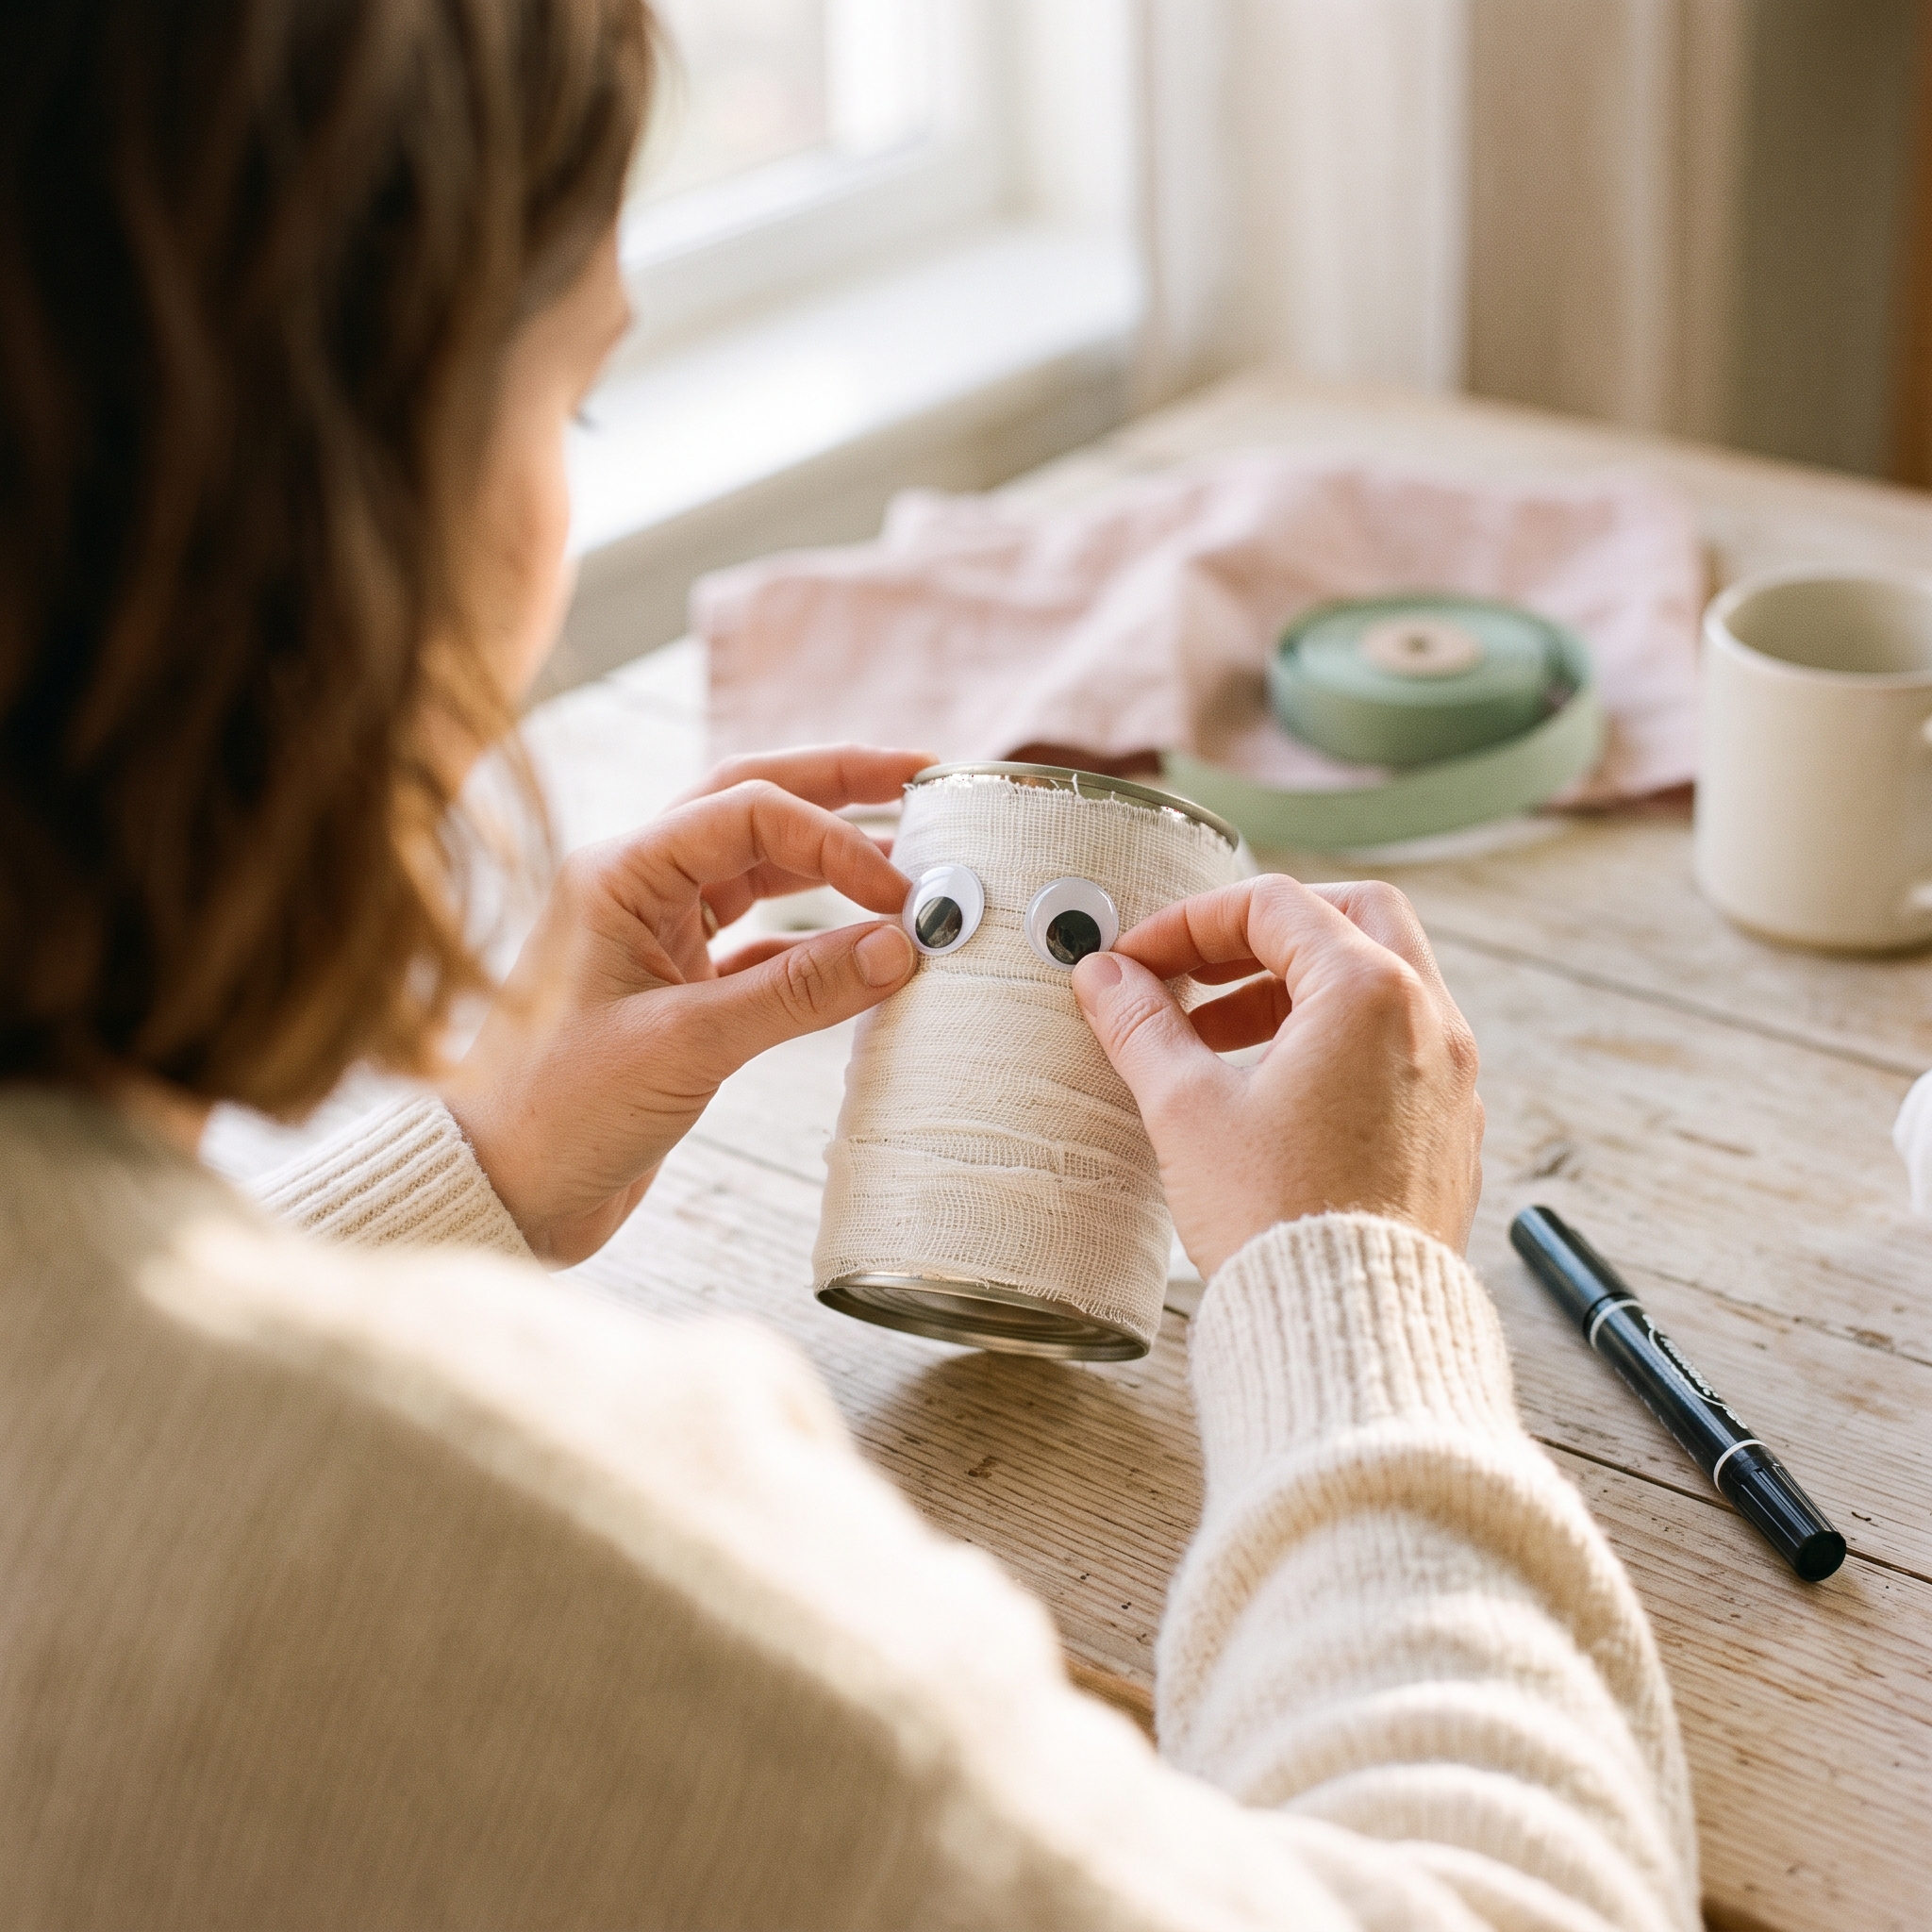
- Glue two googly eyes near the top-center of the can and hold until set.
- Add a small curved black marker line just below the eyes for the mouth, or press on a tiny black foam piece.
- Let everything dry fully, about 10 to 15 minutes, before filling with candy.
- Fill with Halloween candy and tie a ribbon bow at the top if you’re giving these as gifts.
Wrap messily on purpose. Real mummy bandages aren’t neat, and imperfect wrapping looks more authentic than a tidy spiral. I always encourage kids to go slightly crooked and overlapping, which takes the pressure off perfection and speeds the whole project up.
Free Mummy Craft Template (Label Add-On)
This is the angle most mummy craft tutorials skip entirely, and it’s one of my favorites. A printable mummy craft template works as a label you glue to the front of the can before you start wrapping. As the gauze goes over it, the design shows through in a peek-a-boo effect that looks way more polished than a plain wrapped can.
The free downloadable PDF includes a skull-and-crossbones and a mummy face version, each available in two sizes: a 2-inch circle for standard cans and a 3-inch circle for larger cans. Cut, glue, wrap. That’s the whole process.
If you’d rather use the template as a gift tag instead, just print, cut, punch a hole in the corner, and tie it around the ribbon with twine. It works for any of the variations in the next section too.
[DOWNLOAD: Free mummy craft template PDF in 2 sizes]
Age-by-Age Guide: Who Can Do What
Most craft tutorials call this “beginner level” and leave it there. That’s not helpful when you’re running a craft session with a 3-year-old and an 8-year-old at the same table. Here’s how to divide the tasks so every age group stays engaged.
Ages 3 to 4 (Toddler-Friendly)
At this age, kids can press pre-cut gauze strips onto the can, push on the googly eyes, and drop candy in at the end. Adults handle all gluing and wrap direction. It’s enough involvement to feel like a real contribution, with none of the frustration of a task that’s too fine-motor for little hands. One safety note: googly eyes are small enough to be a choking hazard, so I stay right next to my little ones while they press them on, and I always do a quick tug-test on the dried eyes before I let a can go home with a preschooler.
Ages 5 to 7 (Independent with Light Supervision)
This group can manage the wrapping with gentle guidance, apply craft glue from a bottle or stick without the hot glue gun, and draw or press on the mouth detail with a marker. They’ll need occasional help keeping the gauze tension even, but they can complete most of the process themselves.
Ages 8 to 10 (Mostly Independent)
Older kids can handle nearly every step on their own. With an adult present, they can attempt low-temp hot glue. They’re also ready to design their own label template variant using a circle of cardstock, which turns the project into a more creative exercise than just following steps.
Variations: 5 Ways to Mix It Up
Once you’ve made one, you’ll see how adaptable this project is. These five versions cover different ages, budgets, and purposes.
1. Mini Mummy Cans (Party Favor Size)
Use 8 oz. tomato paste cans or small pineapple tins instead of standard soup cans. Each mini can holds 4 to 5 small wrapped candies, which makes them ideal for classroom Halloween parties. For a class of 24, you can put these together for well under $15 in materials total.
2. Glow-in-the-Dark Mummies
Treat your gauze strips with glow-in-the-dark fabric paint before wrapping, and let them dry flat overnight. Once the cans are finished, hold them under a lamp for about 60 seconds. The payoff when the lights go out is worth every second of the extra prep step.
3. Mummy Pencil Holders (Non-Candy Version)
Skip the candy fill and use the finished can as a pencil and marker caddy. This version works beautifully as a teacher gift or a classroom project where each student makes one to take home. It’s functional past Halloween, which I find matters a lot to parents who are drowning in seasonal decor.
4. Mummy Mason Jars
The same gauze-wrapping technique transfers directly to a wide-mouth 16 oz. mason jar. The larger surface gives older kids more wrapping territory to work with. Fill it with hot cocoa mix and mini marshmallows for a cozy fall gift, or check out these painted mason jar ideas for ways to decorate the lid before wrapping.
5. Toilet Paper Roll Mini Mummies
This is the zero-cost version. Cardboard tubes from paper towels or toilet paper rolls, plus torn strips of white tissue paper, give you a finished mini mummy in under 10 minutes. It’s also the right option when you’re doing a large group craft and budget per kid is tight.
Perfect Uses for Mummy Candy Cans
Competitors usually stop at “here’s the craft.” But knowing what to do with 12 mummy candy cans after the glue dries is half the battle. Here are the uses I find most practical:
- Halloween party favors: set one at each place setting for a kids’ party; they double as table decor before the party starts
- Nut-allergy-friendly trick-or-treating alternative: you control exactly what candy goes in, which matters more than most people realize at classroom parties
- Teacher or neighbor appreciation gifts: pair with a handwritten tag and a ribbon bow for a finished look that feels personal
- Classroom craft project: each child makes one to take home, so there’s zero waste and a built-in parent gift
- Front porch decor that doubles as a candy bowl: use a larger No. 10 can (the big restaurant-size ones) and let it hold wrapped candy for trick-or-treaters
If you’re hunting for more Halloween gifting ideas beyond candy, this roundup of kid-tested gift ideas has some great non-candy options to pair with the cans. And for teacher gifts specifically, this teacher gift guide covers practical add-ons that teachers actually use and appreciate.
Tips for Making It Go Smoothly
These are the session-management details that nobody else covers, and they’re the difference between a fun afternoon and a chaotic one.
- Pre-cut all gauze strips the night before: keeping momentum going when kids are involved depends almost entirely on not stopping to cut and measure mid-project
- Use craft glue sticks for toddlers: liquid glue at a table full of small kids is a mess waiting to happen; sticks give enough hold and dramatically simplify cleanup
- Work in batches of 3 to 4 cans: the drying time on one can lets you move to the next, so kids are always actively doing something
- Line your table with a dollar-store plastic tablecloth: gauze fibers and dried glue lift right off plastic in seconds; cleaning up otherwise takes longer than the craft itself
- Check can edges before the kids touch anything: smooth-rimmed pull-tab cans like the kind on Bush’s beans are the safest option; if you’re using cans opened with a standard can opener, run a safety can opener like the OXO Good Grips model around the rim first for a completely smooth edge
Frequently Asked Questions
What is the easiest mummy craft for kids?
Mummy candy cans are one of the most forgiving options because there’s no drawing skill involved at all. Gauze wrapping is naturally imperfect, and messier wrapping actually looks better than a neat one. If you want something even simpler with zero glue involved, the toilet paper roll version with tissue paper strips takes under 10 minutes and needs nothing but what you already have at home.
Is there a free mummy craft template I can print?
Yes, the free mummy craft template PDF linked in the section above includes both a skull-and-crossbones and a mummy face design in two sizes. It works as a can label that peeks through the gauze wrapping, or you can trim it and use it as a gift tag tied around the ribbon at the top of the can.
How do I make a mummy for a school project?
For a school project, the pencil-holder variation covered above works well because it’s freestanding, easy to transport without damage, and can be personalized with hieroglyphic-style marker details drawn directly onto the gauze before it dries. It arrives in one piece and looks intentional rather than like a treat jar that lost its candy.
What age is this mummy craft appropriate for?
Ages 4 and up with adult supervision on the glue steps. Toddlers as young as 3 can participate in the pressing and filling steps with an adult handling the actual application of glue. The age-by-age breakdown above lists exactly which tasks each group can handle on their own, which makes running a mixed-age craft session much less chaotic.
Can I use materials other than gauze for wrapping?
Absolutely. Masking tape torn into strips, toilet paper doubled over, torn strips of white crepe paper, and white yarn all work. Gauze gives the most realistic bandage texture, but masking tape is probably the most budget-friendly option since most households already have a roll. Crepe paper is a great middle ground: inexpensive, easy for small hands to tear, and just stretchy enough to wrap smoothly around a curved can.


